
Stainless Cutting Problems In Parow
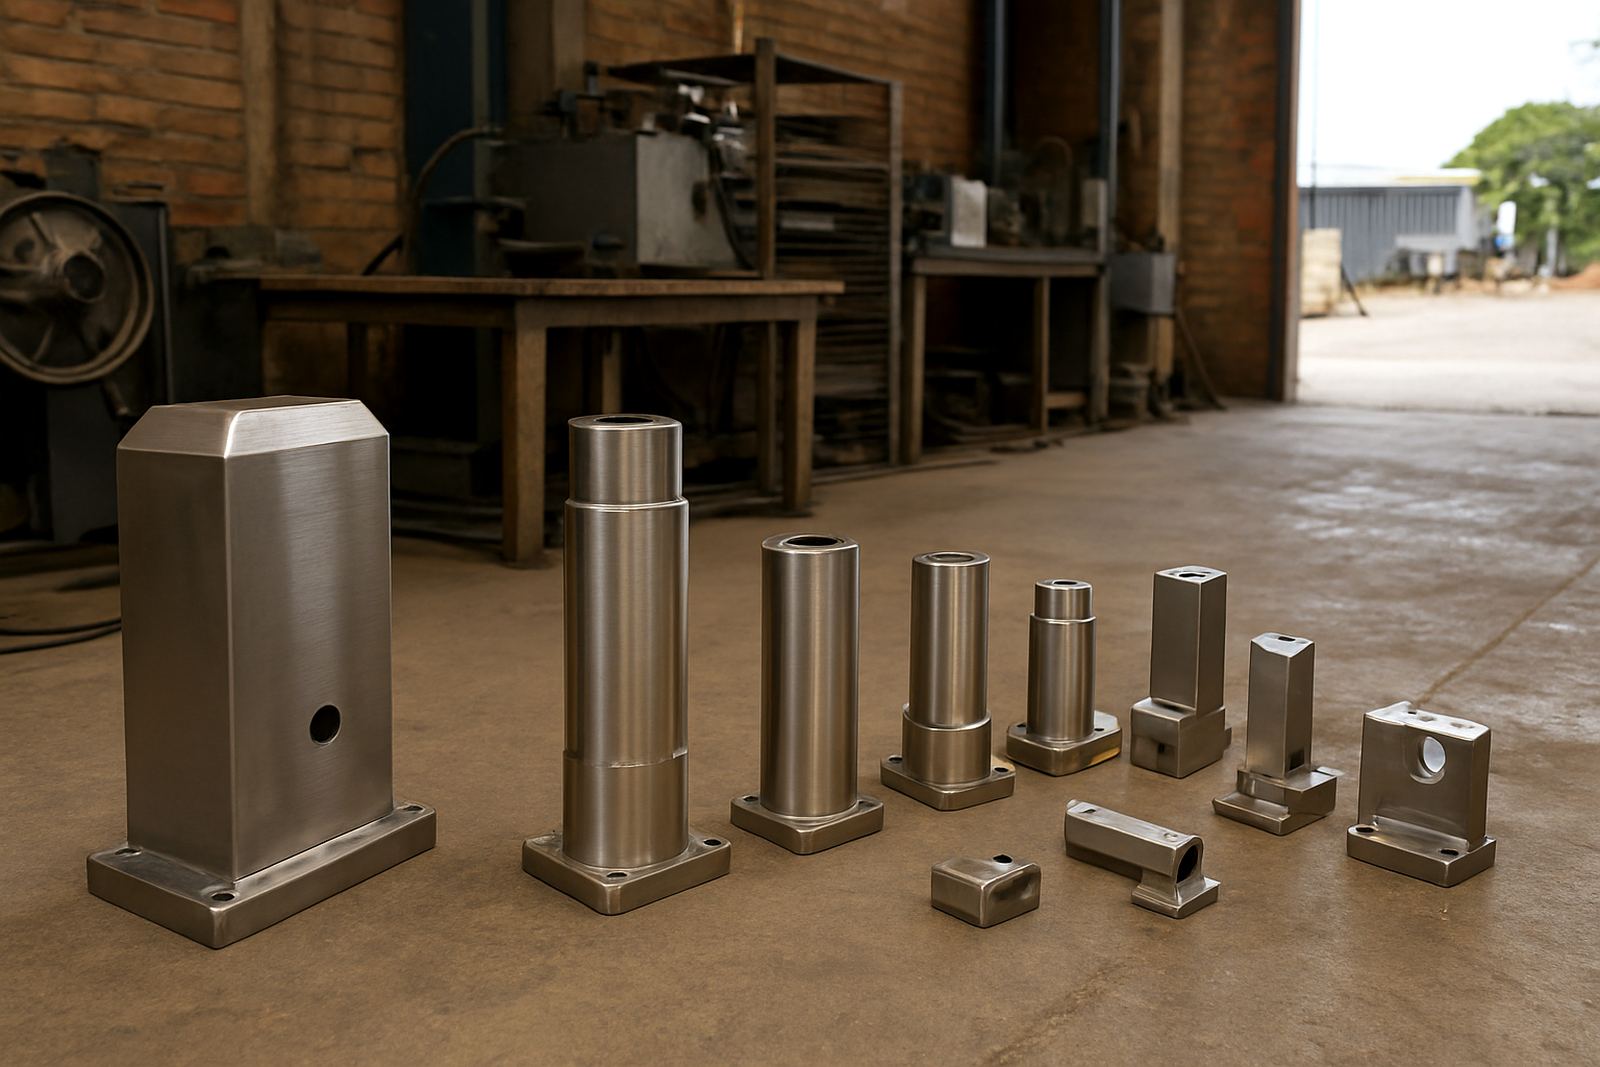
The workshop in Parow, Cape Town was processing stainless parts for general fabrication and finishing, with enough volume to make every poor cut edge expensive. Their fibre laser was still running, but the cut face had become inconsistent and the operator could see signs of optic contamination, worn nozzles and heat stress around the cutting head.
The brief was simple: find the cause, restore the head, and keep downtime short. They needed a practical repair, not a guess, because the job queue was full and the material was not cheap. We also had to work around a busy production floor and the usual Cape Town reality of a tight turnaround, limited spare time and a machine that could not sit idle for days.
- Client type: stainless steel workshop and fabricator
- Area: Parow, Cape Town
- Machine type: fibre laser cutting system
- Main issue: contamination and worn cutting consumables
What We Found On The Head
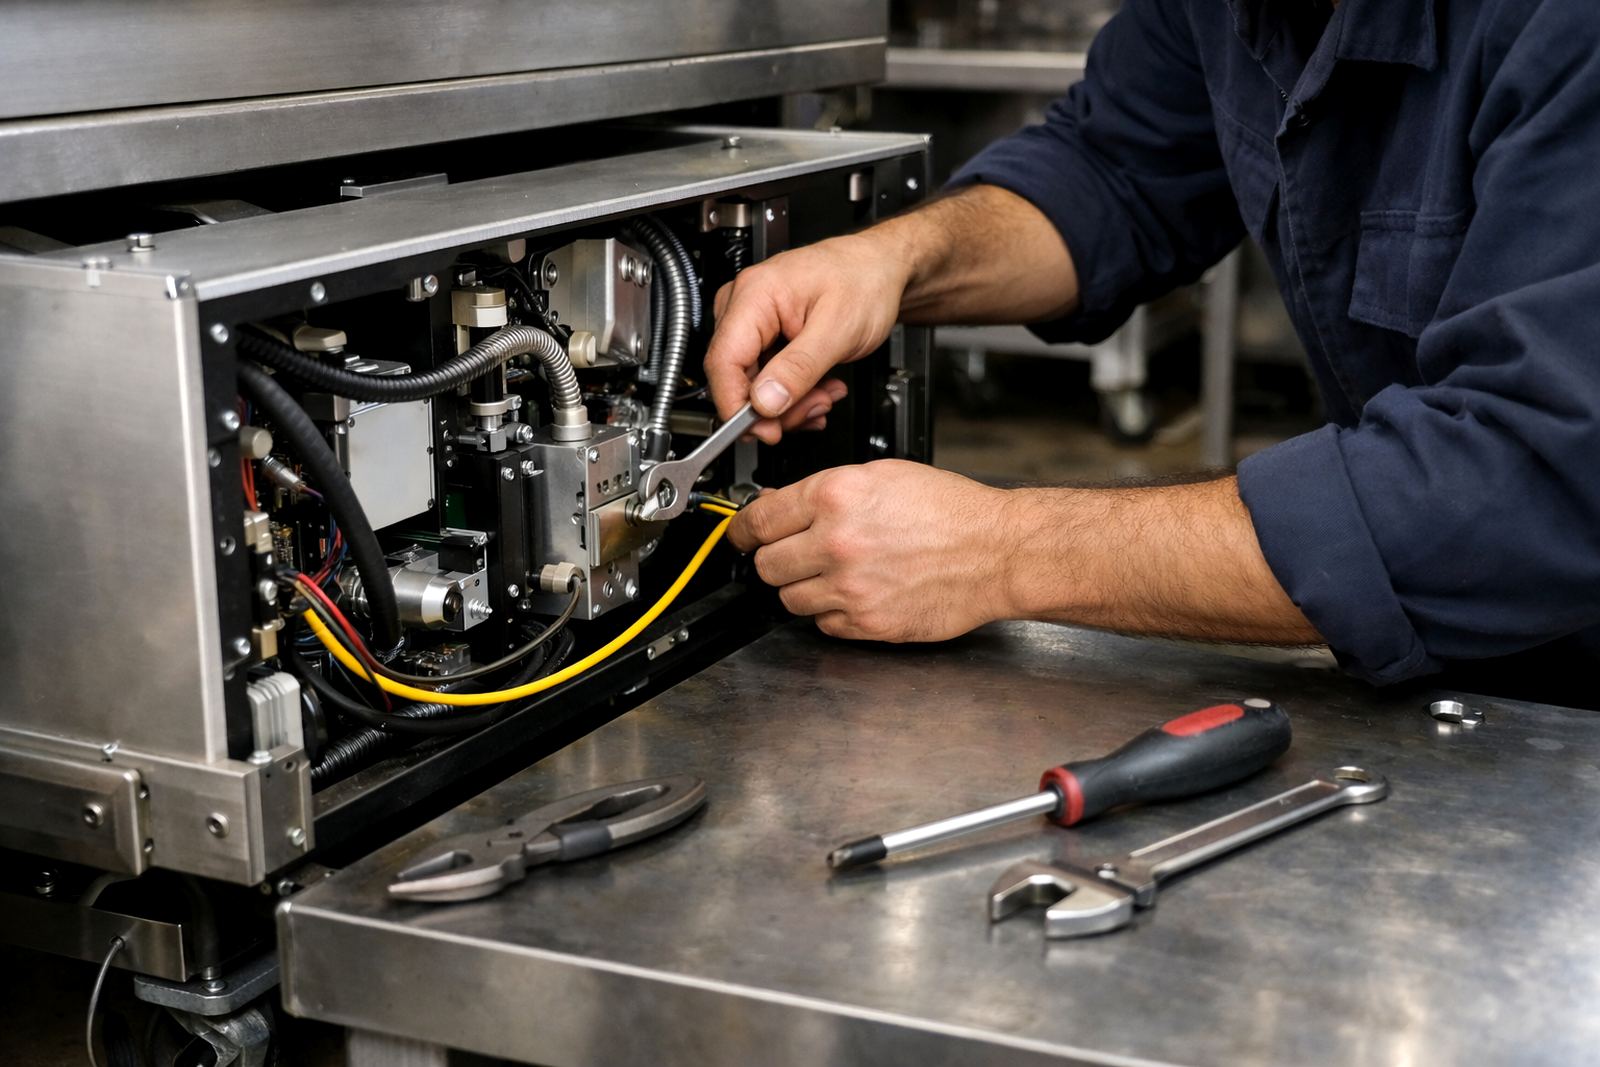
Our first step was a strip and inspection of the cutting head on the bench. That showed residue build-up on the optical path, a tired protective window, a nozzle that had lost its sharp profile and a sensor ring that had picked up wear from repeated use. There was also evidence of a minor collision earlier in the month, enough to shift alignment but not enough to stop production outright.
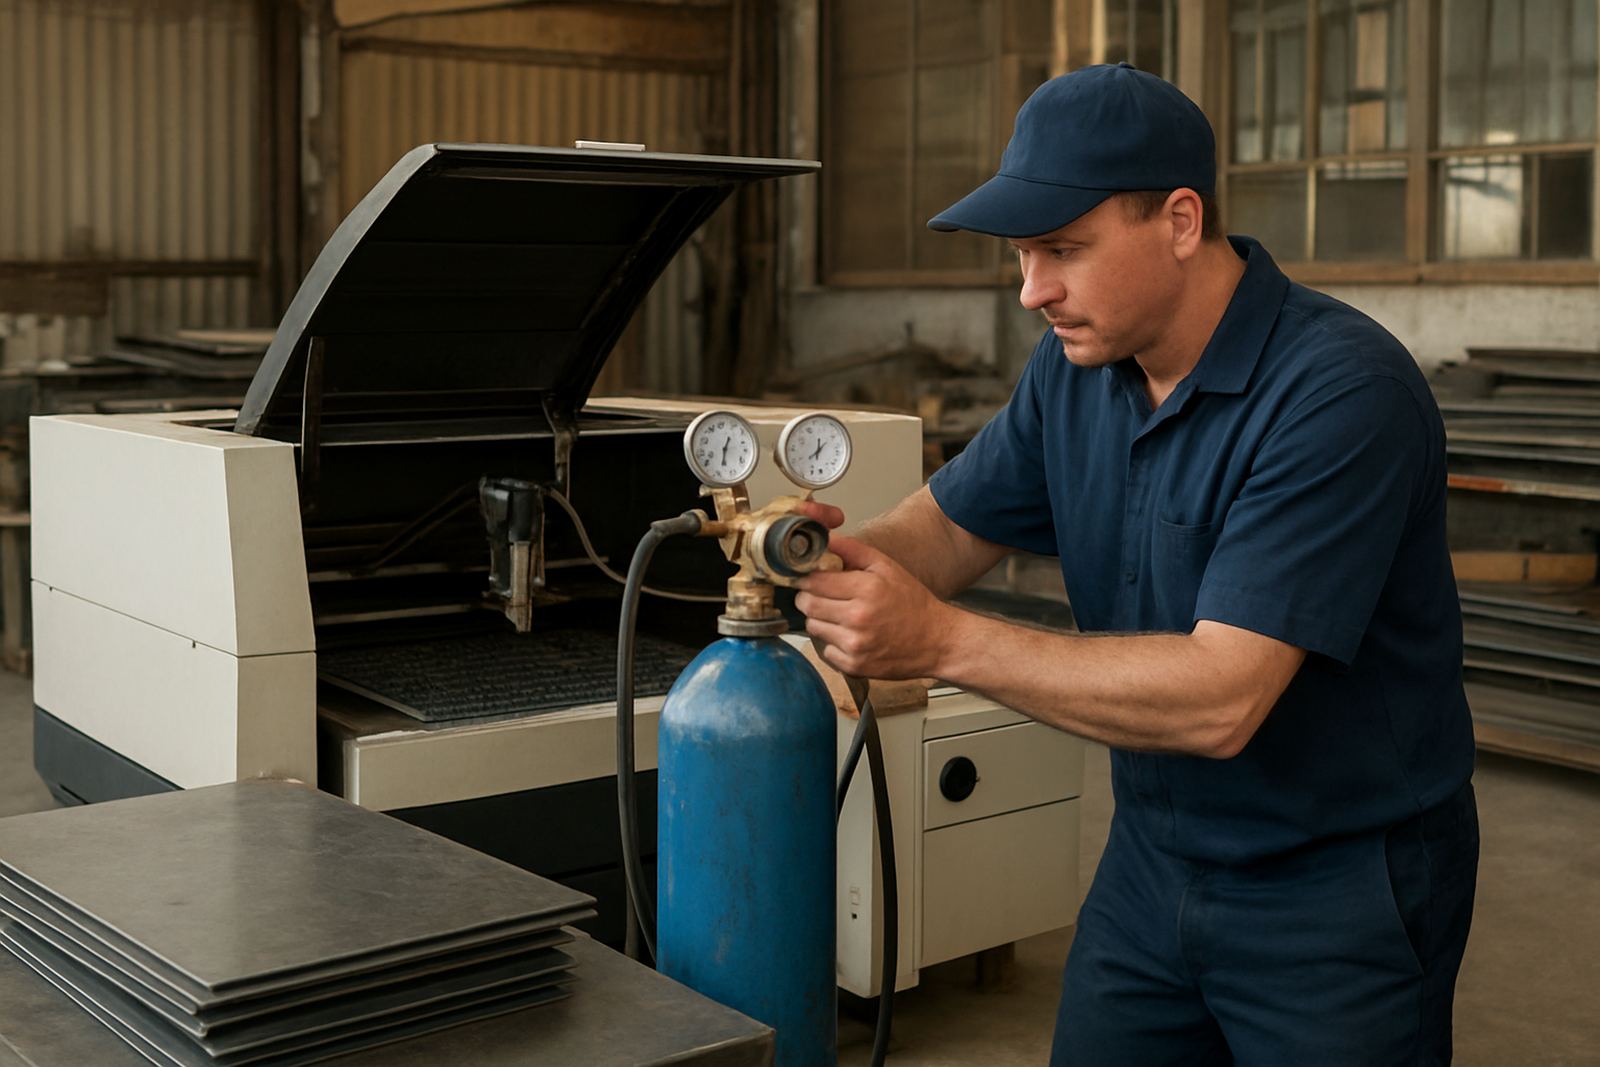
When a head keeps cutting through that sort of condition, the machine can still move but the cut quality drops and the settings chase becomes never-ending. We checked the ceramic holder, inspected the lens condition, verified internal cleanliness and carried out a pressure test on the gas path before touching the final alignment.
- Strip and inspection completed on the bench
- Lens replacement and protective window replacement
- Nozzle seat restoration and new nozzle fitment
- Sensor ring service and ceramic holder change
Repair Work And Parts Fitment
Once the fault picture was clear, we replaced the worn consumables and restored the head structure where the nozzle seat had taken strain. The internal cleaning removed fine contamination that can build up from repeated cutting cycles, especially on stainless where reflections, fumes and fine particles can settle in the wrong places. We then checked the head alignment and made sure the optical stack was seated correctly after reassembly.
The work was done in the workshop in Boksburg, then the same head was taken back to site for final checks on the machine. That approach kept the repair controlled, while still letting us confirm how the head behaved under real cutting conditions. On a job like this, small details matter, because a good bench repair that is not verified on the machine is only half a job.
- Internal cleaning of the cutting head assembly
- Gas path service with bench pressure test
- Head alignment check after reassembly
- Return to service test under cutting conditions
Timeline, Access And Production Constraints
The full repair ran over two weeks from first call to final return to service. The first visit covered diagnosis and removal of the head. The second stage was bench repair, parts fitment and test preparation. The final stage was on-site verification, with the machine put back into production once the cut edge quality was stable.
The main constraint was downtime. The workshop could not afford a long stop because the stainless work was tied to customer deadlines and dispatch schedules. We also had to account for load-shedding risk during testing, so the plan was to complete bench work efficiently and use the site visit for a focused restart rather than a long open-ended fault hunt.
- Week 1: fault finding and strip out
- Week 2: repair, fitment and verification
- On-site return to service completed after bench testing
- Downtime kept short by working in clear stages
Results On Stainless Cut Edges
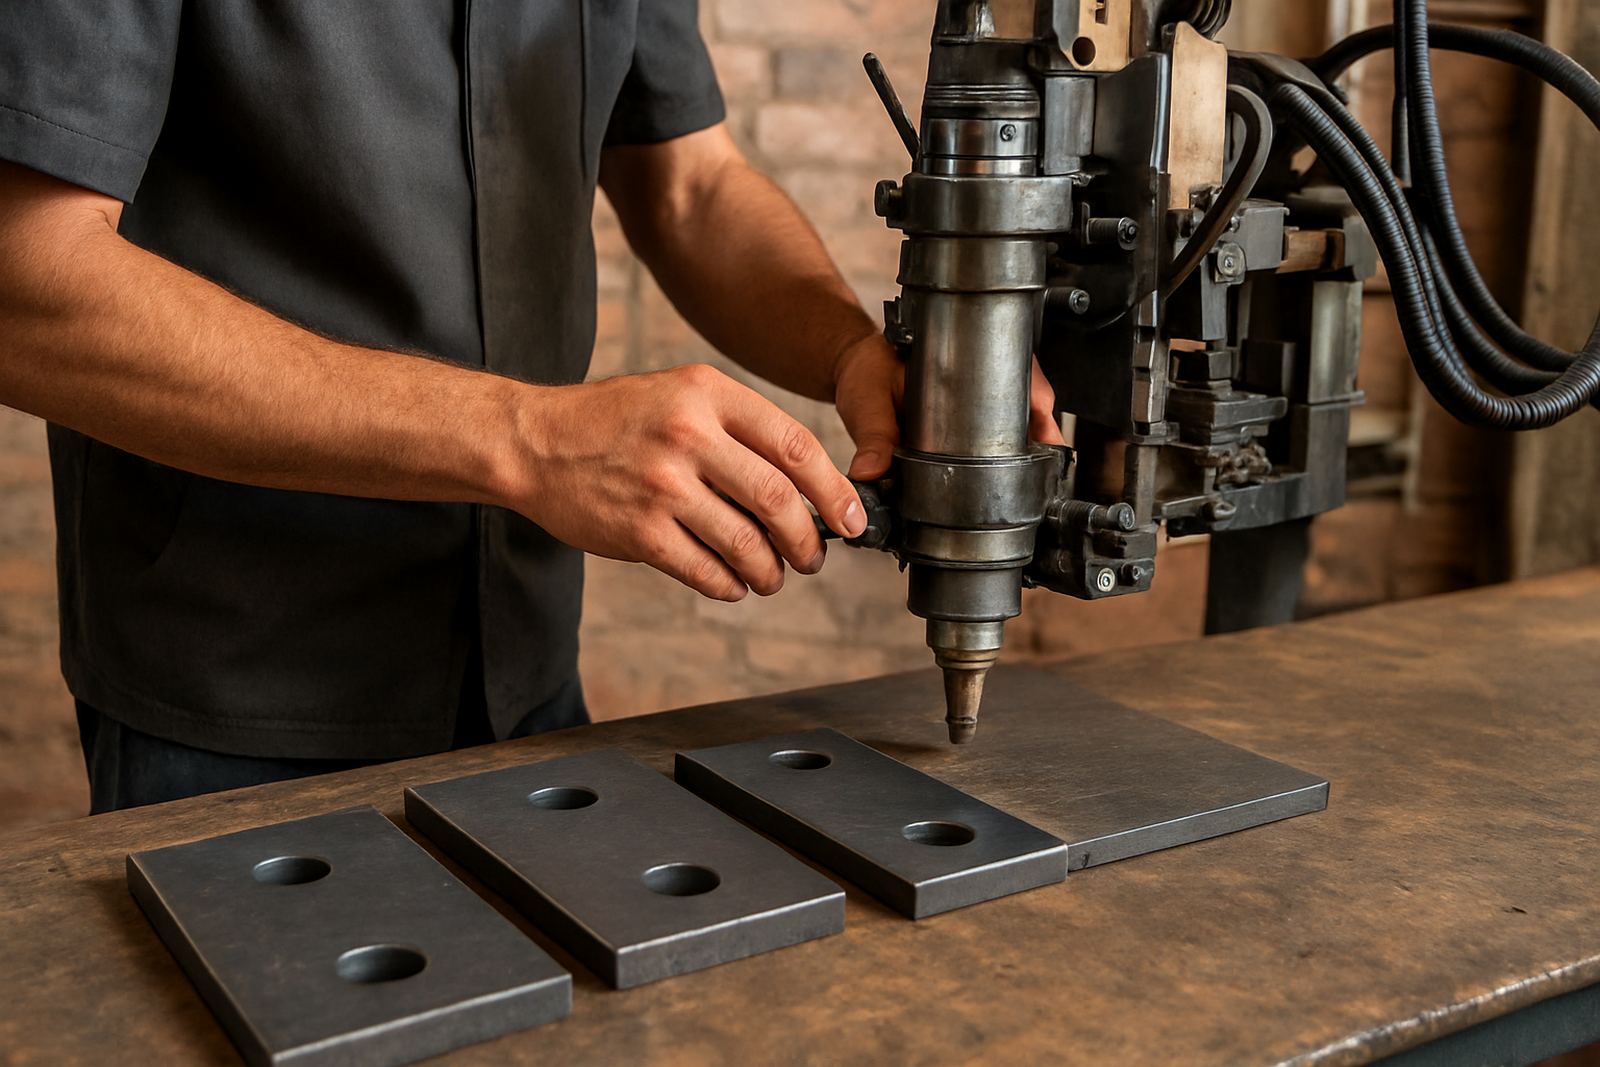
After the repair, the workshop reported a clear improvement in edge finish and consistency on stainless parts. The cut face was cleaner, the consumable wear pattern was back to normal and the operator no longer had to keep adjusting around contamination issues. The machine also settled down faster after start-up, which helped with daily production planning.
From a practical point of view, the biggest result was not just better cutting. It was less rework, fewer rejected parts and more confidence that the head would keep its settings through a full shift. That matters in a job shop where one bad run can hold up the rest of the day.
- Sharper stainless cut edges
- Less rework on finished parts
- Improved consumable life after reset
- Better uptime for daily production
What We Would Do Again On Similar Jobs
If we were called back to the same type of job, we would follow the same pattern: diagnose properly, strip the head, confirm the gas path and optics condition, then verify performance on the machine before handing it over. That process works because it deals with the cause, not only the symptom.
For stainless workshops in Parow, Bellville and the wider Cape Town area, this is usually the right approach when the machine still runs but the cut quality has started drifting. It is also the safest way to handle a mixed issue of contamination, worn consumables and possible impact damage, because you can see exactly what has changed before the next production run starts.
- Inspect first, replace only what is worn
- Check for collision marks before final alignment
- Test under load after bench repair
- Keep spare consumables on hand for the next service interval
Key facts
| Project location | Parow, Cape Town |
|---|---|
| Client type | Stainless workshop and fabricator |
| Machine type | Fibre laser cutting system |
| Service scope | Strip and inspection, lens replacement, window replacement, nozzle seat restoration, head alignment check |
| Repair duration | 2 weeks |
| Result | Cleaner stainless cut edges with improved uptime |