
Why a Dirty Window Changes the Cut
The protective window sits in the beam path and takes the first hit from spatter, smoke and fine dust. Once that surface is hazed, scored or coated with residue, the laser energy reaching the work piece drops and the beam profile becomes less tidy. That shows up first on piercing, then on edge quality, and later on the consumables themselves.
In practical terms, the machine may still fire, but it no longer cuts with the same certainty. Operators often chase the problem by changing parameters when the real issue is a contaminated window. If the window is ignored for too long, heat builds up and the damage can spread to nearby parts in the cutting head too.
Typical Symptoms Operators See First
The first signs are usually on the job rather than on the machine. A sheet that normally pierces cleanly starts leaving a delayed start mark. Thin material may dross more than usual, while thicker plate may need extra attempts before the cut fully opens. In some cases the head begins to sound different, with a harsher tone as the beam struggles through residue.
- Longer piercing time on mild steel, stainless or aluminium
- More spatter sticking around the pierce point
- Rougher cut edges and wider heat mark
- Random failures on small features or tight corners
- Nozzle tips showing premature wear or burn marks
If the machine is already working near the edge of its settings, even light contamination can push it out of tolerance. Many workshops in Gauteng first notice it when a repeat job that was fine last week suddenly needs a second pass or extra cleaning after cutting.
What Contamination Looks Like on the Bench
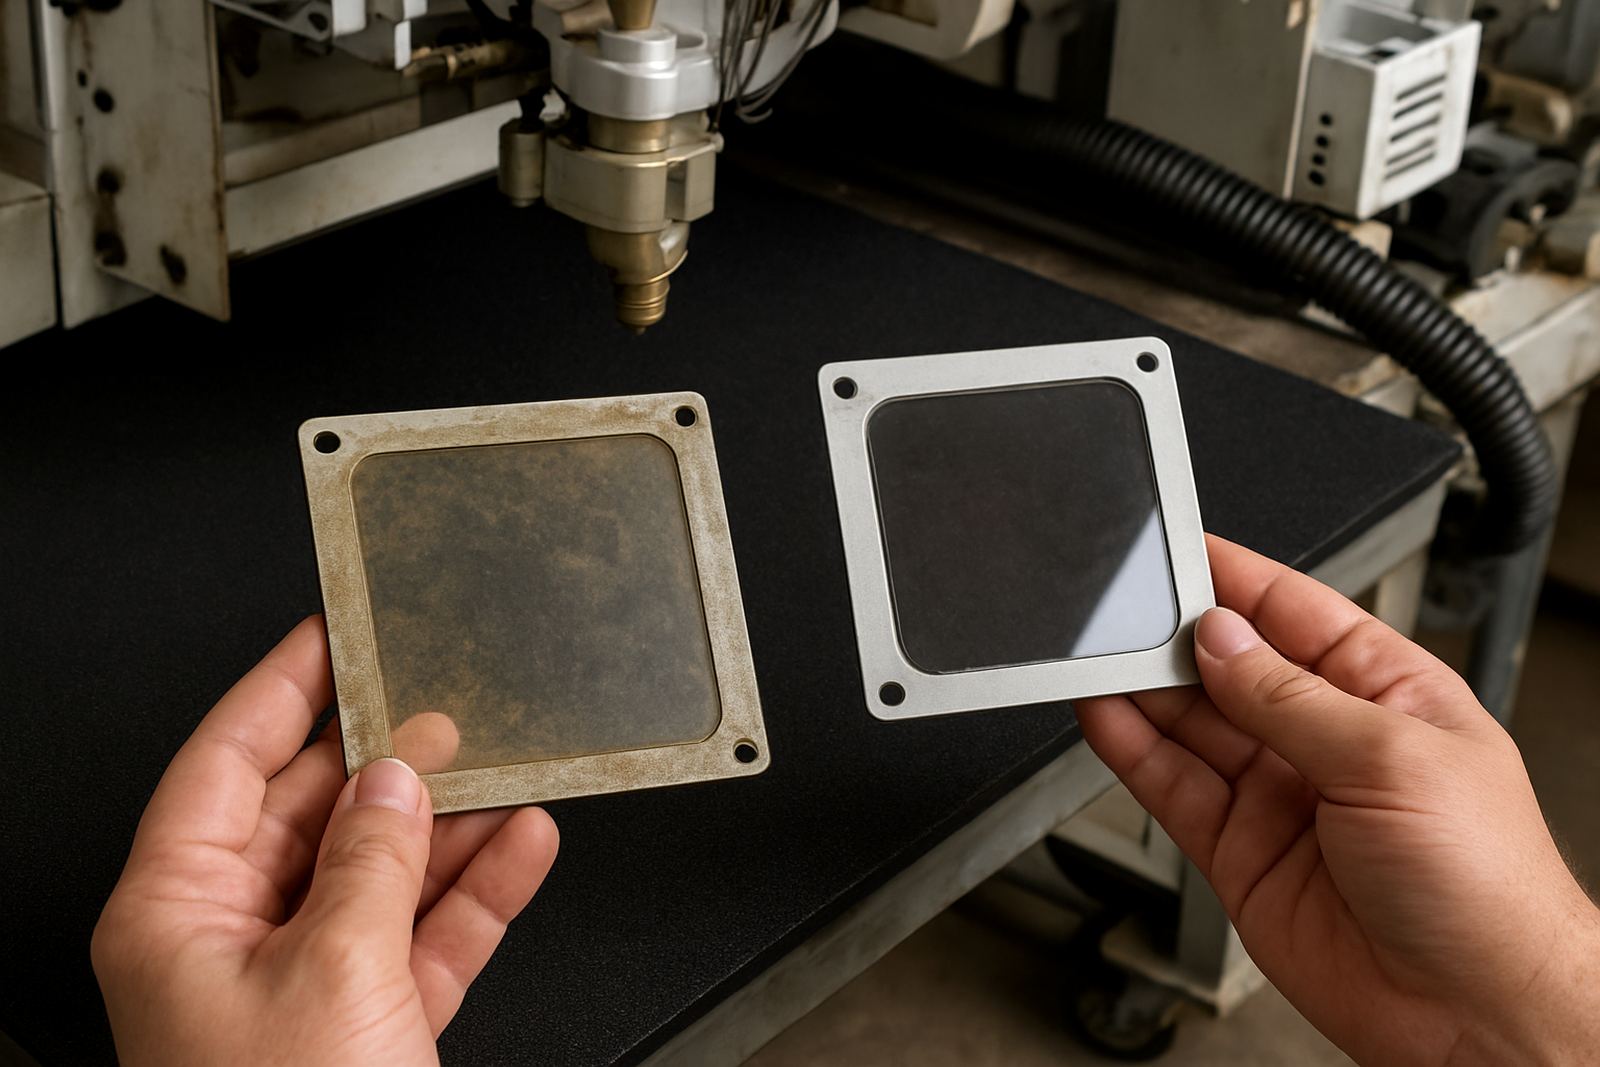
Once the cutting head is removed and opened, a dirty window usually tells its own story. The surface may have a brown film from smoke, a grey haze from fume, or tiny pits from back-reflection and heat. Sometimes the window looks intact at a glance, but under proper inspection it carries a fine frosting that scatters the beam.
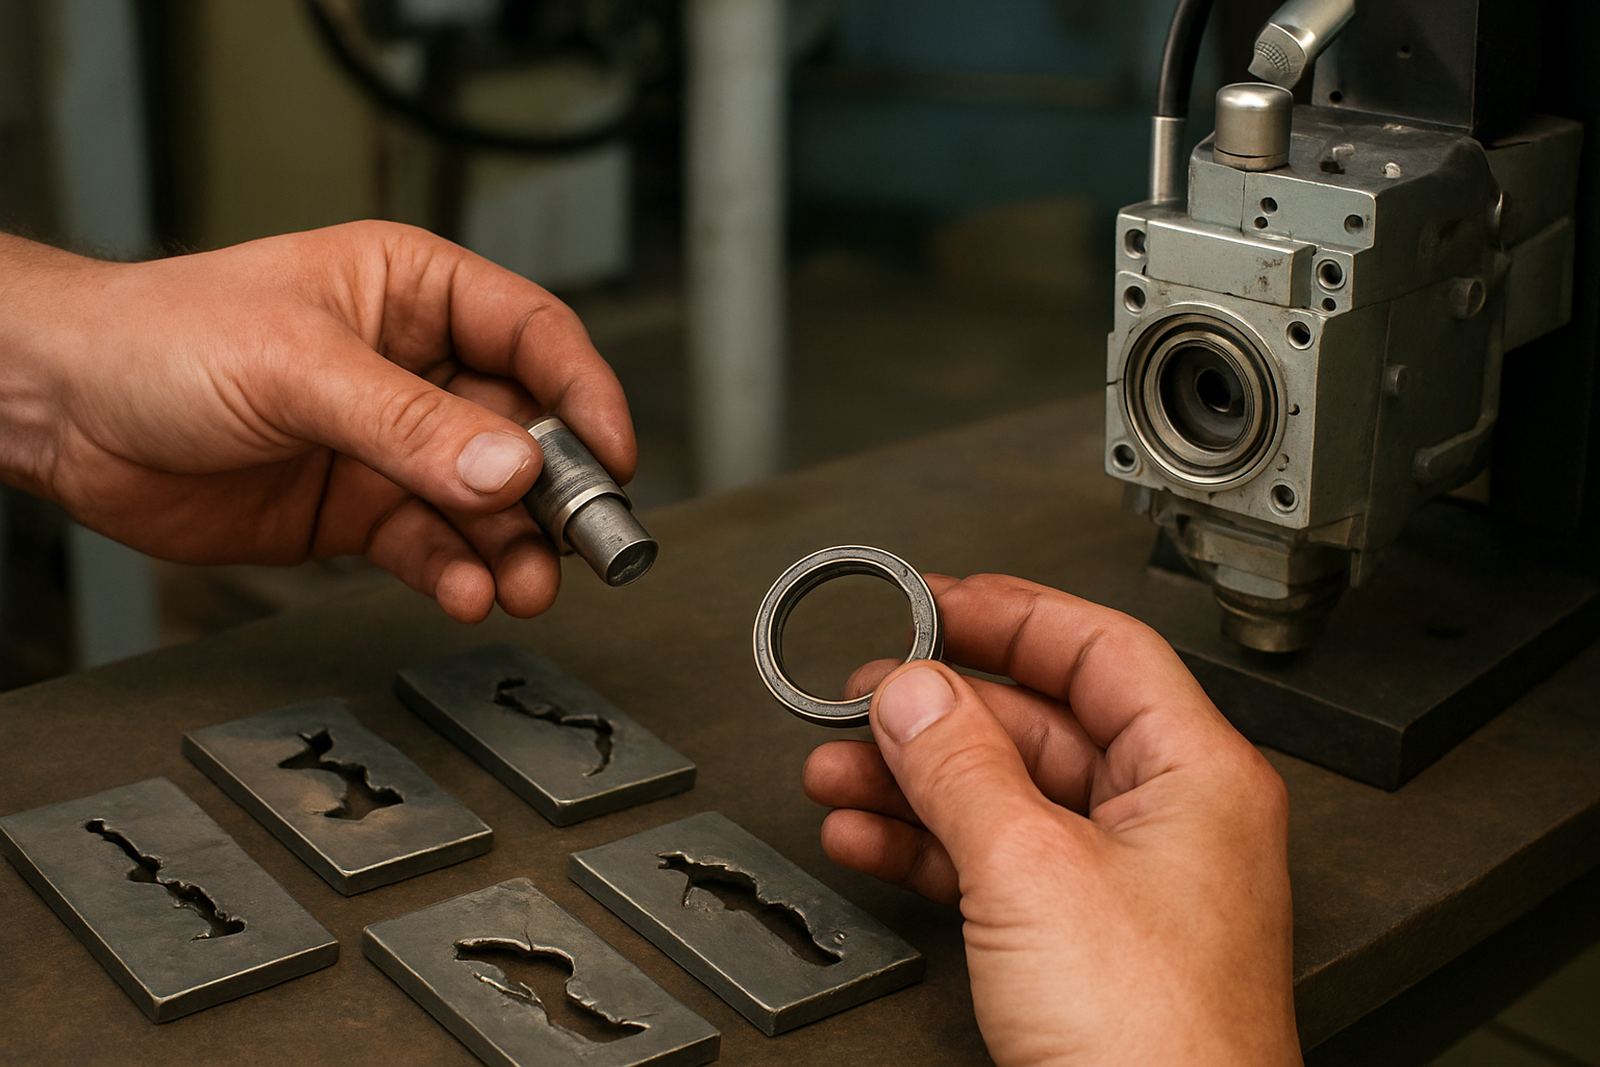
At the bench we also check whether the contamination came from a failed nozzle seal, a worn O-ring, poor purge flow or a previous collision. If the cause is not found, the replacement window may dirty up again very quickly. That is why a proper inspection matters, not just swapping glass and sending the head back to site.
- Haze or frosting across the full lens area
- Spatter marks near the centre or edge of the window
- Heat staining, chips or micro cracks
- Dust tracks from poor handling or open storage
- Oil film or residue from compressed air issues
How Cut Quality Drops Before the Window Fails Completely
A window does not have to be visibly broken before it causes trouble. A light coating can reduce energy enough to upset piercing, while the machine still appears to run normally. That is why a workshop may see good results on one shift and poor cuts on the next, especially when the machine is left open during maintenance or used in a dusty bay.
On fibre systems, a dirty window often shows up as unstable piercing and inconsistent edge finish across the sheet. On CO2 systems, the signs can include weaker cutting performance, extra smoke staining and more frequent consumable changes. Either way, the effect is the same: more scrap, more delays and more operator frustration.
For workshops in Boksburg and the wider East Rand, this becomes a real issue during long production runs. By the time a supervisor notices a pattern, the machine may already have wasted several sheets and a stack of nozzles. A quick check of the cutting head can save far more than the cost of a single window.
When to Stop Cutting and Book a Service
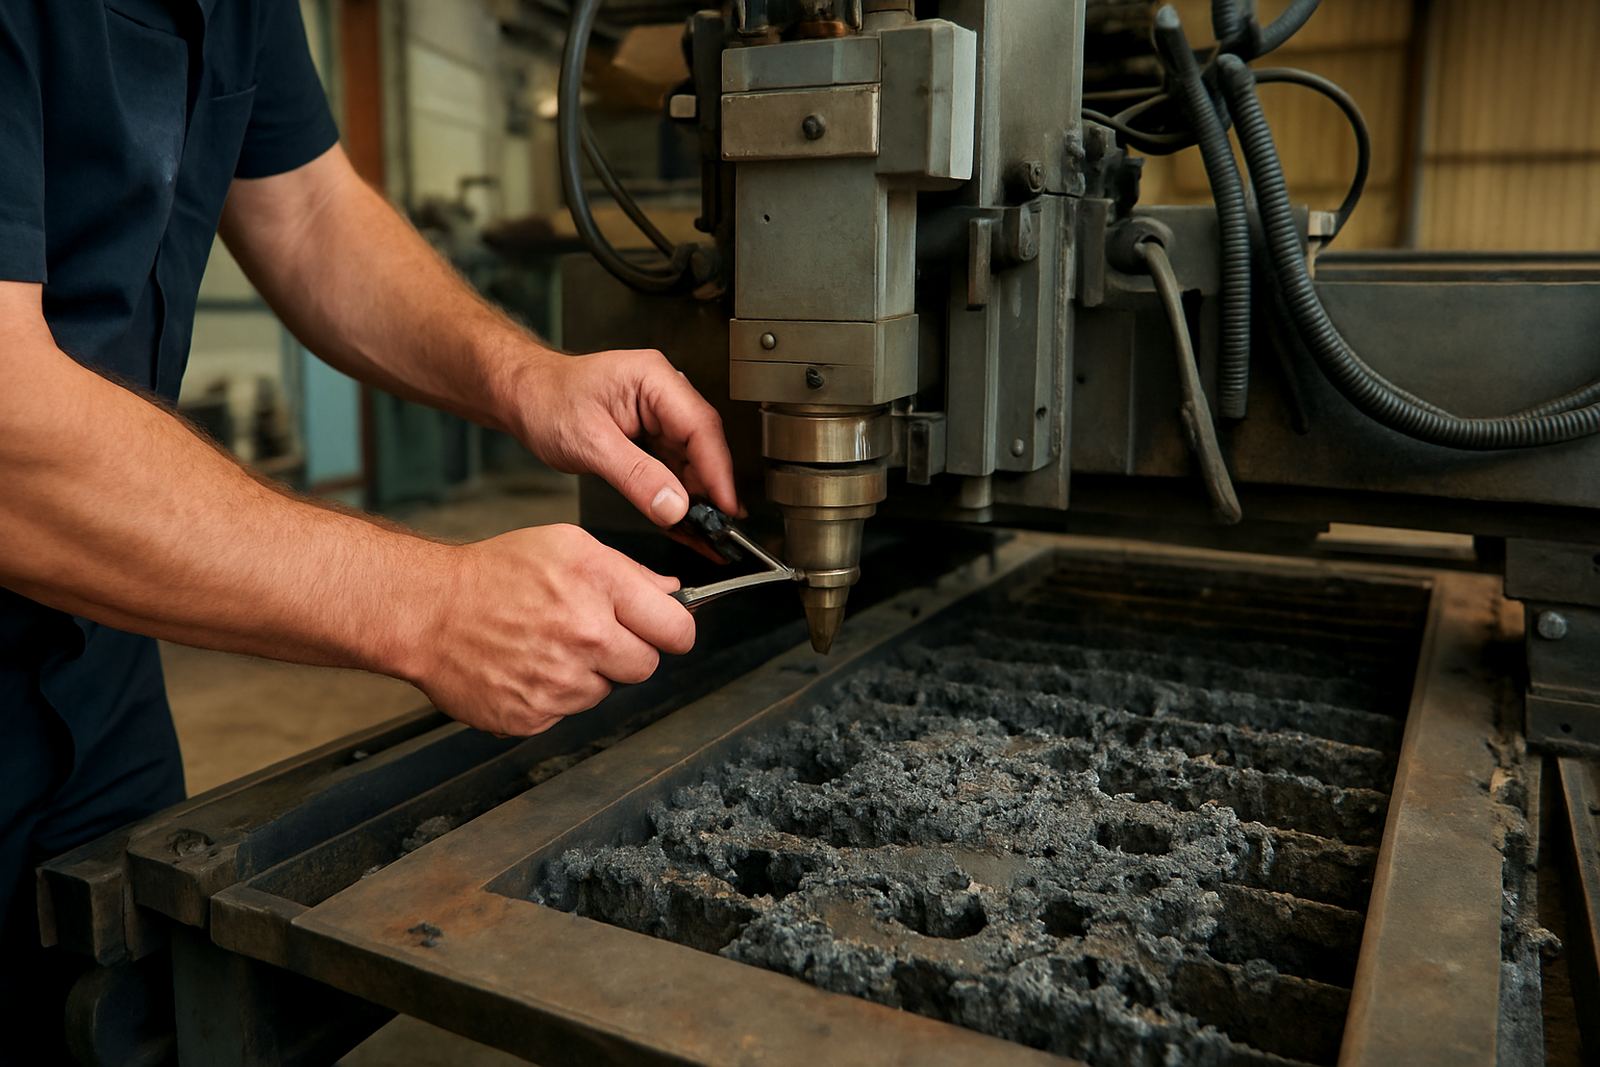
Do not keep pushing through if the machine is clearly struggling. If piercing slows down, edge quality changes without any setup change, or the head starts leaving scorch marks where it never did before, the window should be inspected straight away. Continuing to cut through a contaminated optical path can overheat the head and trigger a larger repair later.
Service is especially important after a collision, a pressure fault or a long period of heavy use. Those events often damage more than one part, even when the visible fault seems small. A proper strip and inspection, followed by a pressure test and return to service test, helps confirm the head is ready for work again.
- After a nozzle strike or head collision
- When piercing becomes slow or unreliable
- After smoke, dust or fume build-up in the head
- When consumables are failing too fast
- Before a big production run where downtime is costly
A Local Example from a Busy Ekurhuleni Shop
A fabricator in Ekurhuleni called in after noticing poor piercing on 3 mm stainless and uneven edge quality on signage brackets. The machine was still running, so the issue had been chased as a settings problem for two days. On inspection, the protective window was heavily hazed and the nozzle seat had also taken a knock from a previous misalignment.
After bench repair, window replacement, seat restoration and a full alignment check, the head returned to stable cutting and the scrap rate dropped. The key lesson was simple: the window was not the only fault, but it was the part that made the whole problem look worse. That is common on busy sites where the machine has to keep moving and no one has time for a full stop until the symptoms become obvious.
For shops from Johannesburg through Pretoria, Vanderbijlpark, Durban and Cape Town, this kind of issue is best handled early. A small part can create a large delay if it is left in place too long, especially where load-shedding, humidity or dusty shop floors already put extra pressure on equipment.
Keeping Protective Windows Cleaner for Longer
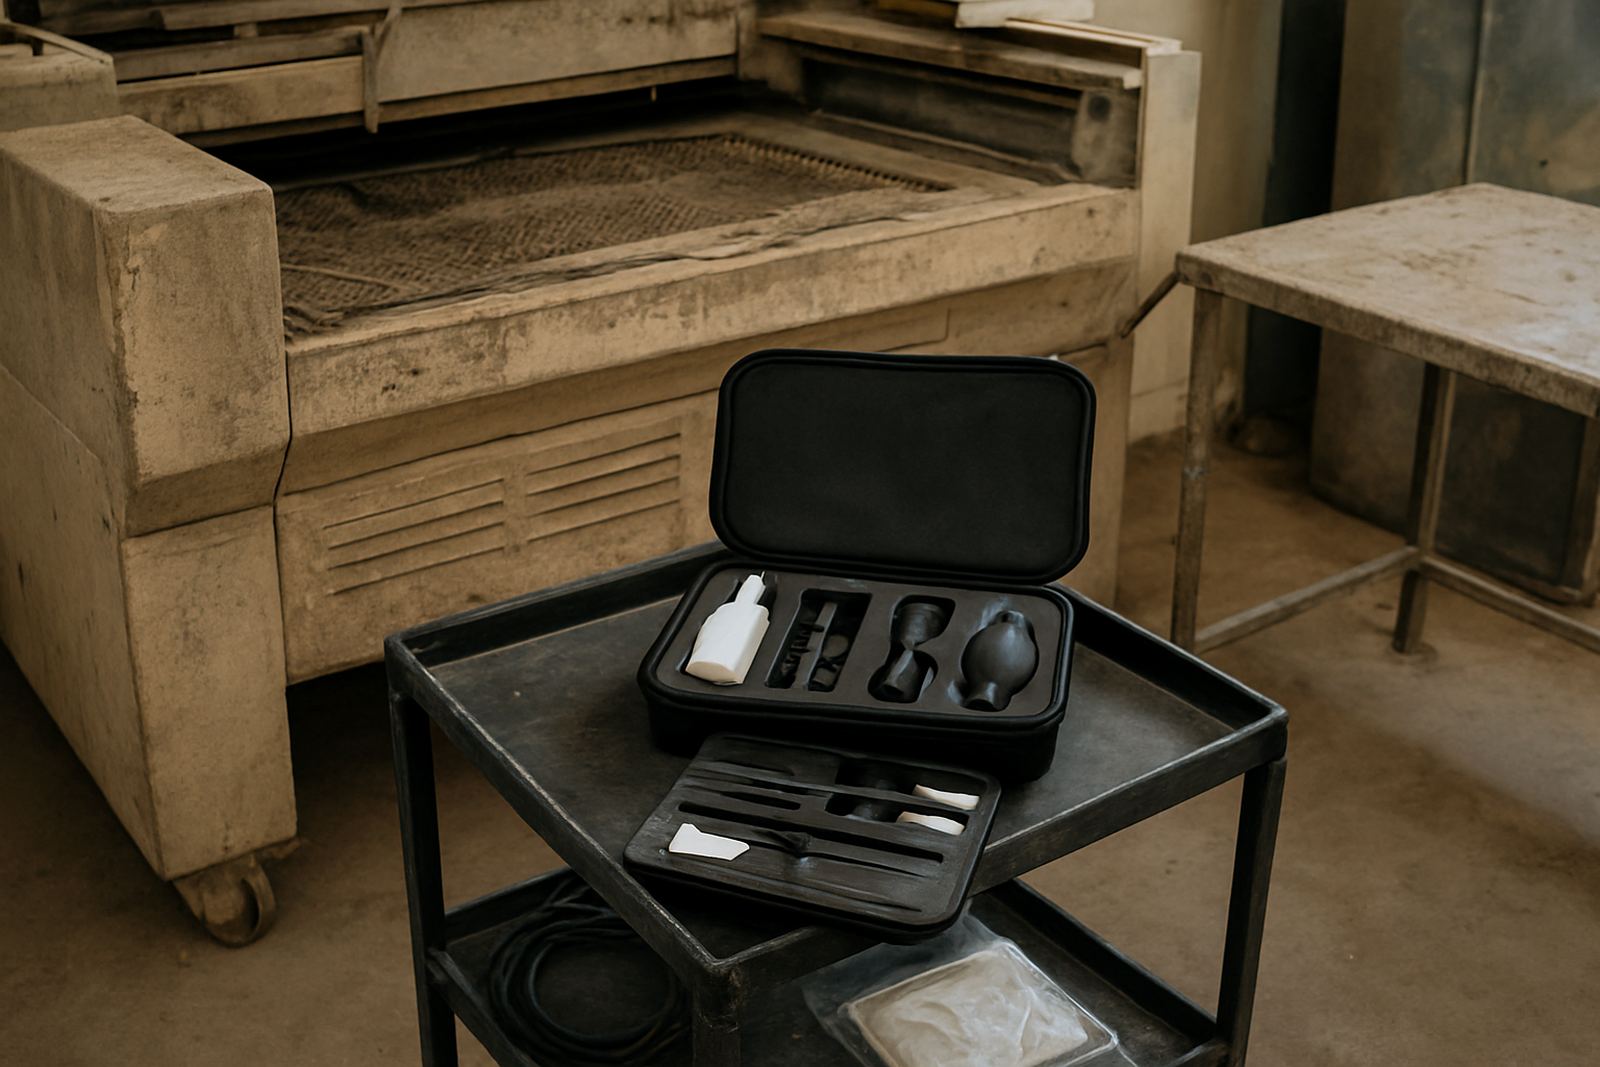
You cannot avoid every bit of contamination, but you can reduce how quickly it builds up. Good handling, clean compressed air and correct purge settings all help. So does checking the nozzle and seals before they start leaking residue onto the window. A clean machine bay makes a difference too, because fine grinding dust and cutting fume find their way into the head very easily.
Simple habits help extend consumable life and keep cuts consistent:
- Store spare windows sealed and dry
- Use clean gloves when handling optics
- Check purge air and gas delivery for leaks
- Inspect the nozzle and holder after every collision
- Clean the cutting area regularly, not just when faults appear
If the window keeps going dirty too fast, there is usually an underlying cause that needs proper diagnosis. Sorting that cause early keeps the machine cutting and avoids wasting parts that should have lasted much longer.