When a head crash starts showing on the job
A laser head crash can happen in a split second, but the signs often show up over the next few cuts. A nozzle may drag across the sheet, the head can lose its clean standoff, or the beam may start cutting unevenly on corners and thicker material. In a busy shop, those changes are easy to blame on material quality or gas pressure, yet a knocked head is often the real cause.
For workshops in Boksburg, Johannesburg, Pretoria and beyond, the key is catching the problem early. A head that has taken a knock can still run, but it may be running out of line. That can lead to scrap, extra consumables and more wear on the cutting head parts. If the machine has had a collision, treat the next few parts as evidence, not guesswork.
Visual signs on the nozzle and cutting head
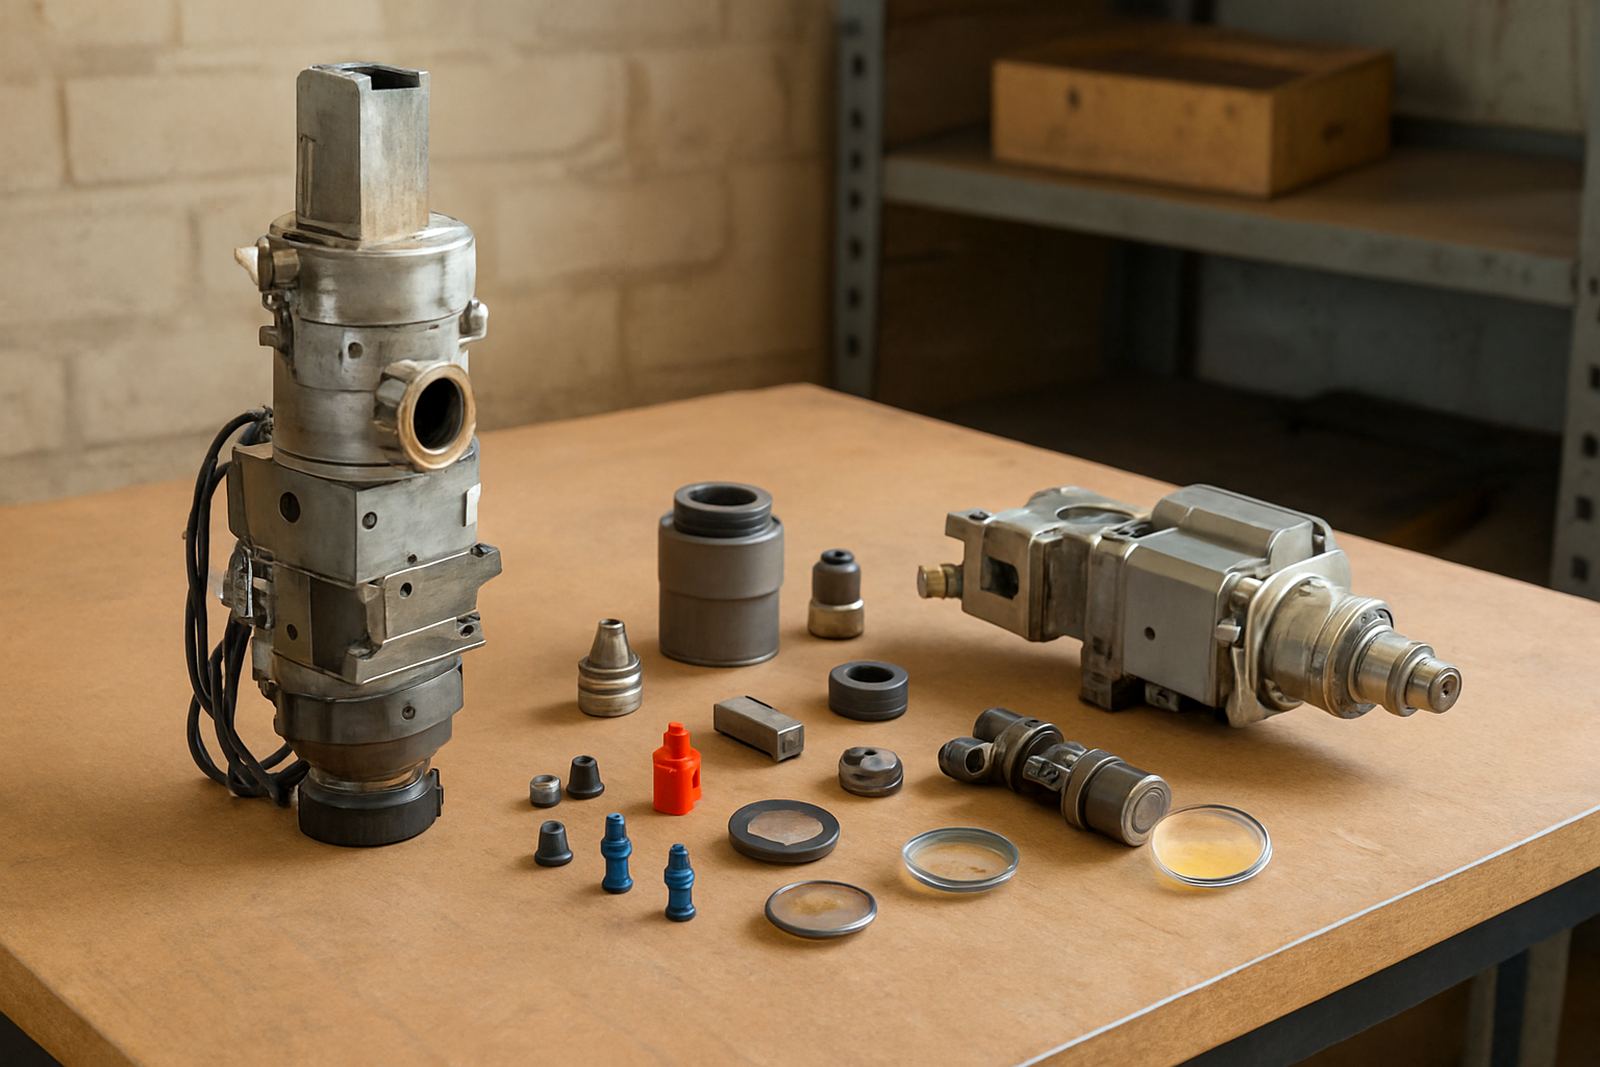
The fastest checks are often right in front of you. Look at the nozzle, the ceramic holder, the sensor ring and the protective window area. Even a light impact can leave small dents, scorched edges or a nozzle seat that no longer sits square. If the head was struck hard, the body may show fresh marks where it touched a lifted sheet, clamp, or offcut.
- Rounded or damaged nozzle tip
- Scratch marks on the head body or ceramic holder
- Dust, spatter or smoke marks around the nozzle face
- Window contamination that appeared after a crash
- Sensor ring that no longer looks centred
If a protective window fails soon after a crash, the problem is not always the window itself. A shifted head can allow spatter or reflection to hit the window in the wrong way. That is why head alignment and internal cleaning matter after any contact event.
Cut quality changes that point to impact damage
When the cut changes after a collision, the symptoms are usually clear to an experienced operator. Kerf width may vary across the sheet, edges can become rough, and piercings may start leaving heavy blowback. On fibre systems, you may see dross at the bottom edge where there was none before. On CO2 machines, the cut can look unstable, with uneven burn marks or weak corners.
Watch for the following:
- Extra dross on mild steel or stainless
- Rounded corners where sharp corners were clean
- Failed pierces or delayed pierce timing
- Burn marks that move from one side of the cut to the other
- Need to lower speed or increase power just to finish the job
These symptoms can also appear if gas settings are wrong, but a crash often brings sudden change. If the machine was cutting fine in the morning and the problem started right after a head touch, the collision should be checked first.
Sounds, movement and alarms worth taking seriously
Some signs are not visible on the part at all. A head that has been knocked can make a different sound when it moves, especially during height control or when it crosses small sheet changes. If the axis hesitates, chatters or seems to hunt for focus, there may be mechanical damage or internal misalignment. A machine that was once smooth may start sounding harsher under load.
Operators should also pay attention to alarms and repeat faults. A collision can disturb the head enough to trigger inconsistent sensing, pressure faults or focus errors. In some cases the machine still starts and runs, but the cut path feels less controlled than before.
Do not keep pushing a damaged head through a full shift. Short term it may finish the order, but the extra wear can turn a repair into a much bigger one.
What to check before the problem gets worse
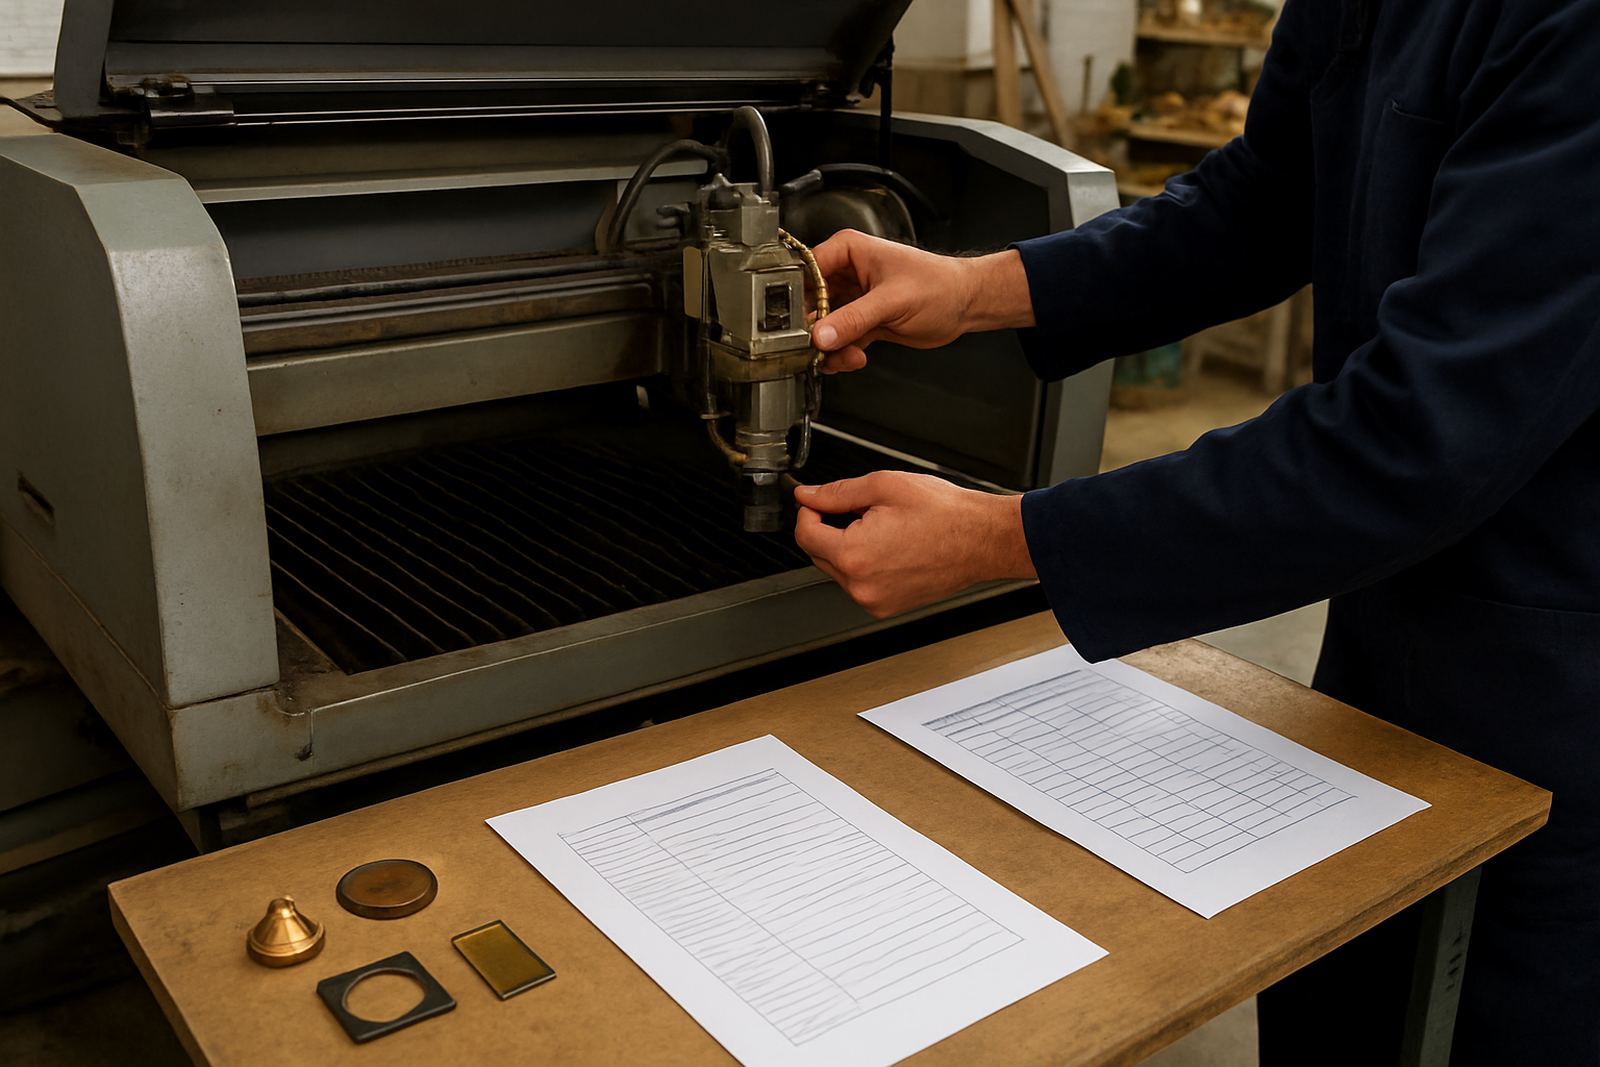
If you suspect a head crash, stop and inspect before the next long run. A proper check can save a nozzle, a lens and several sheets of wasted material. In the workshop, the first step is usually strip and inspection, then a closer look at the damaged parts and the alignment.
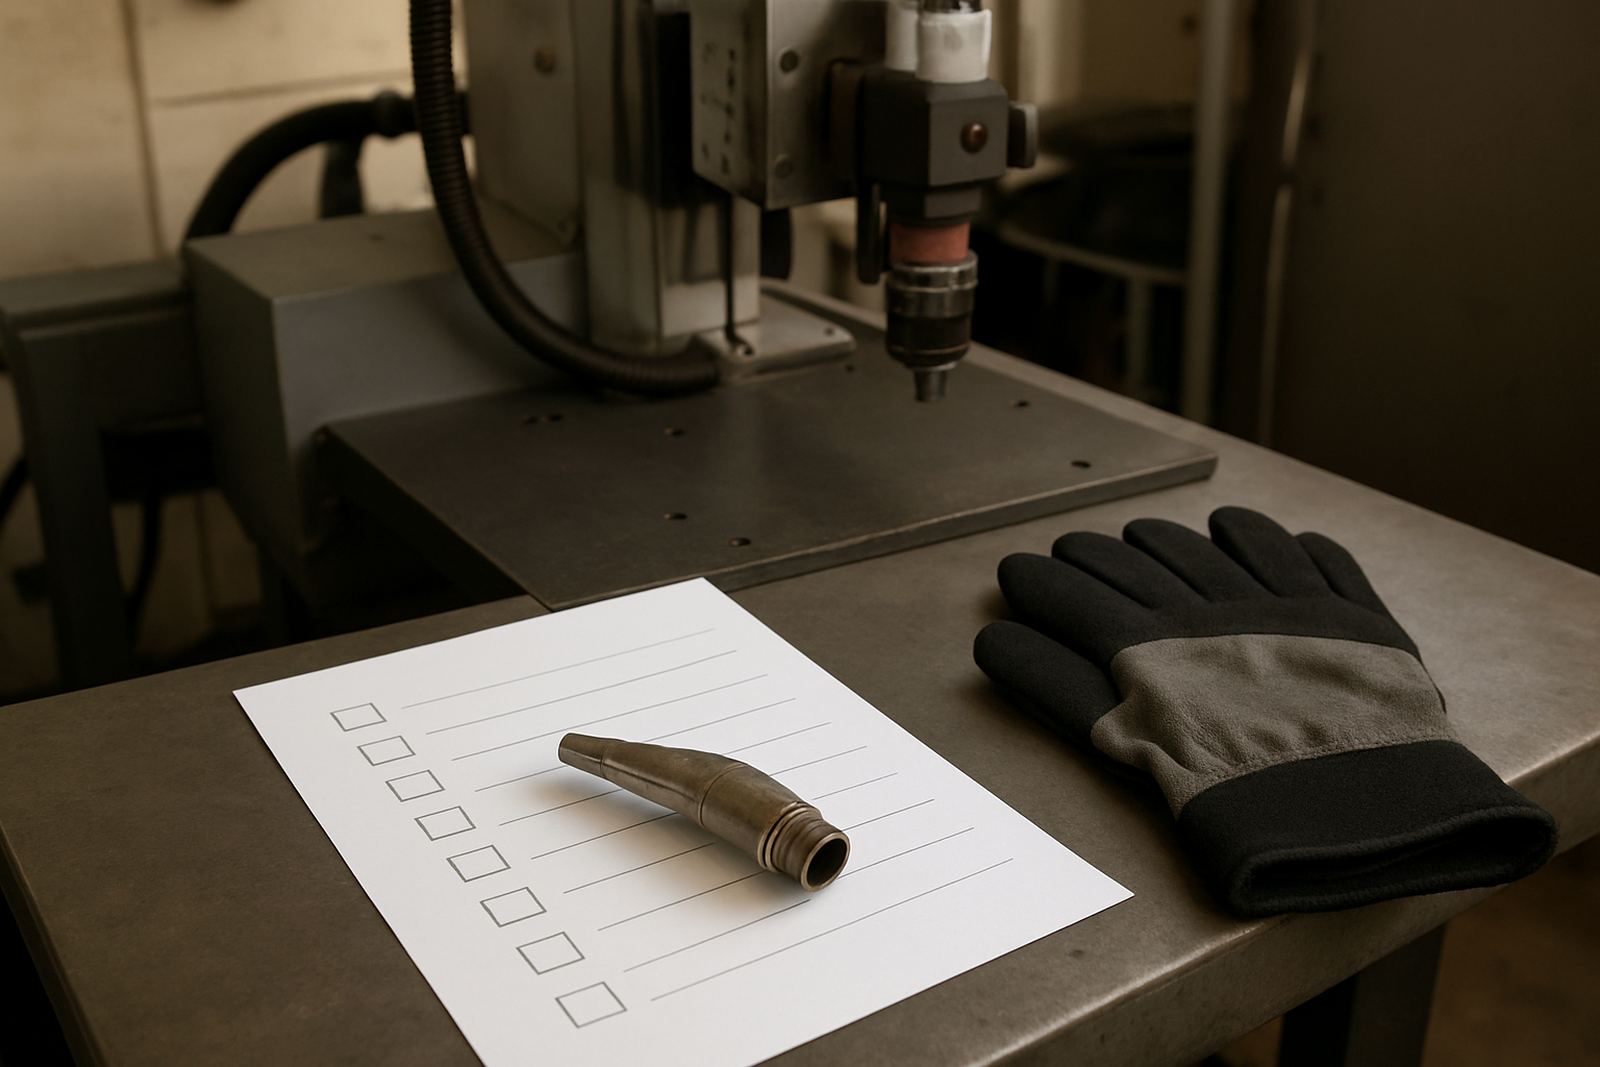
- Check the nozzle for impact marks and blocked orifices
- Inspect the lens and protective window for haze or chips
- Look for shifts in the ceramic holder or sensor ring
- Confirm the head is seated correctly and the mount is not bent
- Test pressure and gas flow before returning to production
It is common for teams to replace only the obvious damaged part, then find the cut still looks poor. That is because a head crash can damage more than one component at once. A careful bench pressure test and return to service test helps confirm the head is working properly before it goes back on the machine.
A local example from a Boksburg fabrication shop
A fabrication shop in Boksburg recently called after a sheet lifted during a fast job and the head clipped the material. The machine still ran, but the operator noticed rough edges on 3 mm mild steel and heavier dross on corners. The nozzle looked acceptable at first glance, yet the sensor ring had shifted slightly and the protective window showed fresh contamination. That small shift was enough to affect the cut.
After bench inspection, the head was cleaned, the damaged consumables were replaced, and the alignment was checked before the machine went back into service. The shop avoided a full day of guessing, and the team was able to get back to production with less scrap. In a city where jobs are often booked tight and power interruptions already eat into time, that kind of quick diagnosis matters.
Why quick repair matters for South African workshops
Across South Africa, workshops work with tight deadlines, load-shedding, shifting shifts and jobs that must leave on time. A damaged laser head can slow a whole line, whether the work is signage, steel fabrication or short-run production. The longer the machine runs in a compromised state, the more likely it is to damage the lens, window or internal components.
That is why practical repair support matters. A good head crash repair is not only about swapping parts. It is about diagnosis, internal cleaning, nozzle seat restoration, alignment checks and getting the head back into stable running condition. If the symptoms are caught early, the repair is usually quicker and less costly than waiting until the cut quality drops too far.
At Laser Ray Tools in Boksburg, the focus is on keeping fibre and CO2 laser machines working properly on the bench and on site for workshops and fabricators across Johannesburg, Pretoria, Vanderbijlpark, Durban and Cape Town.