
Stop the machine first, then check what moved
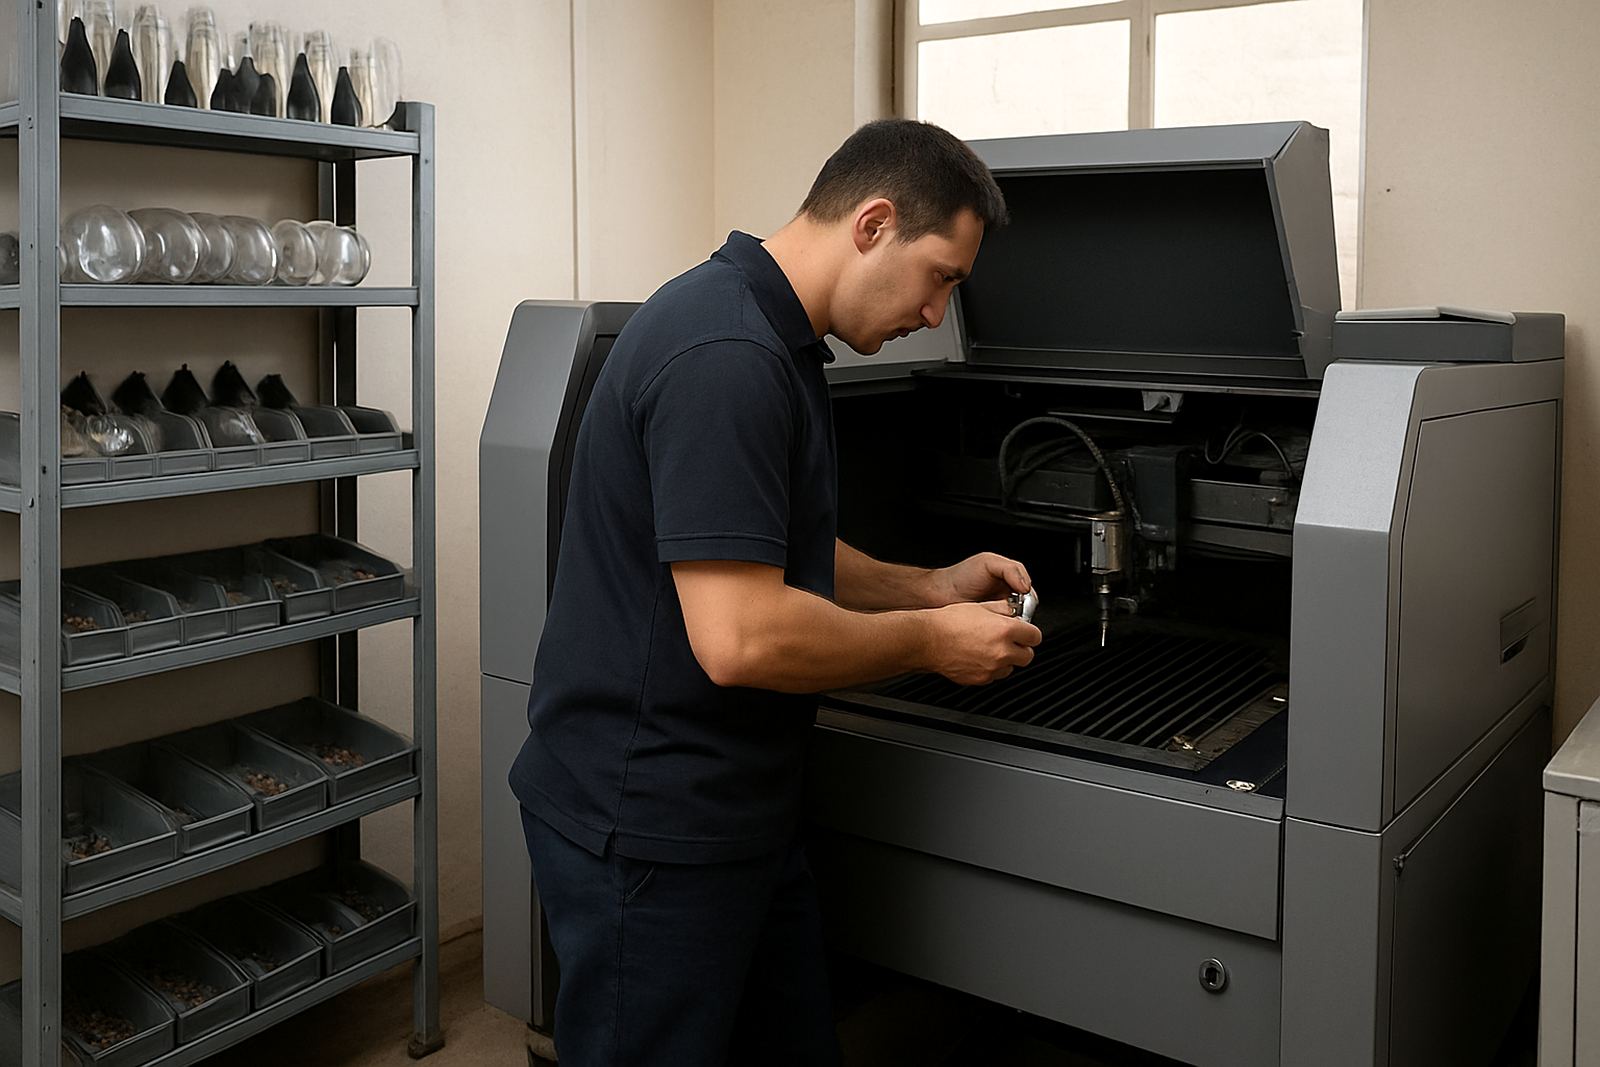
As soon as a collision happens, stop the machine and isolate it before anyone reaches into the cutting area. Do not restart it just to see if it will cut again. A bent nozzle, cracked ceramic holder or loose sensor ring can turn a small event into a bigger repair in minutes.
Start with a visual check while the machine is safe. Look for a torch or head that sits lower than usual, a sheet that has lifted, or a part that has curled up and caught the head. On fibre and CO2 systems, even a light knock can shift the cutting head far enough to affect focus and pierce height, which is why the first inspection matters more than the cut that failed.
- Switch off and lock out the machine before touching the head
- Check whether the nozzle is bent, cracked or marked by a direct strike
- Look for lifted sheet, warped offcuts or clamps that have moved
- Note any alarm, unusual noise or sudden loss of cutting quality
Read the damage from the nozzle outward
The nozzle is usually the first part to show what happened. If it is scored, ovalled or full of spatter, the beam path may have taken the hit. From there, check the nozzle seat, ceramic holder and protective window. A damaged seat can make the head look fine from outside while the beam enters off-centre, and that leads to rough edges or bad piercing.
Do not assume a clean nozzle means the head is fine. A strike can still shift the lens stack, damage the sensor ring or leave fine dust inside the head. In Boksburg and Germiston we often see machines that still home correctly after a collision, but they cut badly because the internal alignment is out by a fraction.
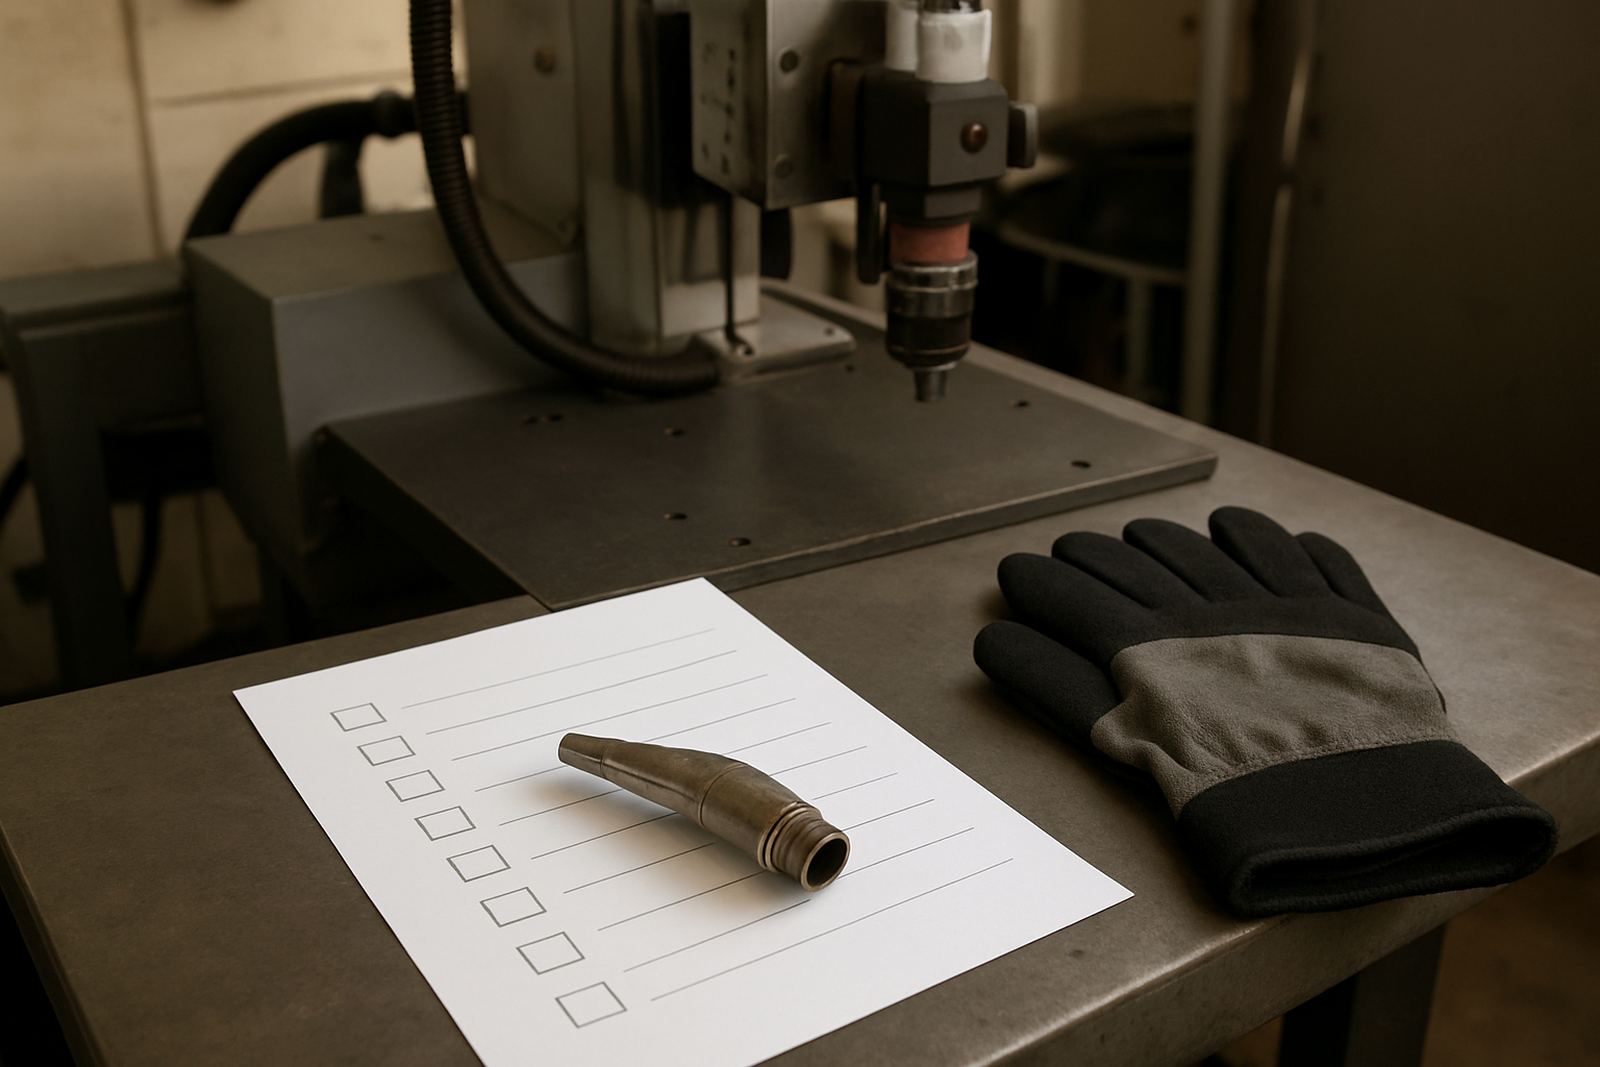
- Nozzle: check for dents, burn marks and blocked apertures
- Nozzle seat: inspect for scoring and loose fit
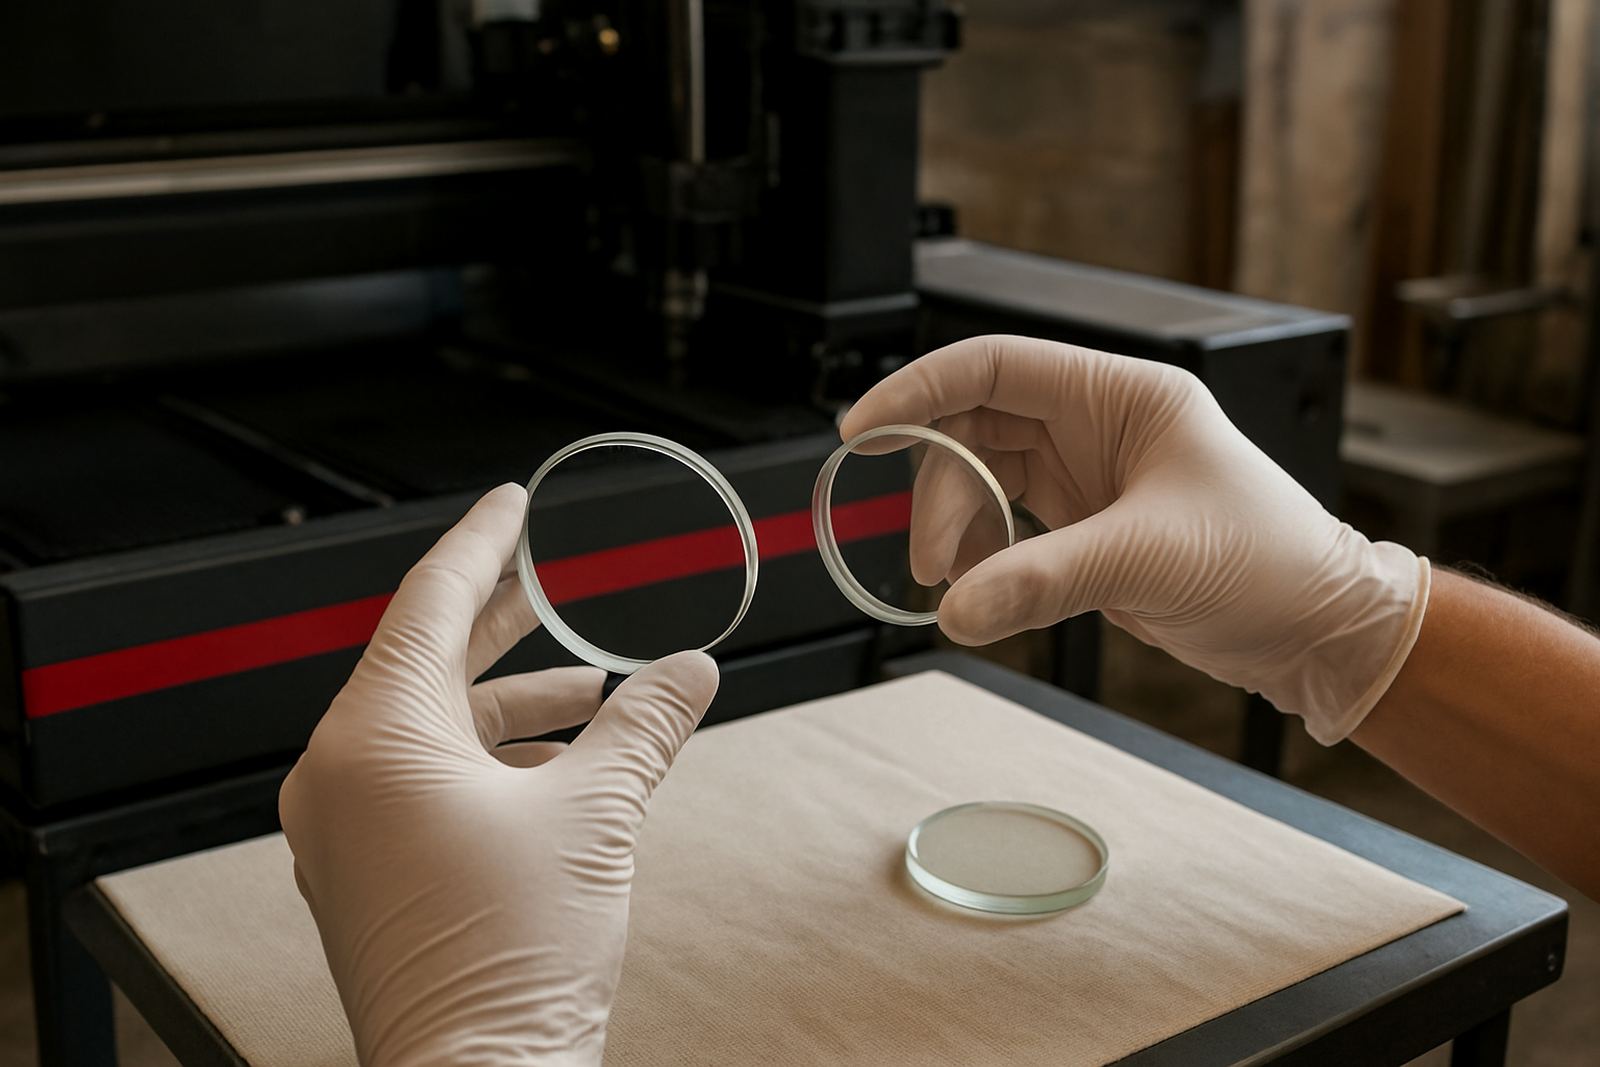
- Protective window: look for haze, cracks or spatter marks
- Sensor ring: confirm it is seated properly and reading correctly
Watch for contamination before you test cut
After a collision, metal dust and spatter can travel farther into the head than operators expect. If you test cut too quickly, you may bake contamination onto the lens or window and make the damage harder to clean. That is why a proper strip and inspection comes before any return to production.
Open the head only if the machine is safe and the work area is clean. Check the gas path for debris, inspect the internal lenses for marks, and make sure the cooling and assist gas connections are secure. If the machine was working near oily sheet, rusted plate or galvanised material, contamination can be worse because residue sticks to hot surfaces more easily.
- Clean the surrounding area before opening the head
- Check the internal lens surfaces for smoke staining or pits
- Inspect gas lines and fittings for loose connections
- Replace any protective window that shows visible damage
Don’t chase settings before the hardware is sound
Many workshops try to solve a collision by changing power, height or speed settings. That can hide the real fault for one shift, but it does not fix the nozzle, lens or alignment problem underneath. If the head has moved, the cut settings become unreliable and the machine starts giving mixed results across different jobs.
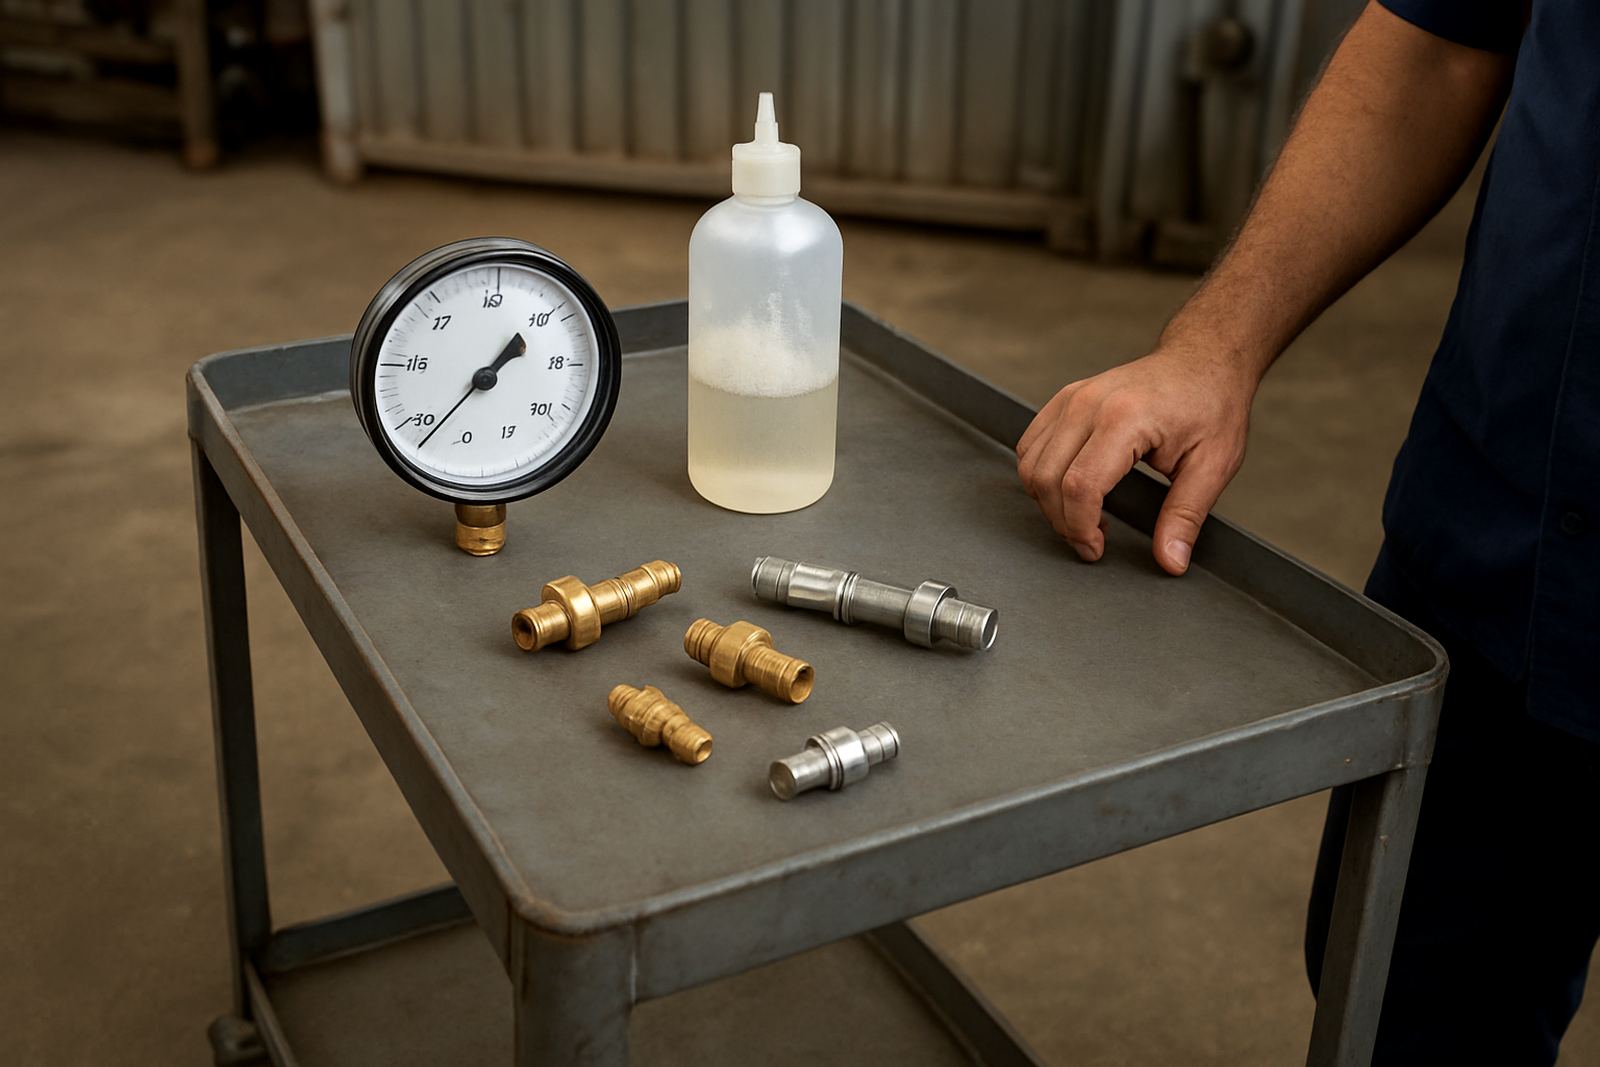
The safer order is simple: confirm the hardware is straight, then check beam position, then test cutting. A proper head alignment check and bench pressure test will show whether the system is delivering gas and beam focus as it should. Once that is back in range, you can return to normal settings with confidence rather than guesswork.
- Do not increase power to force a poor cut through
- Do not keep running after repeated pierce faults
- Do not assume one good sample means the head is aligned
- Do record the settings that were used before the fault
A Durban sheet lift example that saved a head
A job shop in Durban had a 6 kW fibre machine cutting 3 mm mild steel when a lifted sheet edge caught the head during a rapid move. The operator stopped the cycle at once and checked the head instead of continuing. The nozzle was marked, the protective window had a small haze spot, and the ceramic holder had shifted slightly. Because the machine was isolated quickly, the lens was still serviceable and the damage stayed contained.
After strip and inspection, the damaged parts were replaced, the sensor ring was reset, and the machine went through a return to service test before production resumed. The whole point was simple: the team did not try to push through the fault. They protected the cutting head and got back to work the same day, which is what matters when you have orders lined up for Johannesburg, Pretoria or Cape Town customers. It was a close call, but the right first response kept downtime short.
In our experience, sheet lift events are common when clamps are not set properly or offcuts are left too close to the cutting zone. That is why floor discipline matters just as much as the repair itself.
When to call for bench or on-site repair
Call for support if the head is visibly bent, if the machine keeps alarming after a restart, or if cut quality drops even after changing the nozzle. Some faults are quick to sort on site, while others need a bench repair where the head can be stripped, cleaned and pressure tested properly. If the machine is in a tight production window, a fast diagnosis can save a full shift.
From Boksburg, Ekurhuleni we support workshops across Johannesburg, Pretoria, Vanderbijlpark, Durban and Cape Town, plus nearby areas like Kempton Park and Germiston. That matters for fabricators working through load-shedding windows, municipal shutdowns or coastal humidity that can speed up corrosion. A collision repair done late and badly can cost more than a proper one done early.
- Use on-site support for quick checks and safe recommissioning
- Use bench repair when the head needs full strip and inspection
- Replace worn nozzles, lenses and protective windows as a set when needed
- Keep the machine out of production until the return to service test is passed
What to note before the technician arrives
Good notes save time. If you can tell us what happened, where the head was, and what the machine did after the strike, the fault can be narrowed down faster. Small details like a changed sound, a sudden alarm or a repeated pierce failure often point to the part that moved first. Even a missing comma in the incident log wont change the repair, but the details still help.
Before the visit or collection, keep the machine safe and note the following:
- The material being cut and its thickness
- Whether the sheet lifted, warped or tipped
- The exact fault message or alarm on screen
- Any part already replaced by the workshop
- Whether the issue started after a nozzle strike or a crash into scrap
That is the practical side of collision recovery: stop, inspect, isolate the damage, and only then test. The faster the first response, the better the chance of saving the head and keeping your cutter earning.