
Why protective windows fail sooner than they should
Protective windows are small parts, but they sit right in the firing line. In fibre and CO2 laser systems they take the first hit from fumes, fine dust, oil mist, rebound spatter and occasional contamination during nozzle changes. When a window is marked, hazy or chipped, the beam quality drops and the head starts working harder than it should. That usually shows up as poor edge finish, extra dross, or a machine that suddenly needs frequent rechecks.
In busy workshops across Boksburg, Johannesburg and Pretoria, the biggest causes of early failure are simple: careless handling, poor storage, rushed fitting and not checking the head after a collision. One small scratch can turn into heat build-up around the optic, and then the whole cutting head starts running hot. If the window is being changed too often, the problem is usually upstream, not with the glass itself.
Handle windows like precision parts, not consumables
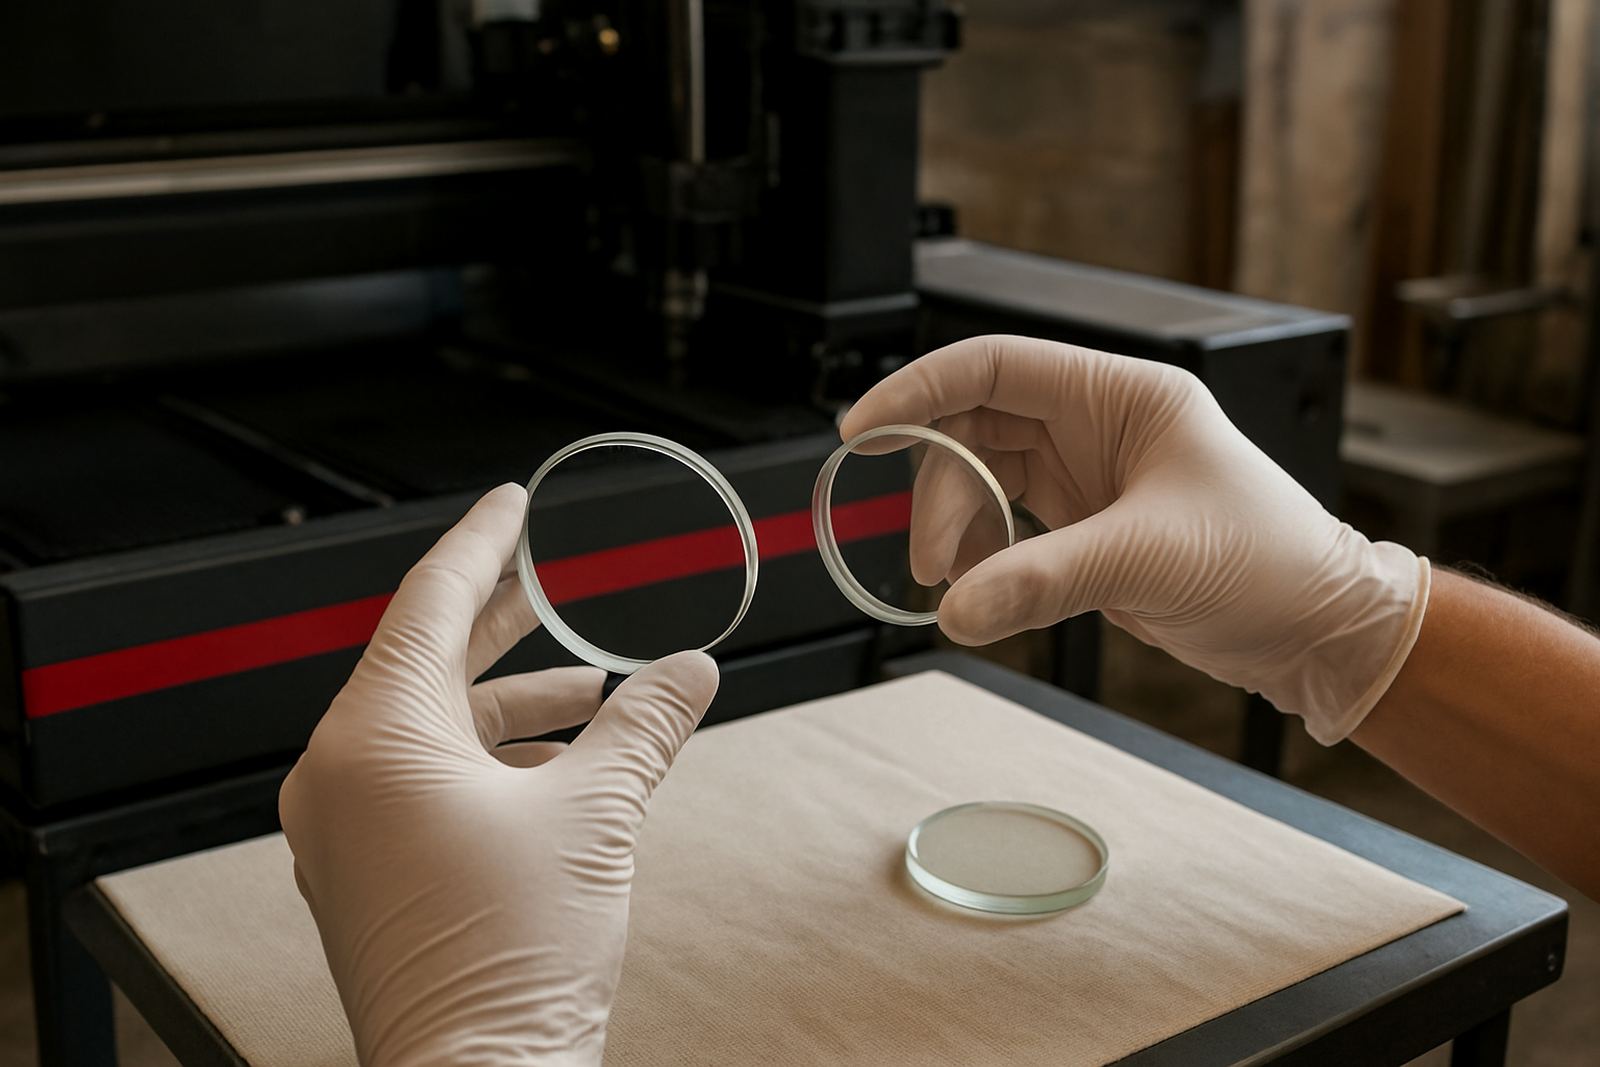
A protective window should be treated as a clean optical part from the moment it leaves the pack. Use powder-free gloves or clean fingers on the edge only, and keep it away from oily rags, grinder dust and compressed-air contamination. Even a fingerprint can bake on during a long shift and leave a patch that is difficult to remove properly.
Good handling habits are not complicated, but they need to be consistent. The team must know where the spare windows are kept, how they are opened, and who is allowed to fit them. In many shops the person doing the change is under pressure to get the machine back into production, so the last step gets rushed. That is usually when a window gets nicked, turned the wrong way round, or fitted into a dirty seat.
- Open the sealed pack only when the machine is ready for refit.
- Hold the window by the outer edge, not the face.
- Never wipe with a dirty cloth or paper towel.
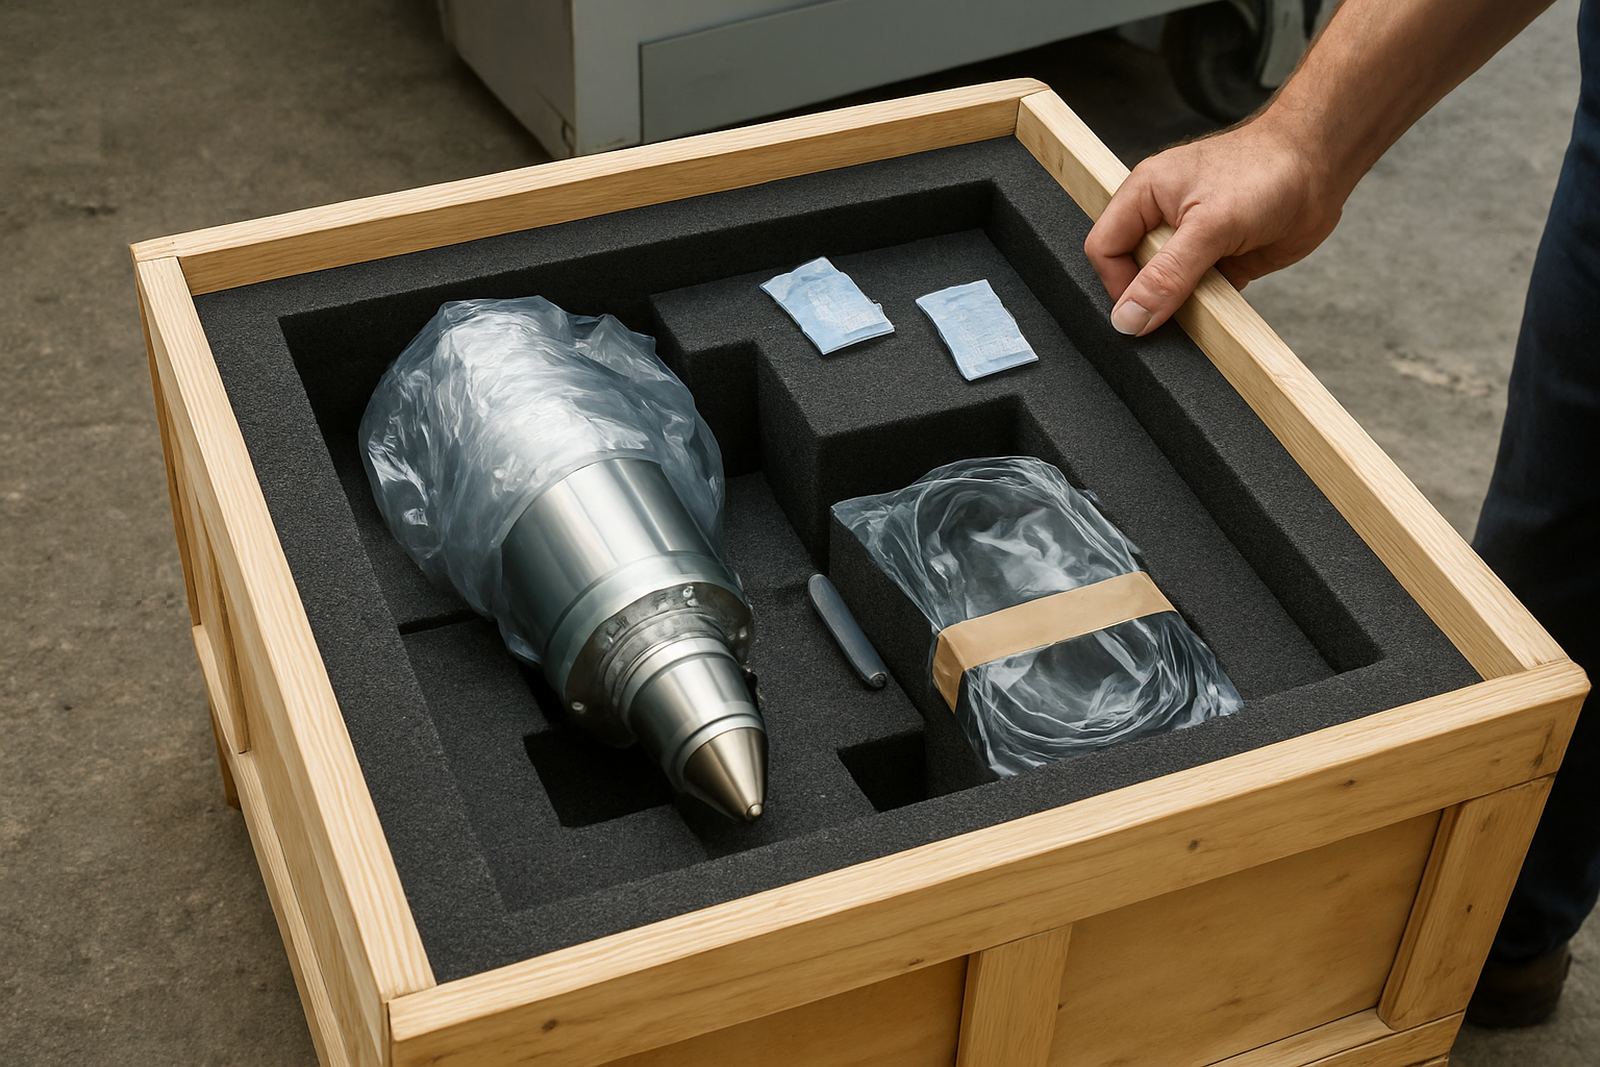
- Keep the spare in a closed, dry container away from grinding areas.
Keep the cutting head clean between changes
A clean cutting head helps the protective window last longer. If dust, soot and nozzle debris are allowed to settle inside the head, that contamination can move straight onto the window during the next change. The seat, holder and surrounding cavity should be checked during every service, especially after a collision or a day of heavy mild steel work.
For shops near the coast, humidity adds another problem. Moist air can leave a film on optics and can also pull fine residue into the head. In Durban, for example, a workshop may notice windows clouding faster during damp weather if the machine is standing open overnight. A simple close-down routine helps: clean the machine area, check the gas path, and make sure the head is sealed before the shift ends. It sounds basic, but it saves parts.
- Inspect the nozzle seat and ceramic holder for fine damage.
- Remove loose dust before opening the optic area.
- Check for oil mist from poor compressed air supply.
- Keep the machine closed when not in use, especially over weekends.
Watch for the hidden causes of repeat window damage
If a protective window keeps failing, there is nearly always a cause beyond normal wear. Look at beam alignment, nozzle condition, pressure settings and the condition of the sensor ring. A misaligned head can put heat and splash where it does not belong, while a worn nozzle can throw debris back into the optic path. After a collision, even a light one, the head may still look fine but the internal run-out is no longer right.
We often see this in job shops where the same machine is cutting mild steel, stainless and coated material in one shift. The window starts failing, then the operator simply replaces it and carries on. That gets expensive. It is better to pause and check the full head condition, because the real fault might be a bent internal part, a dirty gas path or a damaged lens stack. Fixing the cause usually stops the repeat failures.
Set up a sensible replacement routine
There is no single change interval that suits every machine. A protective window in a clean, well maintained system can last much longer than one in a busy fabrication plant cutting dirty plate. The right routine is based on inspection, not guesswork. Train operators to look for a dull haze, a pinhole mark, spatter spots or signs of heat stress around the edge.
Keep a simple record for each machine so the workshop knows how long each window actually lasts. This helps with stock control and stops panic buying. It also makes it easier to spot a pattern, such as one head using windows faster than the others. That kind of record is worth a lot in places where load-shedding and rushed restart procedures already put pressure on production.
- Log the fit date and the reason for replacement.
- Note the material being cut when the damage was noticed.
- Record any collision, dirty cut or gas issue linked to the failure.
- Compare the lifespan across machines to find repeat faults.
When to stop cutting and call for a proper check
Some signs mean the protective window is not the only issue. If cuts start getting rough, pierce quality drops, or the machine shows unusual heat around the head, stop and inspect before more parts are lost. Continued cutting with a damaged optic can turn a small service job into a bigger repair. In the worst case the nozzle, lens and sensor components all take damage at once.
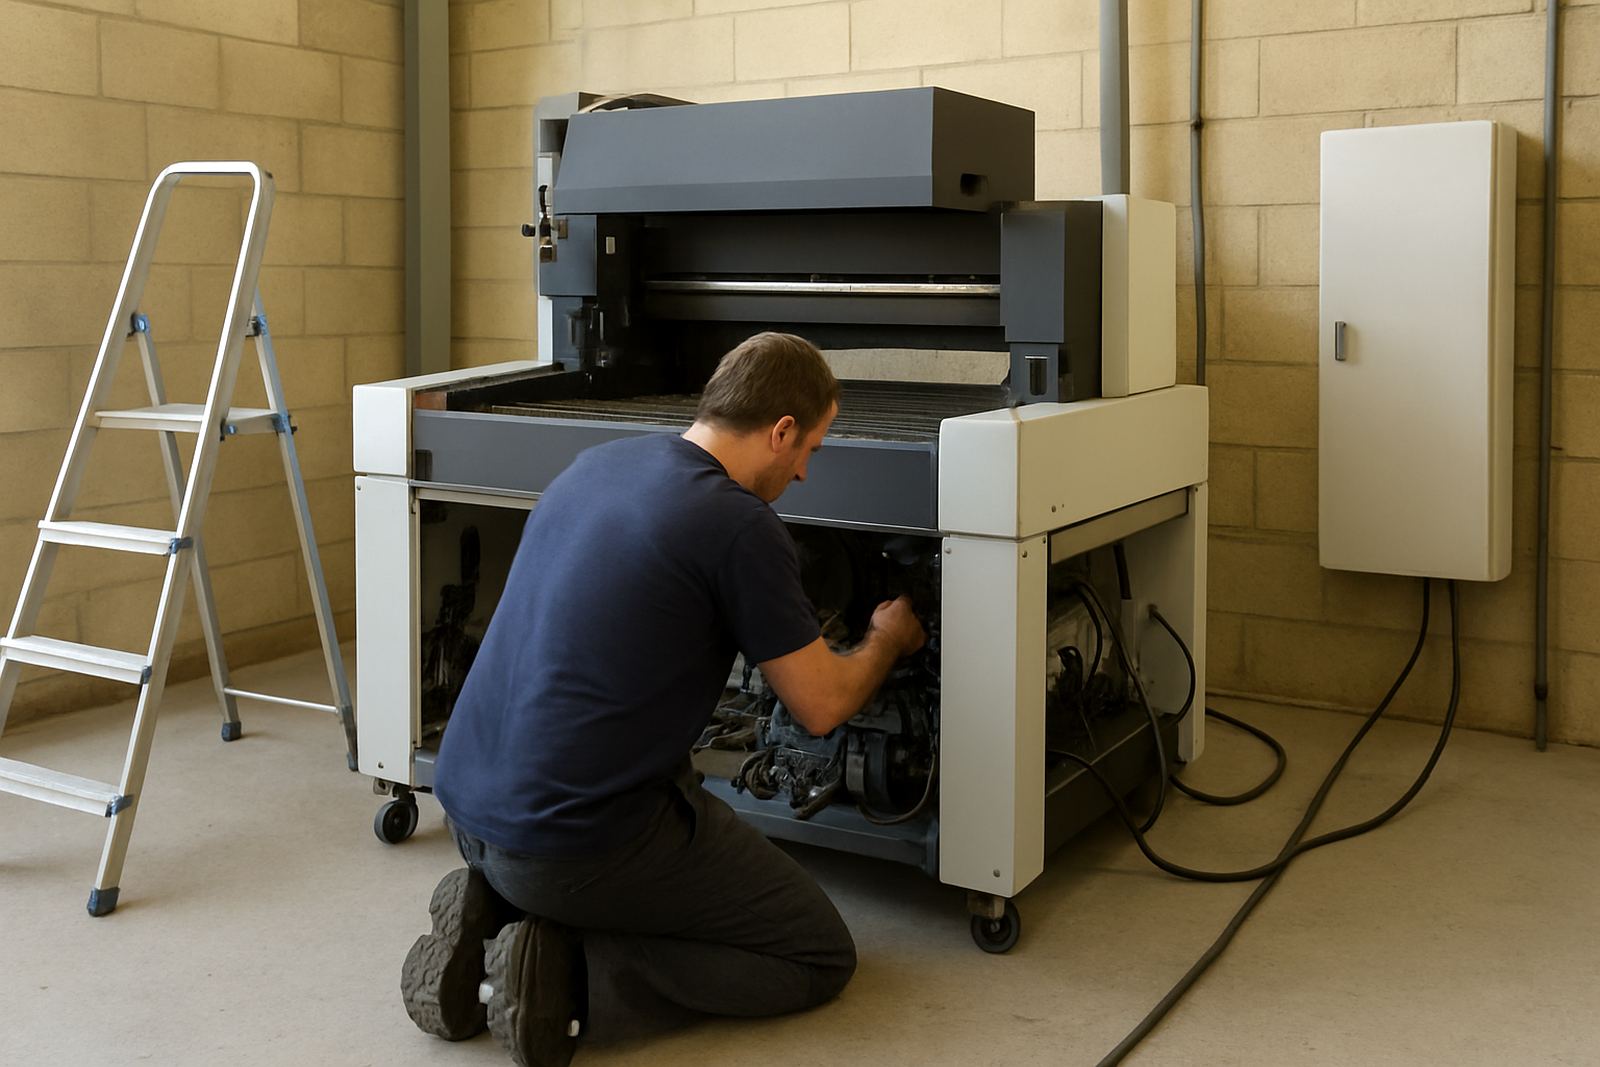
For fabricators in Vanderbijlpark, Germiston and Kempton Park, it often makes sense to have the head checked on the bench when repeat contamination shows up. A bench test can show whether the head is sealing properly, whether pressure is holding, and whether the optic stack is still aligned. On-site checks are useful too when the machine cannot be moved, but a proper bench inspection gives a clearer picture. Better to stop early than keep burning through windows and losing hours of production. That kind of delay hurts schedules fast.
A practical example from a busy fabrication floor
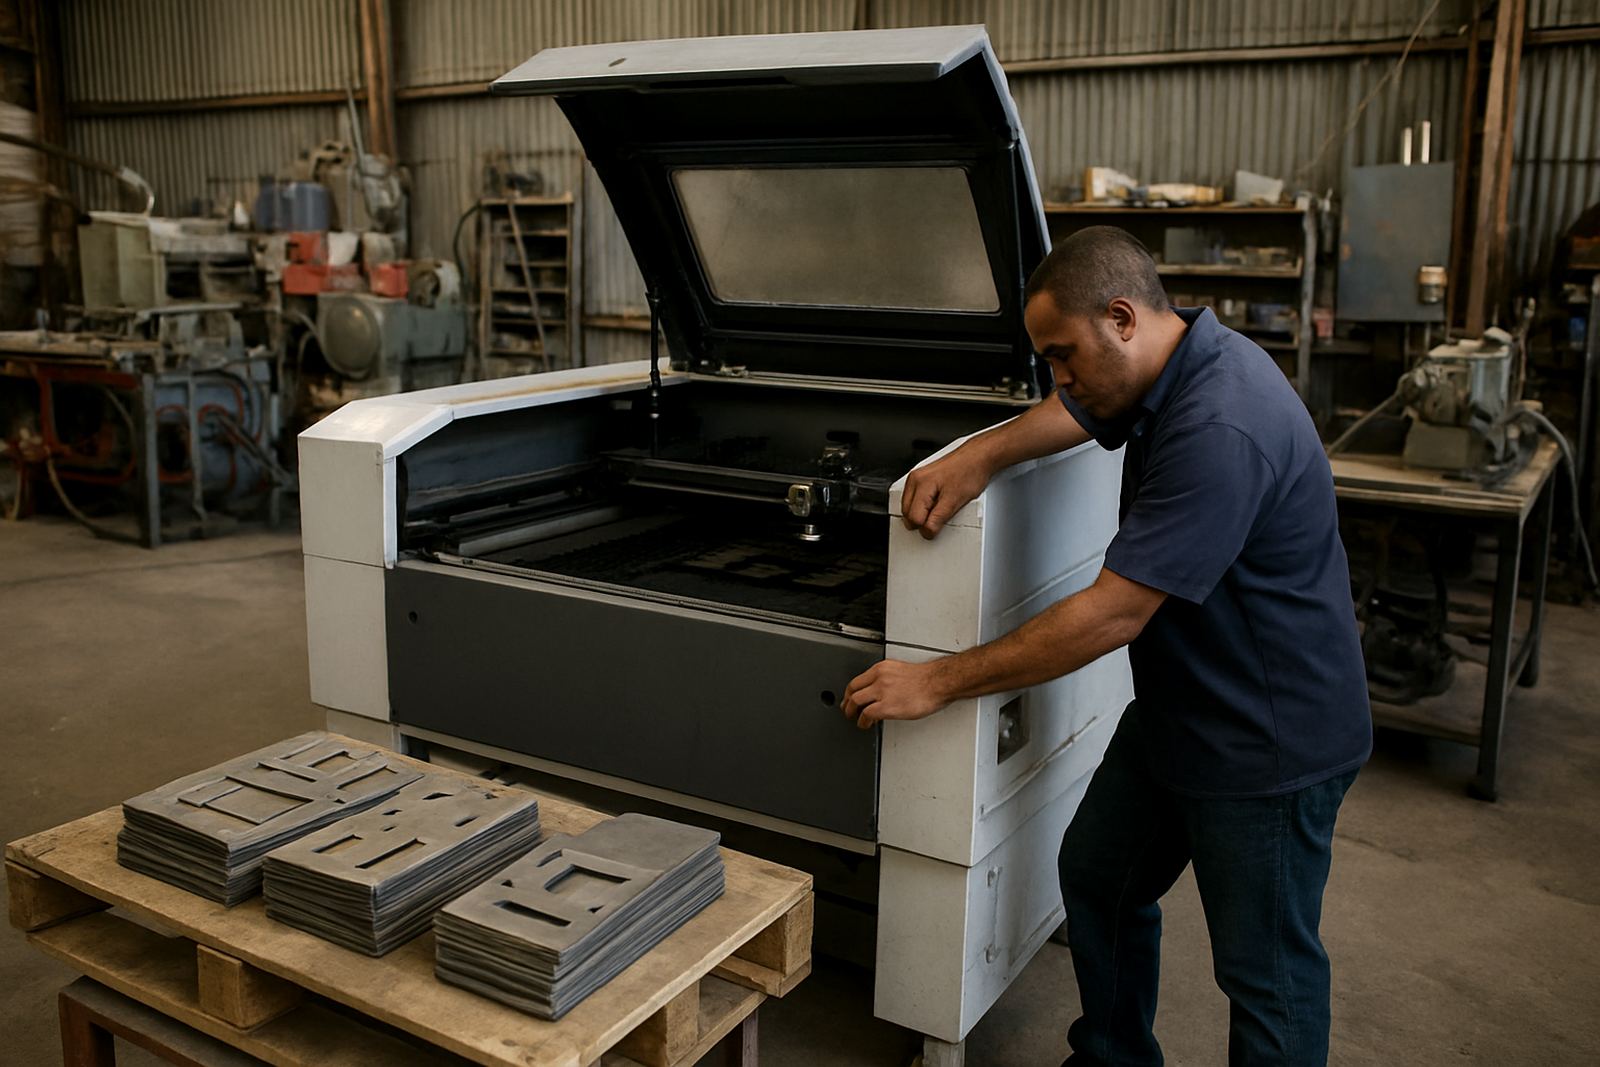
A metal fabrication workshop in Boksburg called in after two protective windows failed in the same week on a fibre cutter. The operator had been changing windows quickly after late shifts, and the head area was not being cleaned properly before restart. The machine was also running near a busy grinding bay, so fine dust was settling into the optic area overnight. The spare windows were fine, but the fitting routine was not.
After inspection, the nozzle seat was cleaned, the ceramic holder was checked, and the head alignment was confirmed. The team also changed the storage method so spare windows stayed sealed until the moment of fitting. Once that routine was in place, the window life improved and the machine stopped needing repeat interruptions. It was not a fancy fix, just disciplined handling and a proper check of the full head. That is usually how these problems are solved.