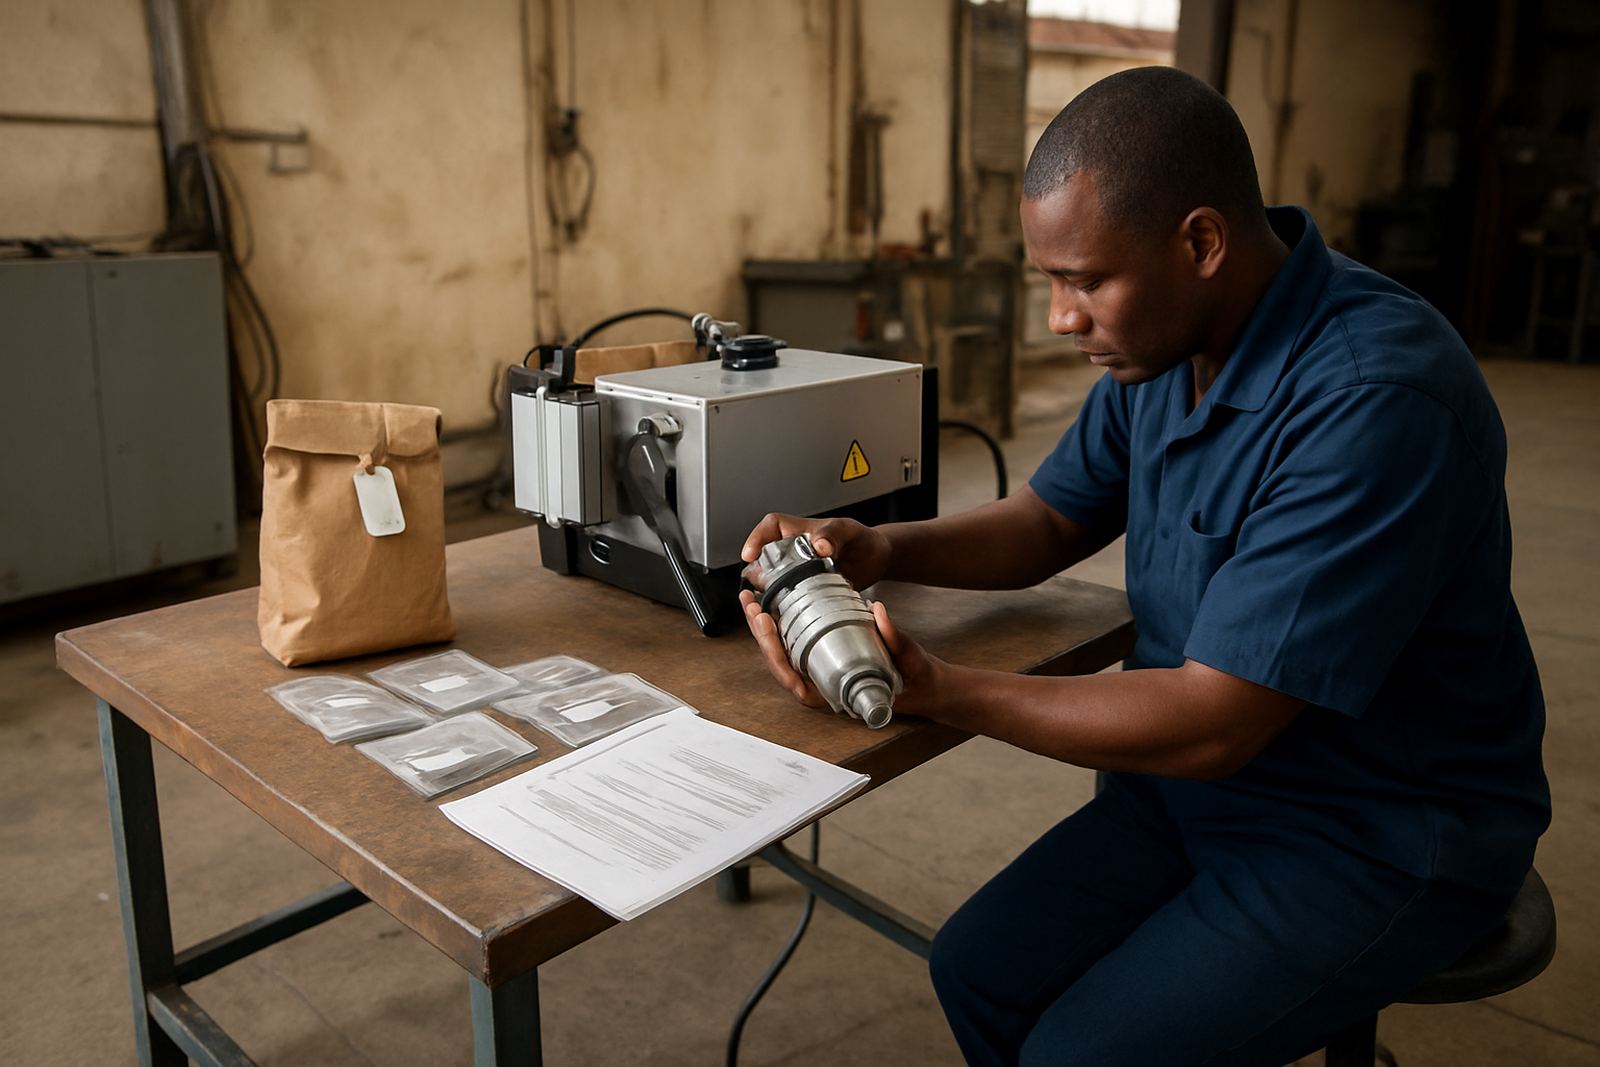
What Comes In With the Head
When a cutting head arrives for bench repair, the first step is to record the machine details, the fault report and any recent event such as a nozzle strike, collision, poor pierce quality or a sudden drop in cut edge finish. That intake note matters because the cause is not always the same as the symptom. A head that looks worn may only need a nozzle seat clean and alignment check, while a head that was hit can need deeper inspection of the ceramic holder, lens position and internal seals.
We also look at what the workshop has already tried. Many issues start after a rushed changeover, dirty assist gas, damp air lines or a power dip during load-shedding. In coastal areas, humidity can add corrosion or contamination inside the head. A proper intake keeps the repair focused and avoids unnecessary part swapping.
- Record serial details, machine type and fault description
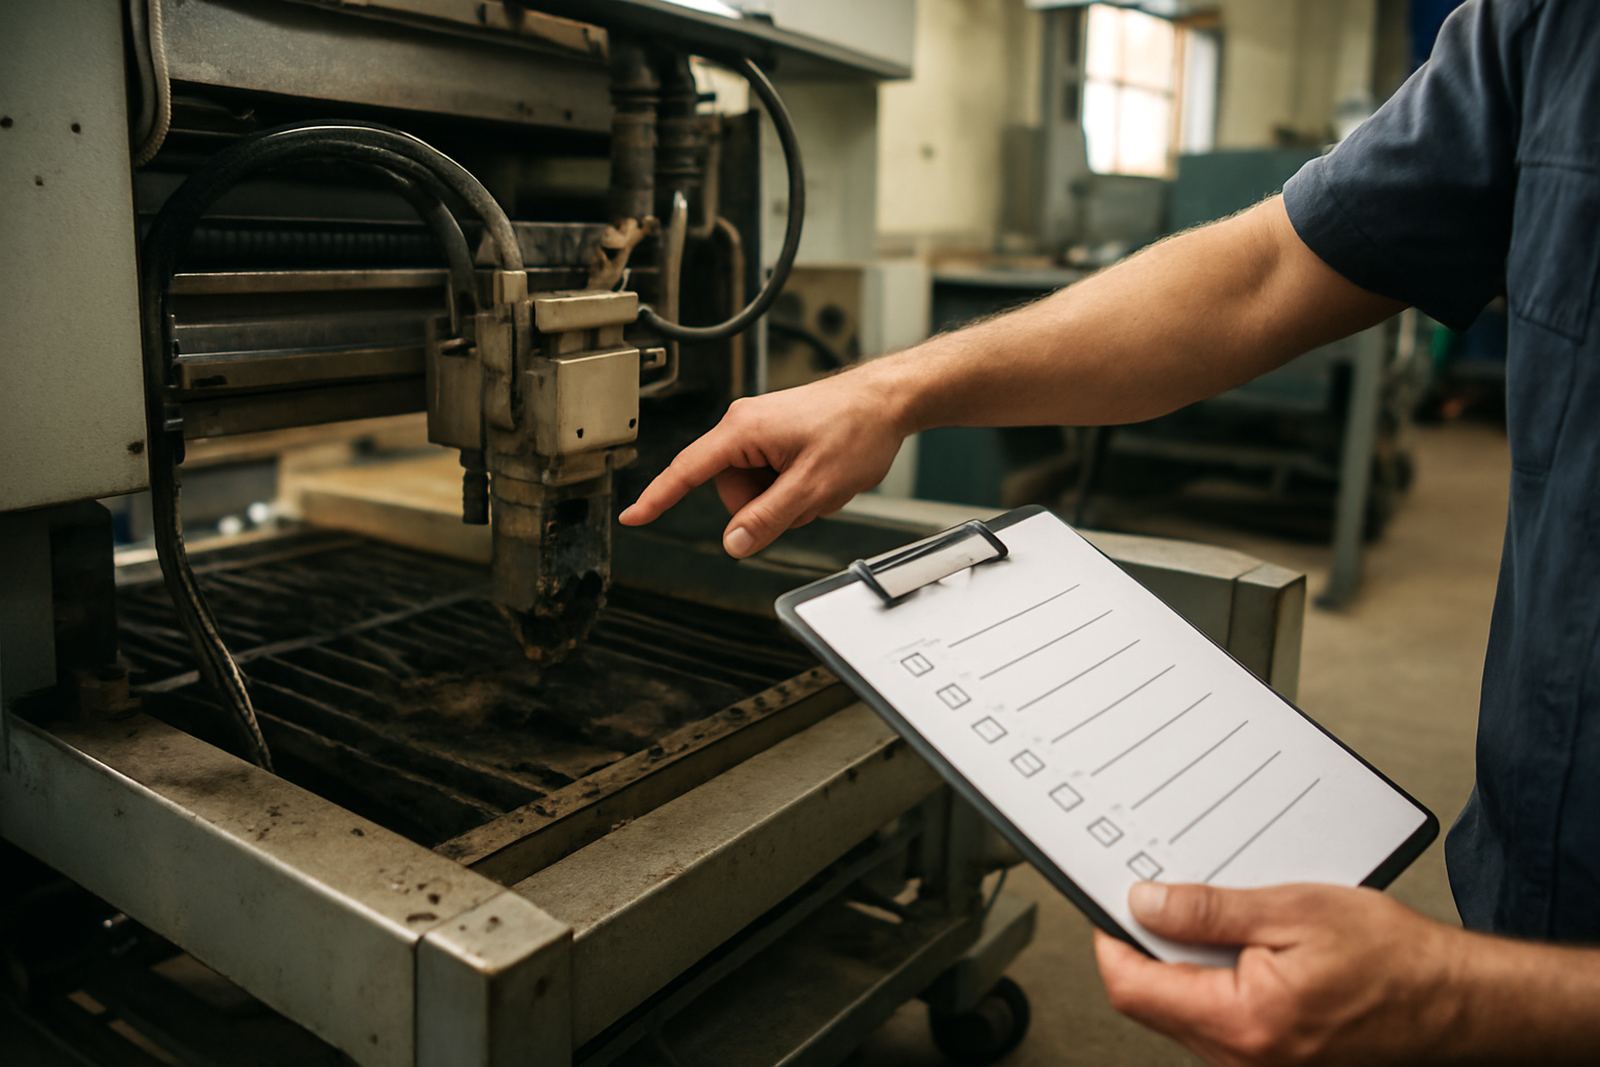
- Check for collision marks, burn traces and loose fittings
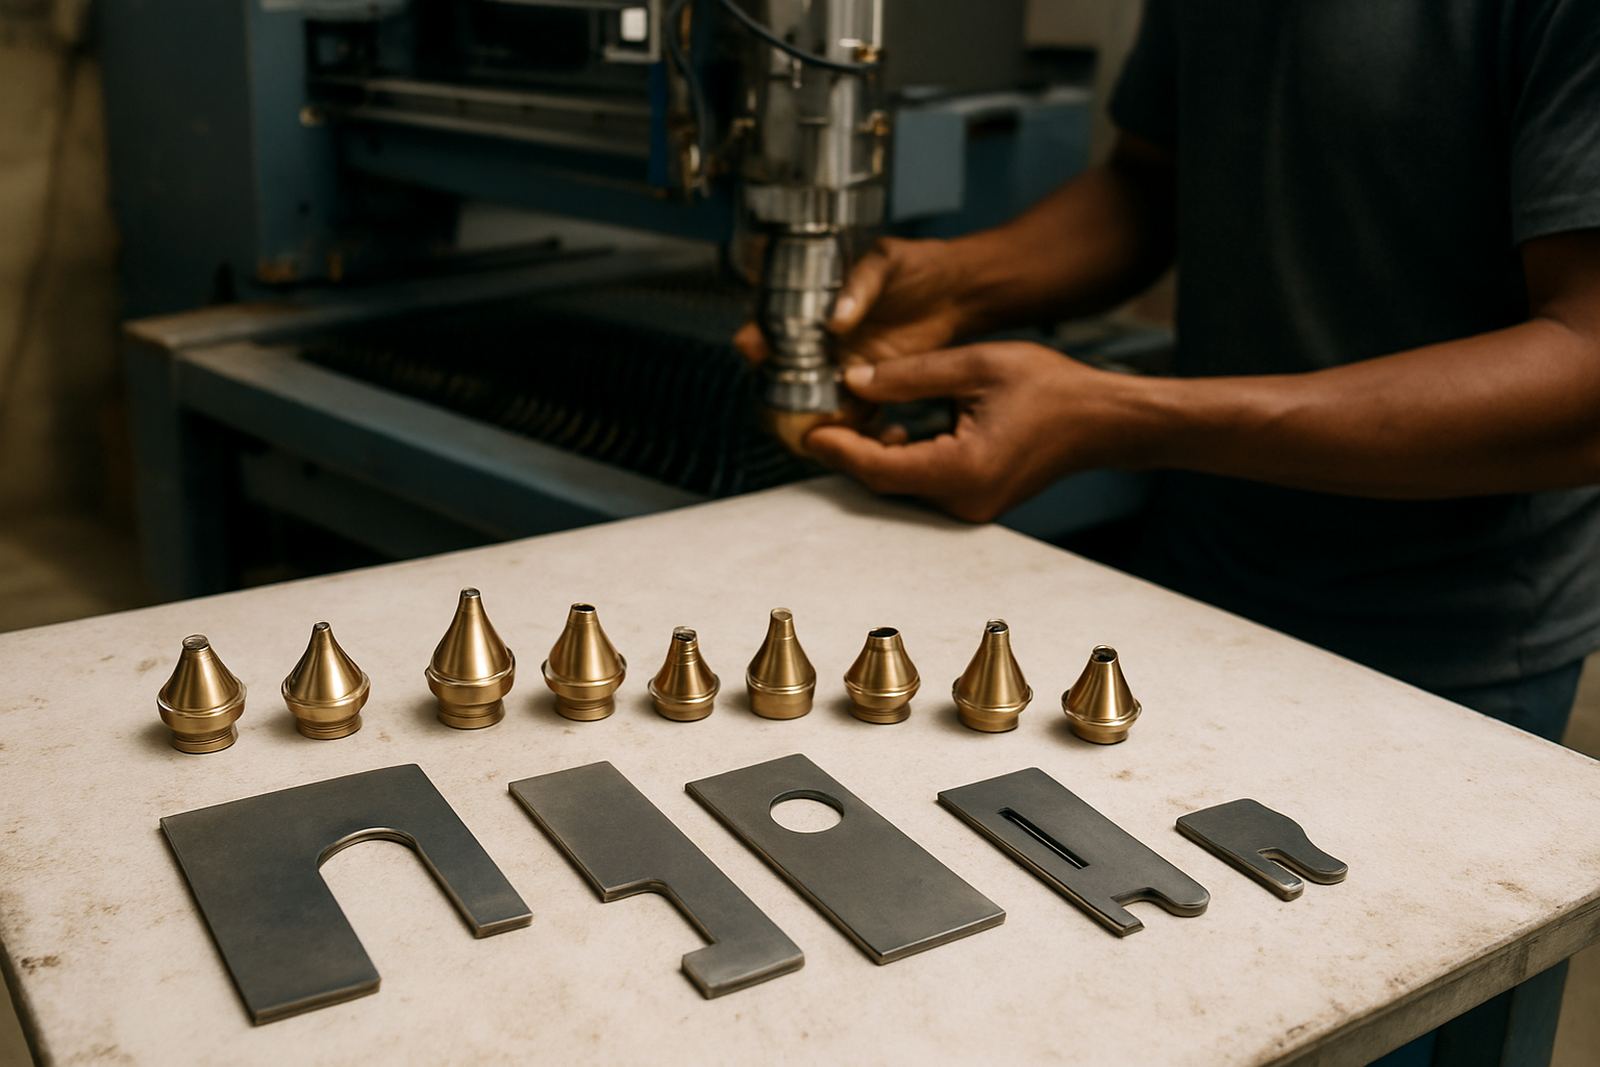
- Note the nozzle type, lens condition and any contamination
- Confirm whether the fault is constant or only under load
Strip Down, Clean and Inspect the Wear Points
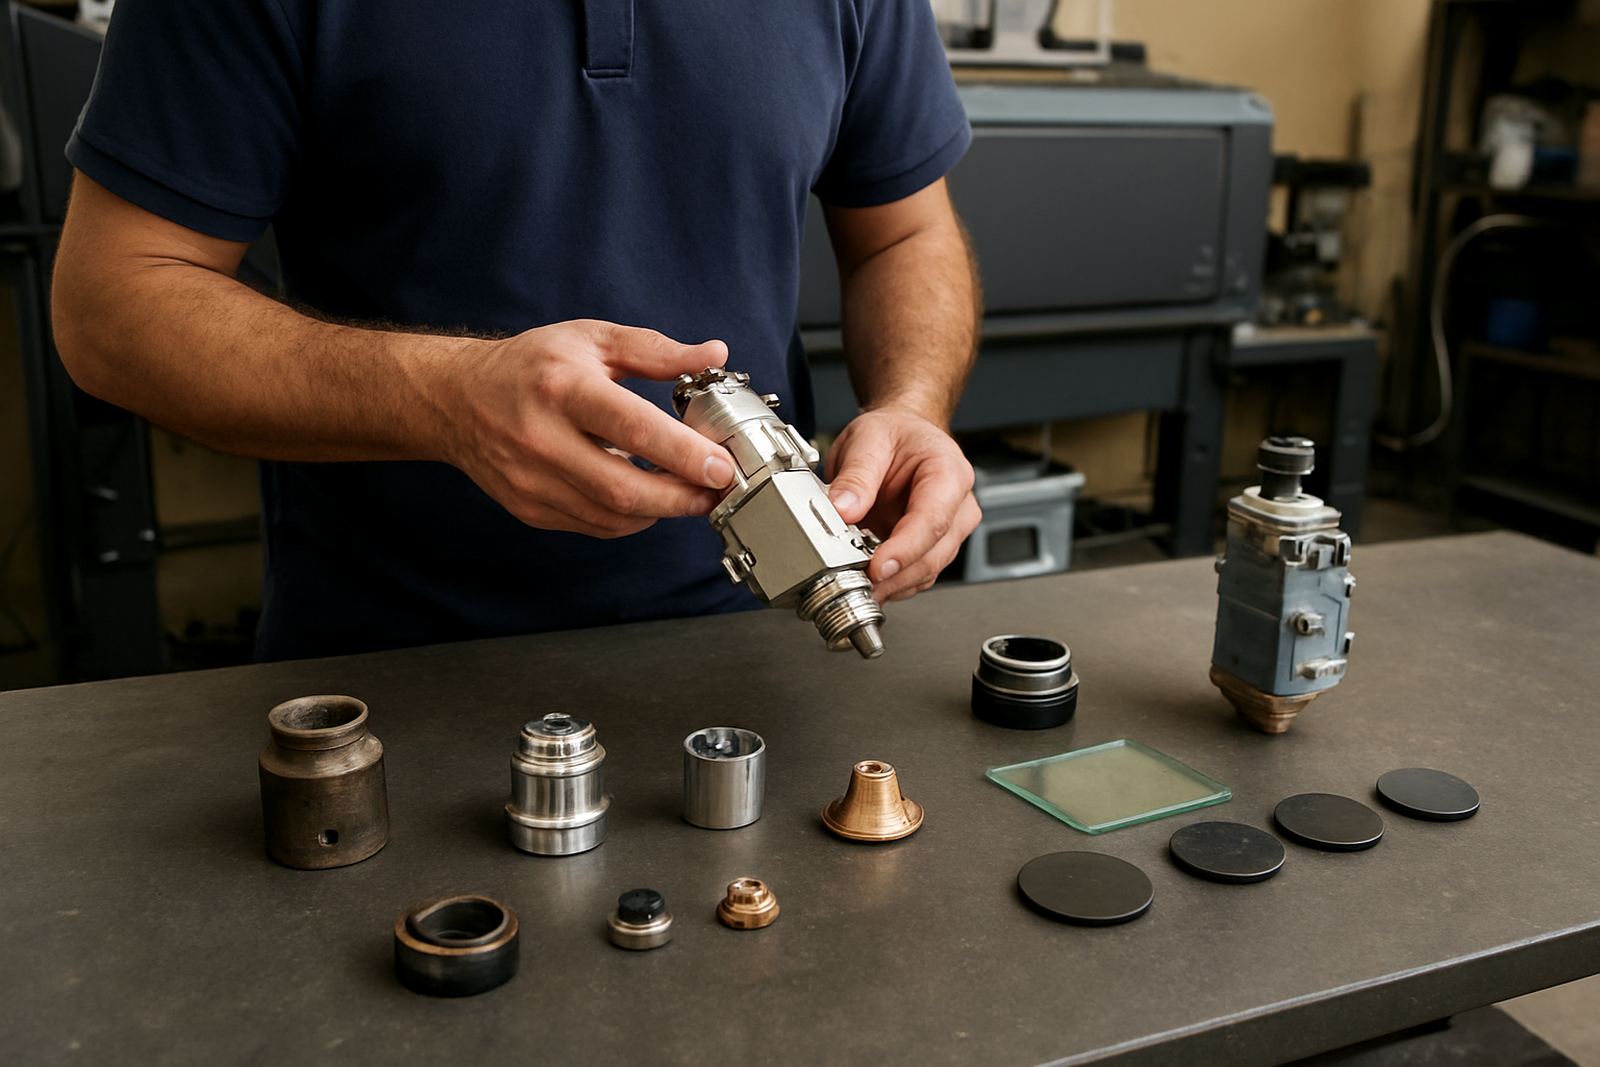
The bench process begins with a controlled strip and inspection. The cutting head is opened in the correct sequence so seals, threads and optical parts are not damaged during removal. Each internal section is cleaned and checked for wear, scoring, dust build-up and gas leakage paths. On many units, the problem sits in small parts like the nozzle seat or sensor ring rather than the main body.
This stage is where experience counts. A small nick on a seating surface can throw off beam position and cause dross, poor kerf width or edge burning. If the ceramic holder is cracked or heat stressed, it is changed. If the internal path is dirty, that is cleaned and tested before any optical parts go back in.
- Strip and inspect the head body, nozzle seat and holders
- Clean internal passages and remove carbon, dust and oil film
- Check seals, threads and mating faces for damage
- Assess whether the head needs repair, replacement parts or both
Optical Parts, Alignment and Collision Recovery
Once the mechanical condition is known, we deal with the optical side. Lens replacement and protective window replacement are done when there is pitting, haze, fracture or edge chipping. These parts do not need to be badly damaged to affect cutting. Even light contamination can reduce power transmission and put extra heat into the head.
If the head has taken a collision, alignment checks become critical. We inspect the beam path, nozzle centre, sensor ring position and head geometry so the beam enters and exits where it should. If the head is bent or the body has shifted, we advise on whether the repair is suitable for bench work or if the machine needs on-site attention as well. The aim is to restore stable cutting-head performance, not just make the part look tidy.
- Replace damaged lenses and protective windows
- Check beam-centre alignment and nozzle position
- Confirm sensor ring condition and fit
- Identify bent parts or collision distortion early
Nozzle Seat, Gas Path and Air Quality Checks
Good cutting depends on the gas path being clean and correctly sealed. If assist gas leaks, cuts can blow back, edges can harden and the head can overheat. During bench repair we inspect the gas path, test the seating surfaces and check for restrictions that could affect pressure and flow. A blocked or dirty path often shows up as unstable pierce quality or inconsistent results across a shift.
We also look at the workshop conditions that may have contributed to the fault. Wet air, poor filtration and dirty compressor output can shorten the life of a head very quickly. In South African workshops where production runs through power cuts and restart cycles, small contamination problems can become repeat failures if they are not corrected at source.
- Inspect the gas path for leaks, restriction and dirt
- Check nozzle seat condition and sealing face quality
- Assess compressed air quality and moisture risk
- Confirm fittings are tight and correctly seated
Bench Pressure Test and Return to Service Test
After the repair is assembled, the head goes through bench pressure testing. This confirms that the seals hold, the gas path behaves as expected and there are no hidden leaks or loose components. We then run a return to service test to check that the head is ready for production use, not just bench handling. That final stage is important because a part can look fine in the workshop and still fail when heat, vibration and cutting pressure are applied.
For job shops and fabricators, this is the part that protects output. A head that passes testing can go back into service with better confidence, which reduces repeated stoppages and emergency call-outs. If the test shows another fault, we stop and report it clearly before dispatch. No guesswork, because guesswork costs time and material.
- Bench pressure test for leaks and stability
- Functional check of assembled head components
- Return to service test before release
- Final fault report if any issue remains
Dispatch, On-Site Support and What to Send With the Unit
Once the repair is signed off, the head is cleaned, packed and dispatched with the relevant service notes. For some clients we repair on the bench in Boksburg, for others we attend on site in Johannesburg, Pretoria, Vanderbijlpark, Durban, Cape Town and nearby industrial areas. That flexibility matters when a line is down and the workshop cannot wait for a full machine strip.
To speed up the process, send the head with as much useful information as possible. A short fault description saves time, and photos of cut samples can help too. If the machine has had recent nozzle changes, power dips or repeated alarm messages, include that detail. It helps us match the repair to the real operating problem, not only the visible damage.
- Send the head, fault note and any damaged parts removed on site
- Include sample cuts or photos where available
- Tell us if the fault followed a collision, power loss or poor cut quality
- Keep the machine history and recent service details together