Stop The Job And Make The Machine Safe
The first rule after a head crash is simple: stop cutting and isolate the machine. Do not keep running parts through the machine to see if it will settle down, because a bent holder, cracked window or shifted head can turn a small collision into a full rebuild. In workshops across Boksburg, Johannesburg and Pretoria, the quickest recovery starts with a clean stop and a clear record of what happened.
Switch off the machine, lock out the energy source if your site procedure requires it, and let the head cool before touching anything. On fibre systems, check that no debris is left in the nozzle area. On CO2 systems, dust and resin can stick to the mirrors or lens mount and hide impact damage. If the collision happened during a long shift or during load-shedding recovery, note that too because poor power stability can affect sensor behaviour and restart conditions.
- Record the date, time and machine ID.
- Note the material type, thickness and program name.
- Save the last cutting parameters used before the crash.
- Take photos of the part, nozzle and head from several angles.
- Keep any broken consumables in a labelled bag.
Check The Visible Damage Before Removing Parts
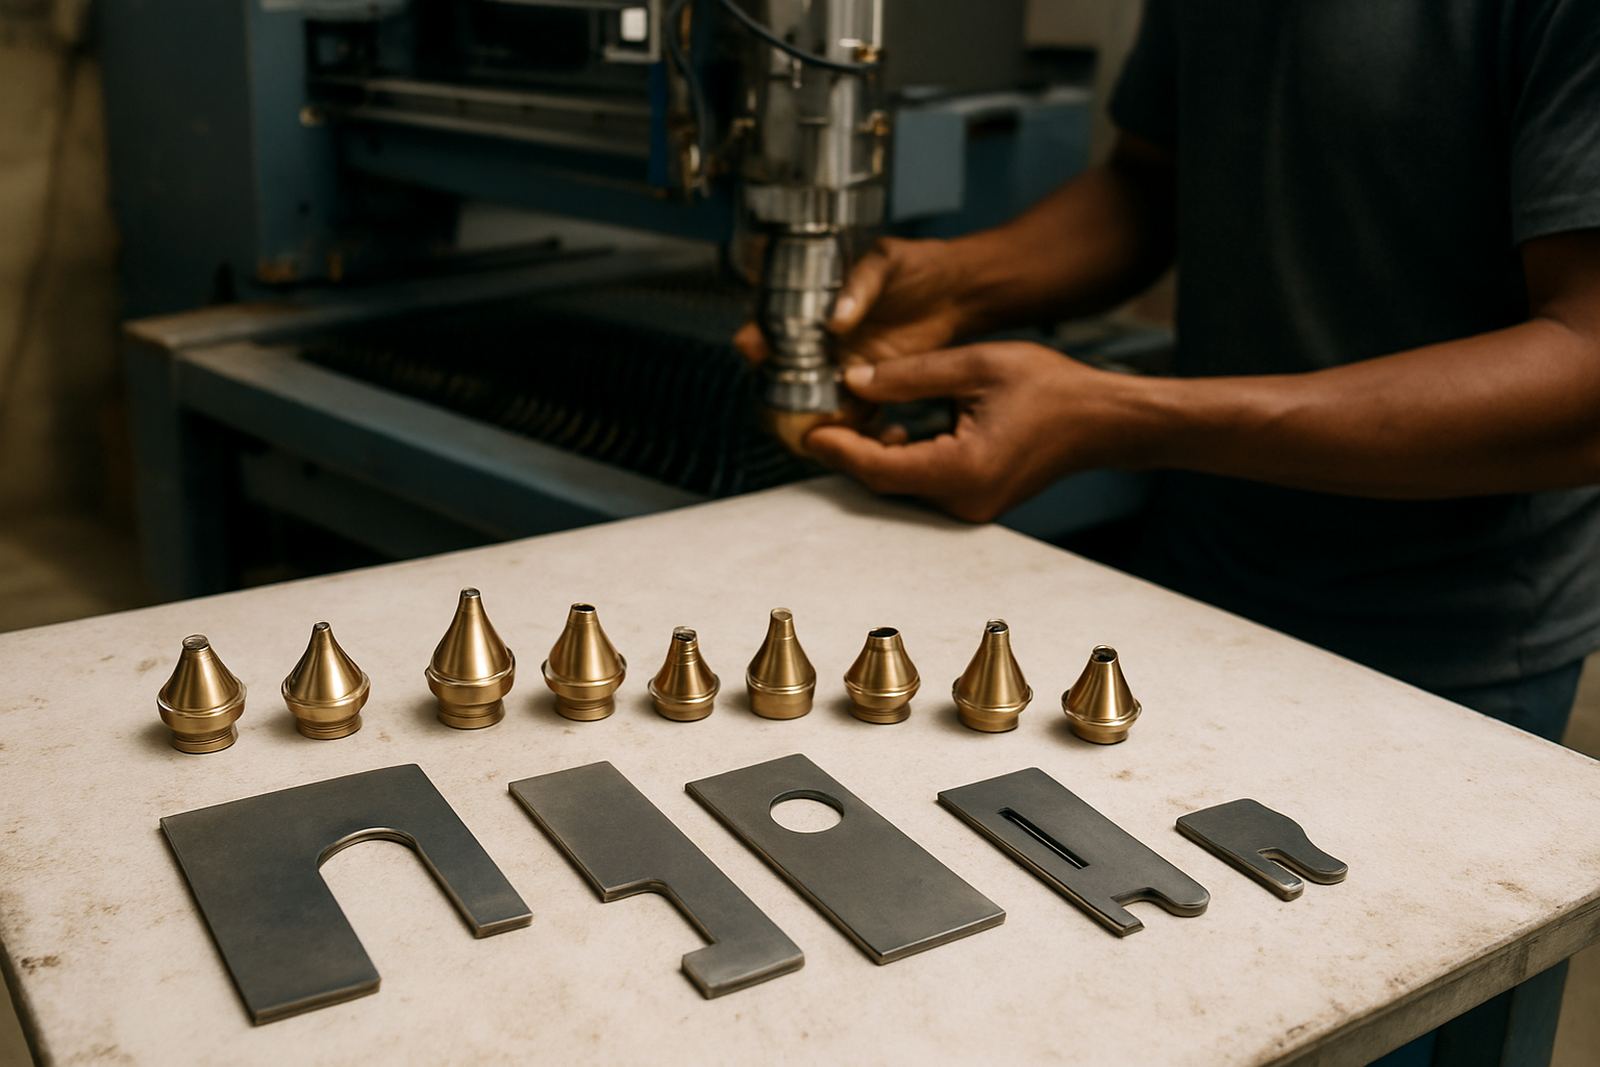
Start with a careful visual inspection. Look for a bent nozzle, chipped ceramic holder, cracked protective window, damaged sensor ring, or signs that the head has been pushed out of line. If the crash was severe, the head body itself may show scoring or impact marks. A small mark on the outside can hide a bigger issue inside the gas path, so do not rely on appearance alone.
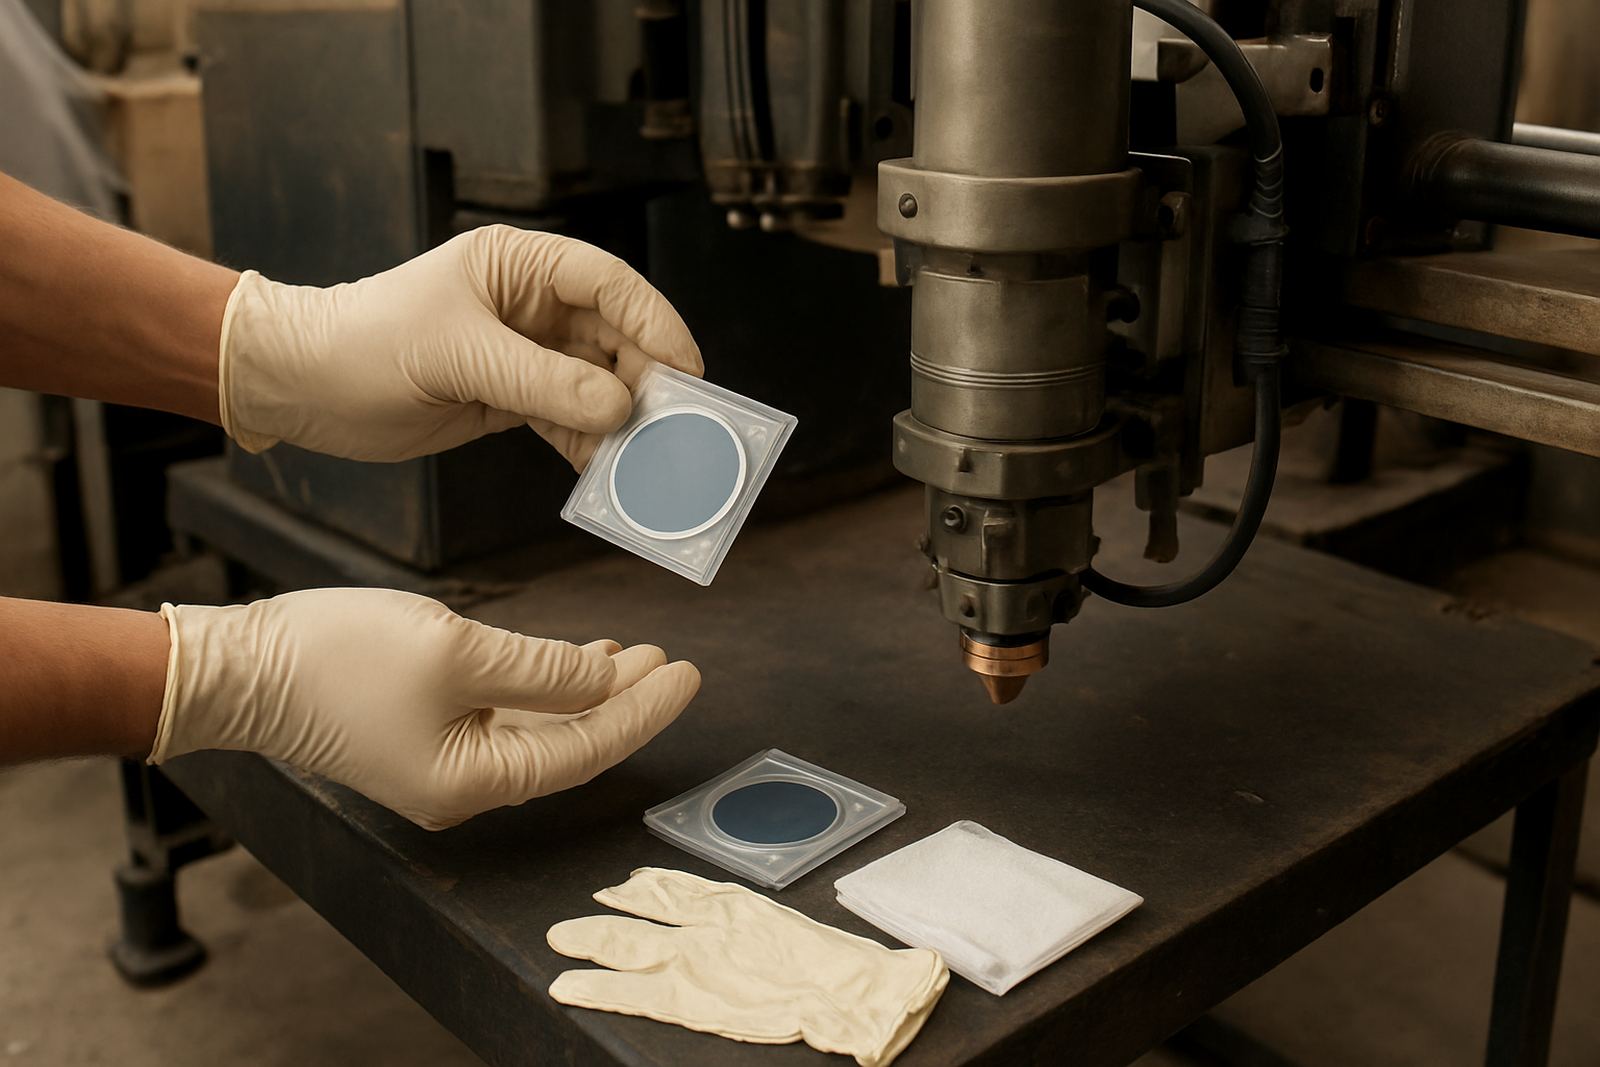
Check whether the nozzle is centred and whether the tip opening is still round. A misshapen nozzle often causes rough edges, dross and piercing trouble after restart. Look at the lens and window area for burn marks, haze or fine debris. If the protective window was hit, the internal optics may still be fine but the window will scatter the beam and reduce cut quality. That is usually cheaper to solve early than after a full day of bad parts.
- Nozzle tip damaged or distorted.
- Ceramic holder cracked or loose.
- Protective window marked, fogged or cracked.
- Sensor ring out of position or broken.
- Gas fittings loose, damaged or contaminated.
Record The Parts That Must Be Replaced Or Tested
Once the outside damage is known, write down every item that needs replacement or testing. This should include nozzles, lenses, protective windows, sensor rings and ceramic holders, plus any seals or fasteners that were disturbed during the impact. If the machine is used in coastal work or in a humid factory near Durban, store the parts carefully after removal because moisture can damage optics and fittings very fast.
For the service log, include the exact head model, serial number if visible, and any symptoms seen before the crash. Was the head cutting normally and then stopped, or did it show warning signs first? Did the beam pierce, then miss the sheet, or did the head strike on approach? These details help the technician judge whether the issue is limited to the consumables or whether the alignment and internal carriage also need attention.
- Head model and machine model.
- Part numbers for damaged consumables.
- Visible symptoms before and after impact.
- Any alarms, fault codes or servo messages.
- Whether the crash happened during cutting, piercing or probing.
Inspect Internal Alignment And Gas Path
After the obvious items are removed, the next step is the internal inspection. A head crash can shift the beam path, loosen the mount, or damage the internal gas channel. Even when the machine still powers on, the cut can drift because the beam is no longer meeting the nozzle cleanly. This is where a strip and inspection, done properly, saves time later.
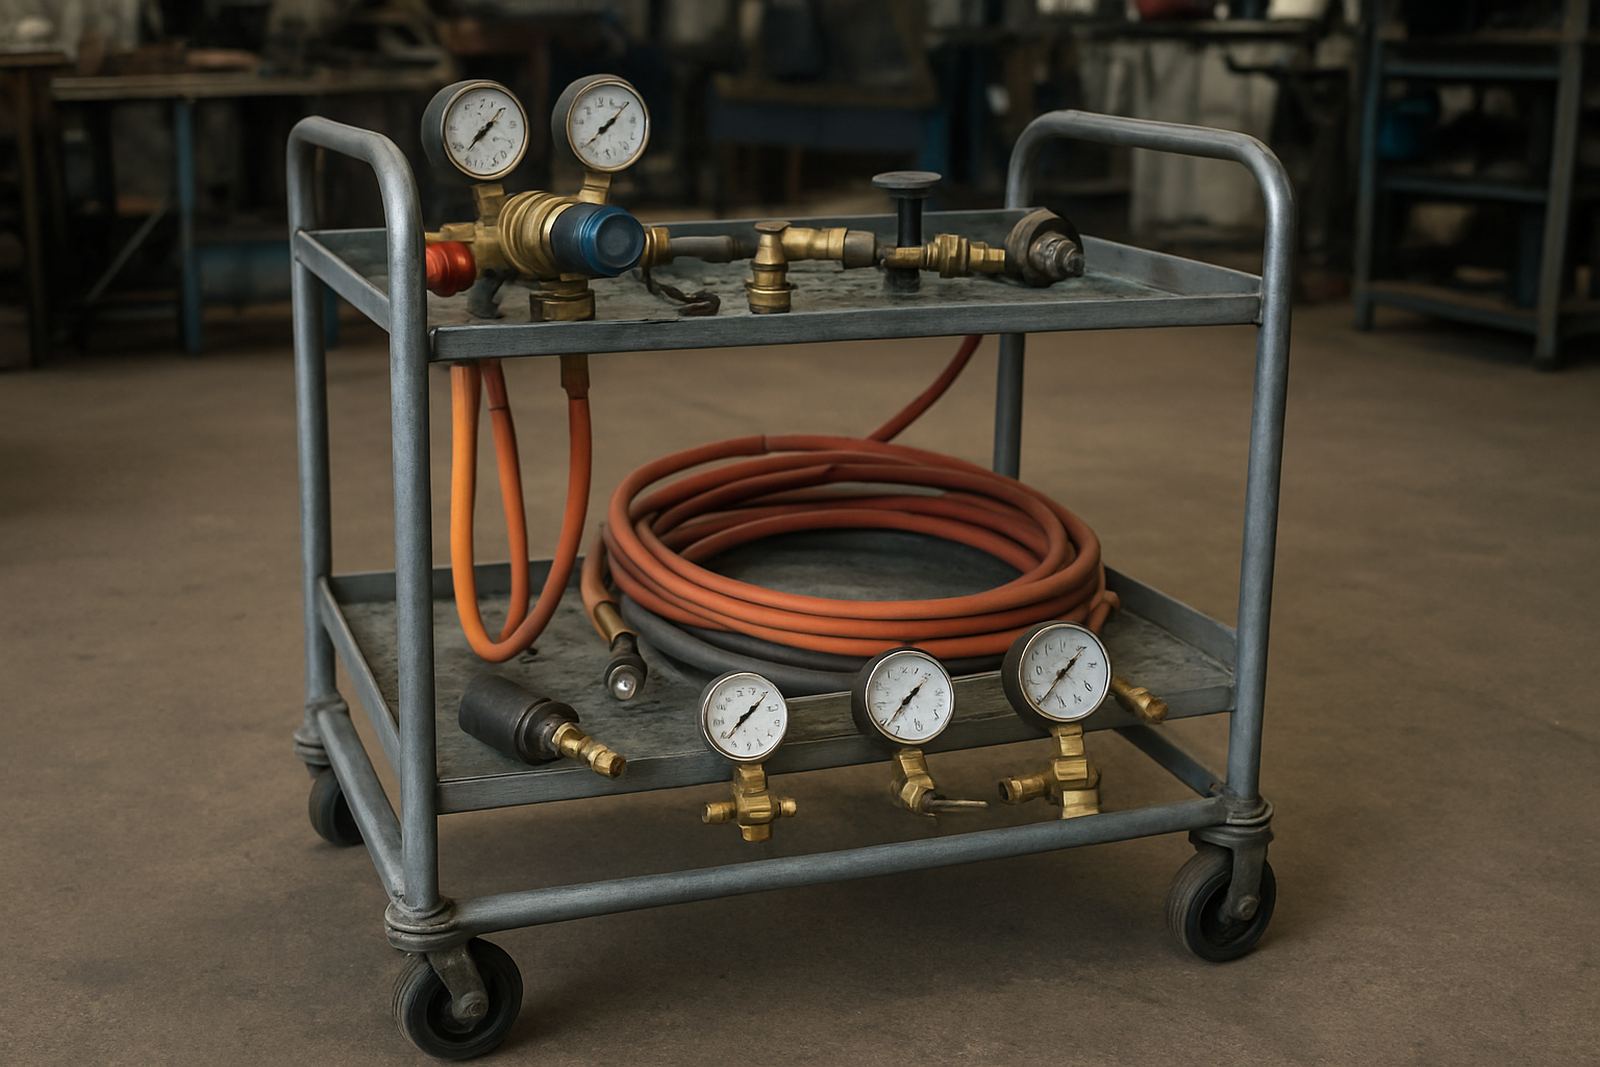
Check the gas path for dust, spatter and carbon build-up. A blocked or partly blocked passage can cause unstable assist gas flow and poor edge quality. Inspect the lens seating, the seal surfaces and the alignment of the nozzle seat. If the head had a hard hit, the internal body may need a bench pressure test to confirm that the gas path still holds pressure and does not leak under load.
For workshop teams in Vanderbijlpark, Germiston and Kempton Park, it is worth keeping a simple note of what was found: loose fasteners, contaminated optics, worn seals or a head that needed full re-centring. That record helps decide whether the machine can return to service after a short repair or needs a full bench rebuild first.
Decide What Can Go Back Into Service
Do not return the machine to production until the head has passed a return to service test. A quick visual check is not enough. The system should be assembled with the correct consumables, the head aligned, and the beam path confirmed before any customer work goes through it. If the machine is on a busy job shop floor in Johannesburg or Cape Town, this step prevents a repeat crash and avoids scrapping a full batch of parts.
The technician should confirm that the nozzle seat is true, the protective window is clean and seated correctly, and the lens is installed without contamination. After that, run a controlled test cut on suitable material. Watch for edge burn, taper, incomplete piercing, heavy dross or unusual noise from the head. If any of these appear, stop and inspect again instead of trying to push through another shift.
- Head alignment checked and recorded.
- Protective window and lens cleaned or replaced.
- Gas flow and pressure confirmed.
- Test cut completed on sample material.
- Cut quality compared with the normal standard.
Use A Simple Recovery Checklist For The Next Crash
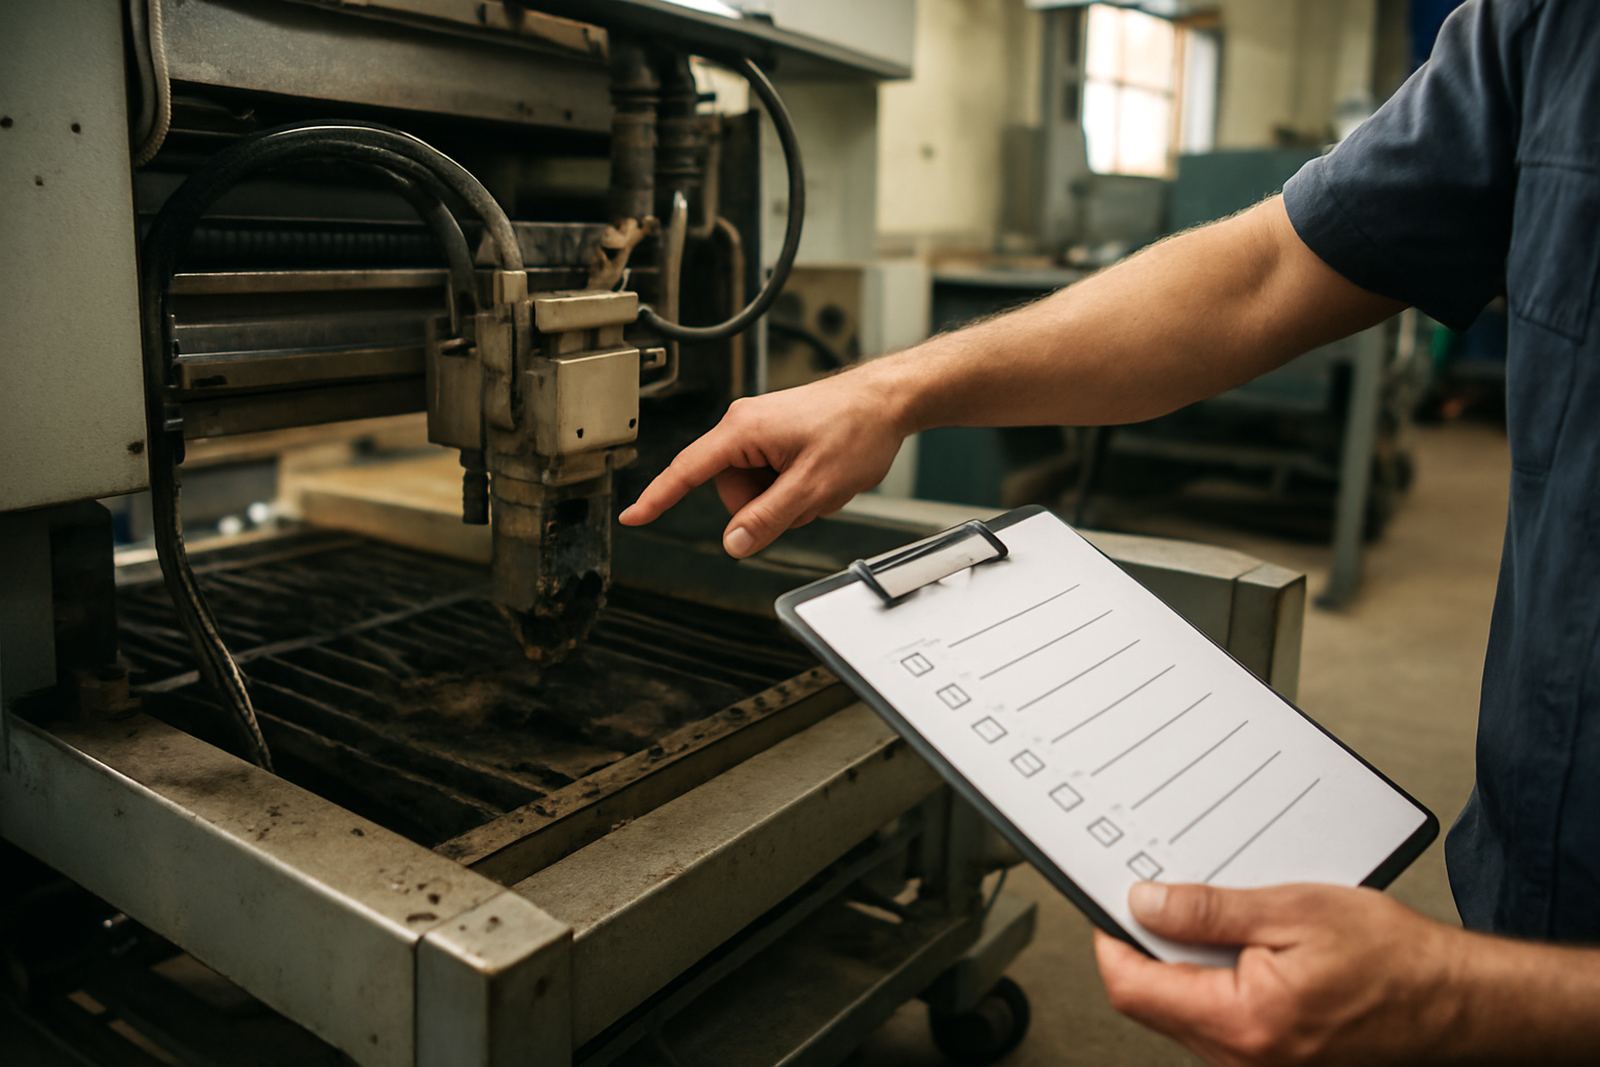
Most crash losses get worse because people rely on memory. A short checklist kept next to the machine helps the team move fast and stay consistent when the pressure is on. It should be easy enough for shift staff to use at 2am, after a power interruption or during a busy run. Keep one copy at the machine and one in the service file.
Good checklist items are practical and specific. Write down the nozzle size, lens condition, window condition, alarm codes, and who inspected the machine. If the machine was down for longer than expected, note whether the delay came from missing parts, cleaning time, or waiting for bench repair. That information helps the next recovery go smoother and faster.
- Machine stopped and made safe.
- Photos taken before anything was removed.
- Visible damage recorded.
- Consumables and internal parts listed.
- Test cut approved before full production resumes.
A proper recovery process protects the machine, the job and the people running it. One careful inspection now can save a full day of downtime later, especially when a fabricator is working to tight delivery dates.
When To Bring In A Laser Technician
If the head has a cracked body, repeated alignment issues, unstable cutting after a crash, or contamination inside the optics, it is time for professional repair. Field fixes can help with some faults, but a hard impact often needs bench work, pressure testing and final validation before the machine can be trusted again. That is especially true on fibre systems with fine tolerances and on older CO2 units that have already seen a lot of wear.
Laser Ray Tools supports workshops and fabricators from Boksburg across Johannesburg, Pretoria, Vanderbijlpark, Durban and Cape Town with collision damage repair, nozzle seat restoration, lens replacement, window replacement, sensor ring service, internal cleaning and return to service testing. The aim is simple: inspect properly, repair only what is needed, and get the cutter back into production without dragging the downtime out.