
When a protective window should be changed
A protective window sits in the beam path and takes the heat, dust and fume load so the lens and internals do not. On fibre and CO2 systems, it should be changed when it is cloudy, pitted, cracked, heat-marked or showing stubborn dirt that will not clean off safely. If a machine starts cutting with more flare, more dross or a sudden drop in edge quality, the window is one of the first items to inspect.
In busy shops around Boksburg, Johannesburg and Pretoria, the window is often changed after a collision, a poor pierce, or a period of heavy cutting on mild steel and stainless. Coastal sites in Durban may see faster contamination from humidity and airborne salt, while Cape Town and Vanderbijlpark workshops can pick up fine grit and dust from the shop floor. If the window has been removed more than once, check the seat and seal area as well, because a good new window can still fail if the housing is dirty or the ring is worn.
Tools and handling before you open the head
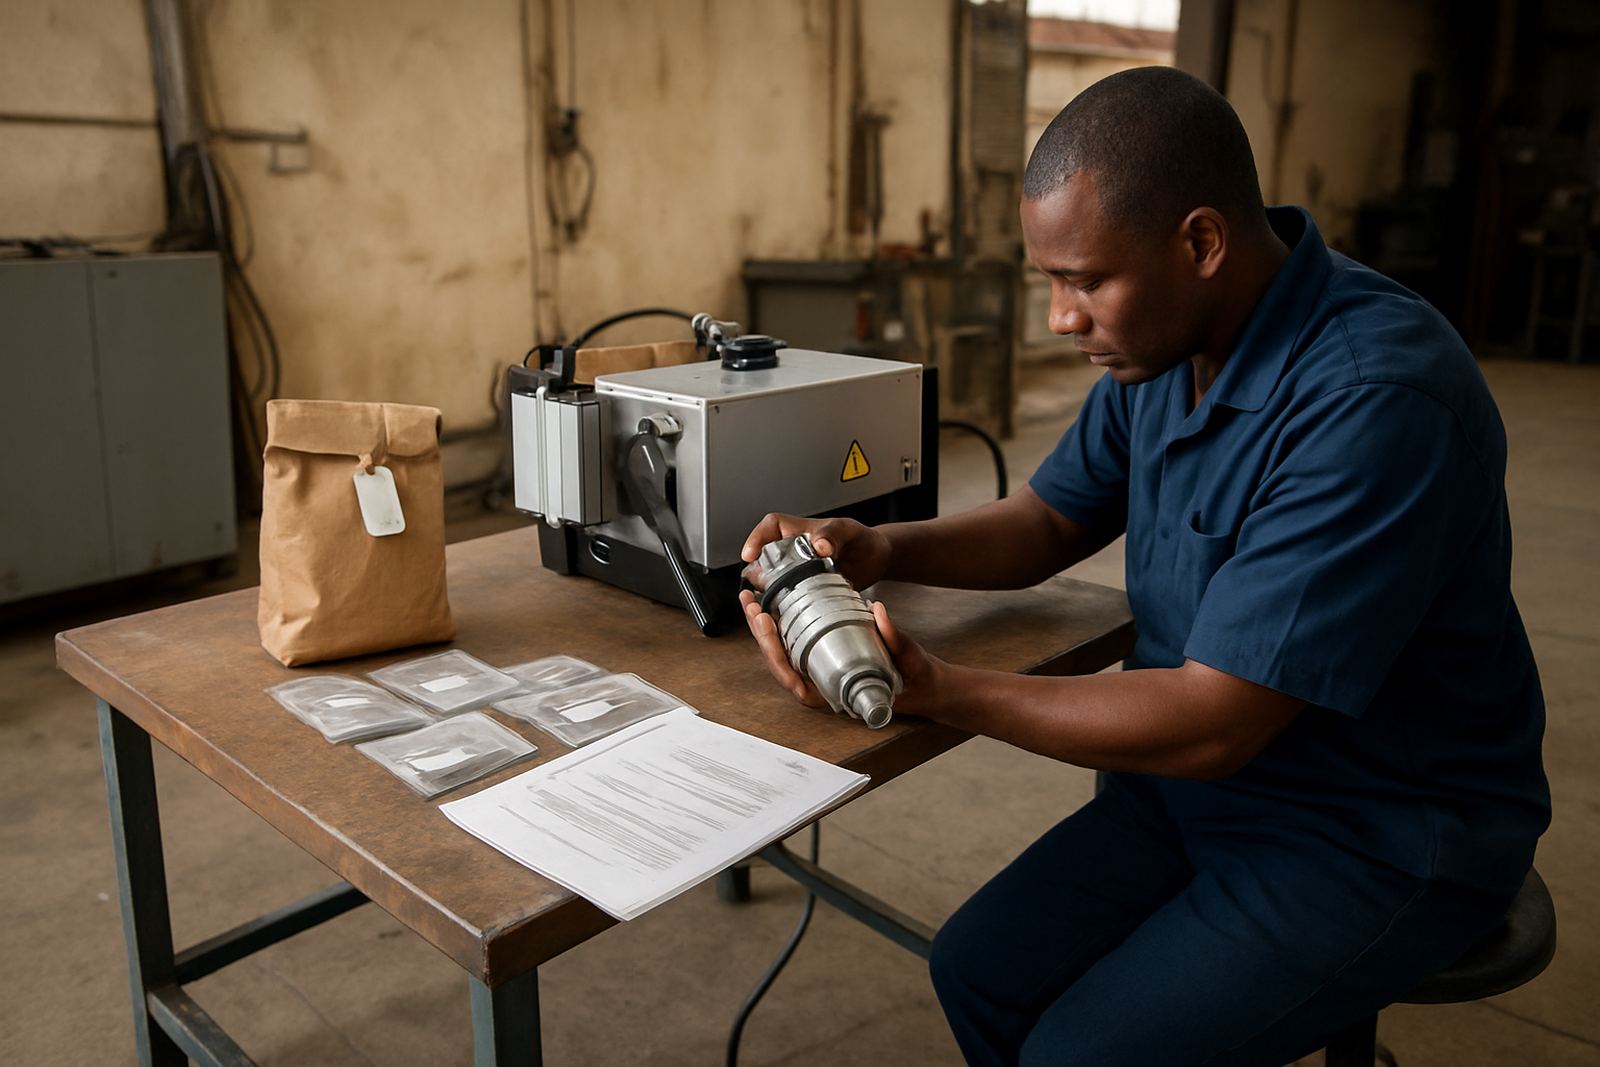
Before opening the cutting head, switch off the machine, isolate power, close gas supply where required and let the system cool. Keep a clean bench nearby, because a protective window is not something to handle over a dirty rag or oily surface. Use lint free wipes, clean gloves and a proper parts tray. If you are in a load-shedding area, make sure the machine is safely shut down before supply changes again, since an interrupted job can leave dust sitting in the head.
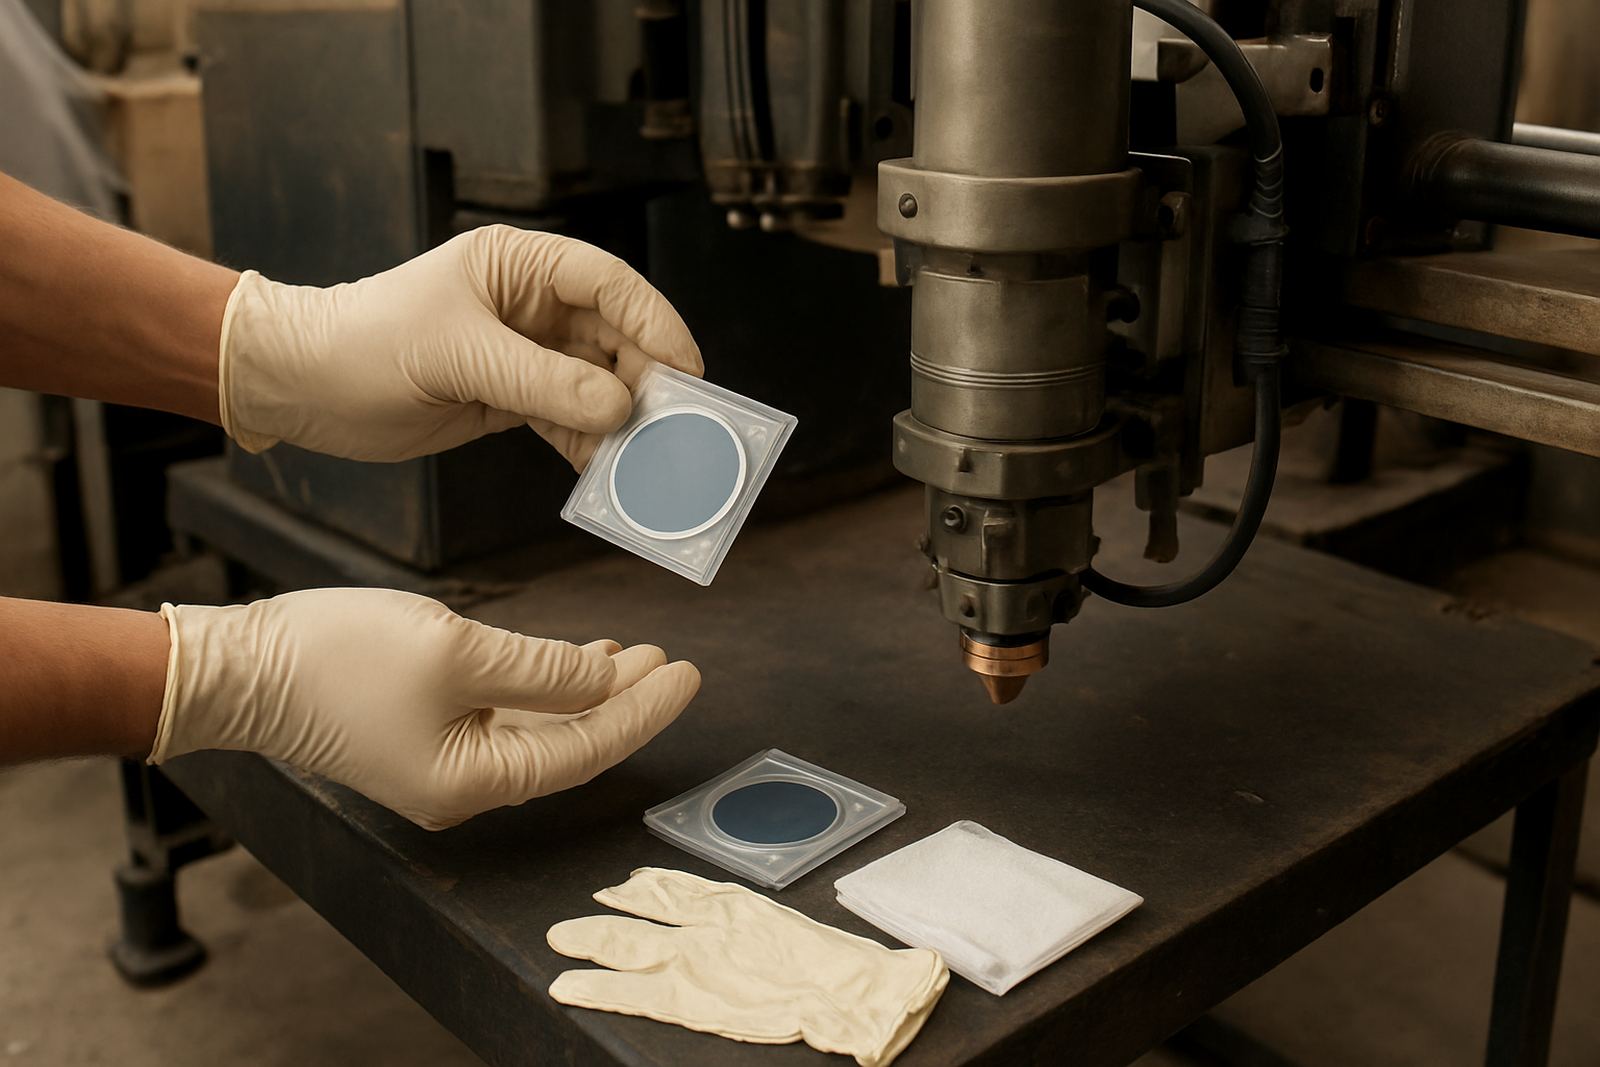
- Clean gloves or finger cots for handling the glass
- Lint free wipes and a clean surface
- Correct spanner or driver for the retaining ring
- Parts tray for seals, spacers and rings
- Inspection light for checking seats and edges
Do not force any retaining part loose with a rough tool. A slipped hand can mark the seat, nick the ring or crack a new window before it even goes in. Keep the old parts together so you can compare them after removal.
Step by step window change on the bench
Open the head carefully and lift out the retaining ring or carrier without scratching the bore. Remove the old window straight out, not at an angle, then inspect the seat for dust, soot, seal residue and metal chips. If the seat is dirty, clean it first and let it dry fully. Any remaining grit can point load the new window and cause early failure.
Check the replacement window for chips, edge damage and contamination before fitting. Hold it only by the edge. Place it flat into the seat, making sure the coating side and orientation match the head design. Fit the seal or O ring if the assembly uses one, then reinstall the retaining ring evenly. Tighten only to the recommended feel for the unit, because over-tightening can stress the glass and under-tightening can let the window shift during operation. One small error here can cause a failed seal, and that turns into another stoppage.
- Remove the old window straight and keep the seat clean
- Check the new window before fitting
- Seat the glass evenly with no tilt
- Reinstall seals and rings without overtightening
- Confirm the correct orientation before closing the head
What to inspect before you close the head
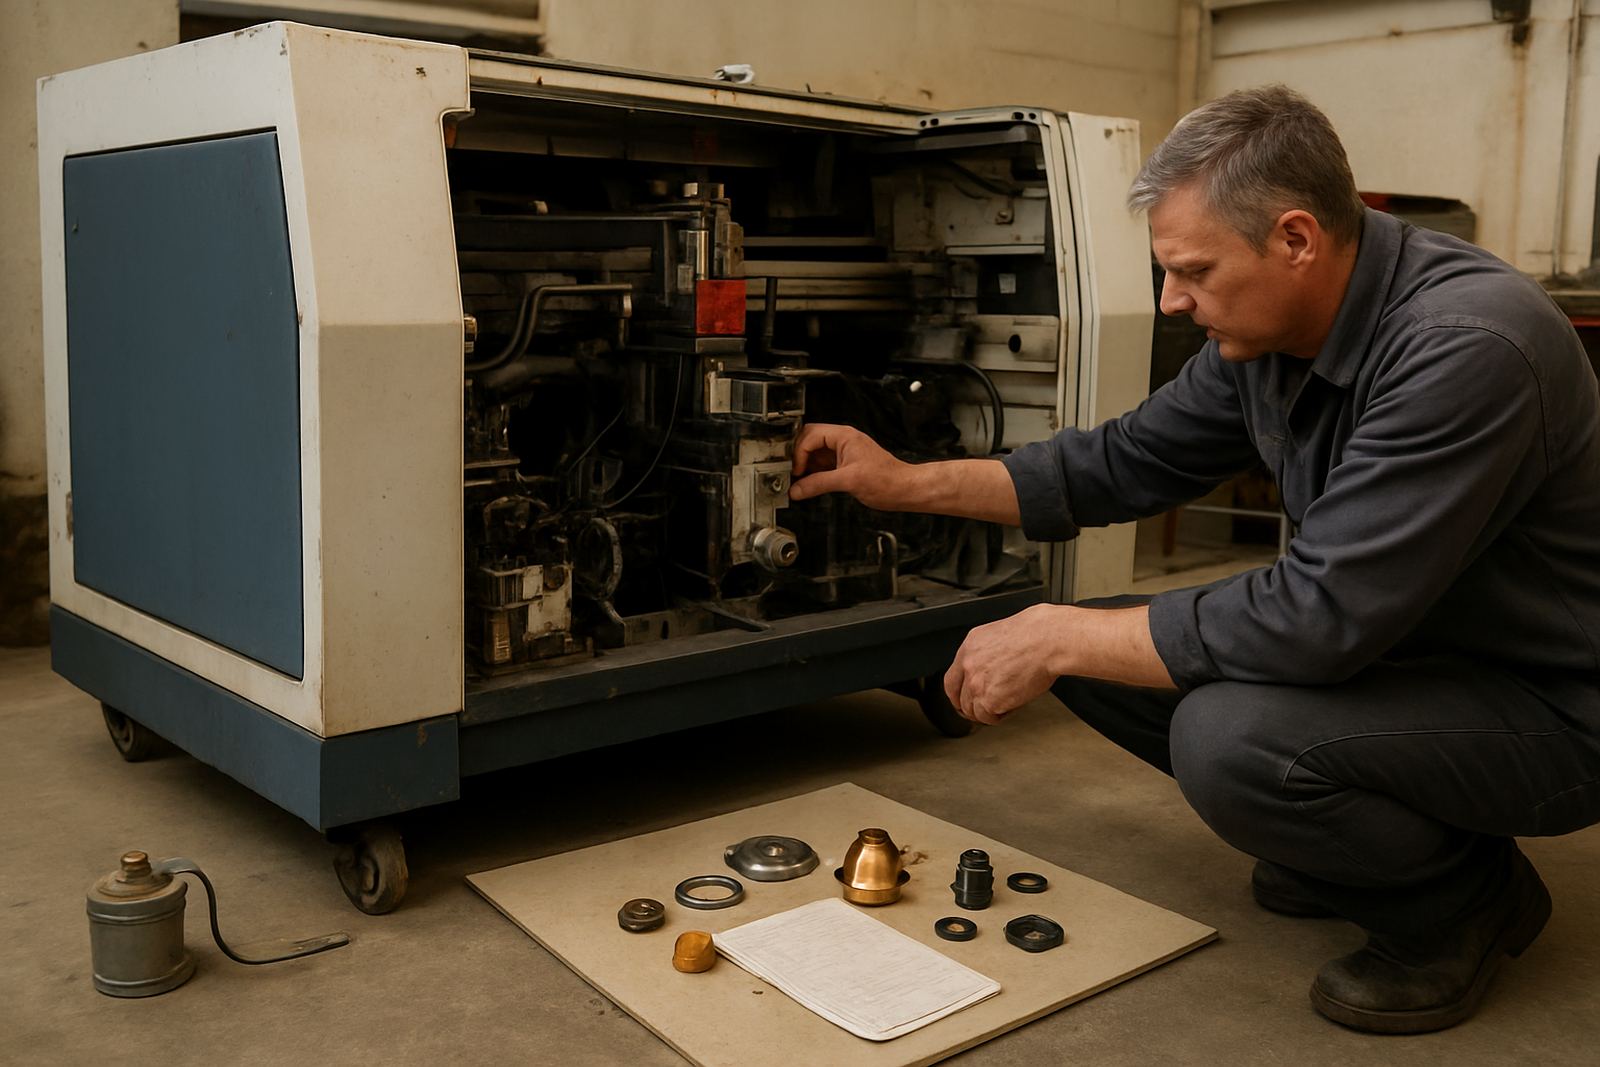
Before the head is closed, look at the protective window housing, sensor ring, ceramic holder and nearby gas path surfaces. If there is heat damage, thread damage, scoring or a loose fit, fix that now instead of sending the head back into service. A window change is also a good time to check nozzle condition, because worn nozzles can send spatter and smoke straight back toward the optics.
Wipe away any fine dust, but do not use aggressive cleaners unless the component maker allows it. Solvents left behind can mist the new window or attack seals. If the head was involved in a collision, inspect the alignment surfaces and the lens stack too. A window that keeps failing is often a symptom of another fault in the head, not just bad handling.
Test cut and return to service checks
After closing the head, run a low-risk test cut on suitable material and watch the cut face, assist gas behaviour and pierce quality. Check for haze, unusual reflections or any sign that the beam is not centred properly. If the machine has a pressure check function or a bench test setup, use it before production starts again. This saves time compared with discovering a fault mid-shift when a full batch is already waiting.
During the first production run, keep an eye on edge finish and listen for unusual head noise. If the machine starts marking parts, cutting wider than normal or leaving a rough pierce, stop and inspect again. It is better to spend ten minutes checking the head than waste a full sheet of plate. Record the date, part type and machine conditions so the next change is easier to plan.
When to call for repair instead of a simple change
If the window keeps clouding, the head has been hit, or the retaining parts no longer hold correctly, the issue needs proper repair. Workshops across South Africa often ask for support when downtime is costing shifts in fabrication, signage or job shop work. In those cases, a simple window swap is not enough because the housing, alignment or gas path may be out.
Laser Ray Tools handles protective window replacement, collision damage repair, nozzle seat restoration, lens replacement and full head checks on the bench or on site. From Boksburg base support through Johannesburg, Pretoria, Germiston, Kempton Park, Vanderbijlpark, Durban and Cape Town, the aim is to get fibre and CO2 laser equipment back into service with as little interruption as possible. If a window change is turning into repeat trouble, it is usually time for a deeper inspection and return-to-service test.