
Start With the Machine's Age, Hours and Fault Pattern
Older cutters do not fail all at once. They usually show a pattern first, such as longer pierce times, rough edges on mild steel, extra rework on stainless, or cutting heads that need frequent realignment. If a machine has had several collisions, repeated nozzle changes, or the same alarm keeps returning after a reset, treat it as a service issue and not just a daily nuisance.
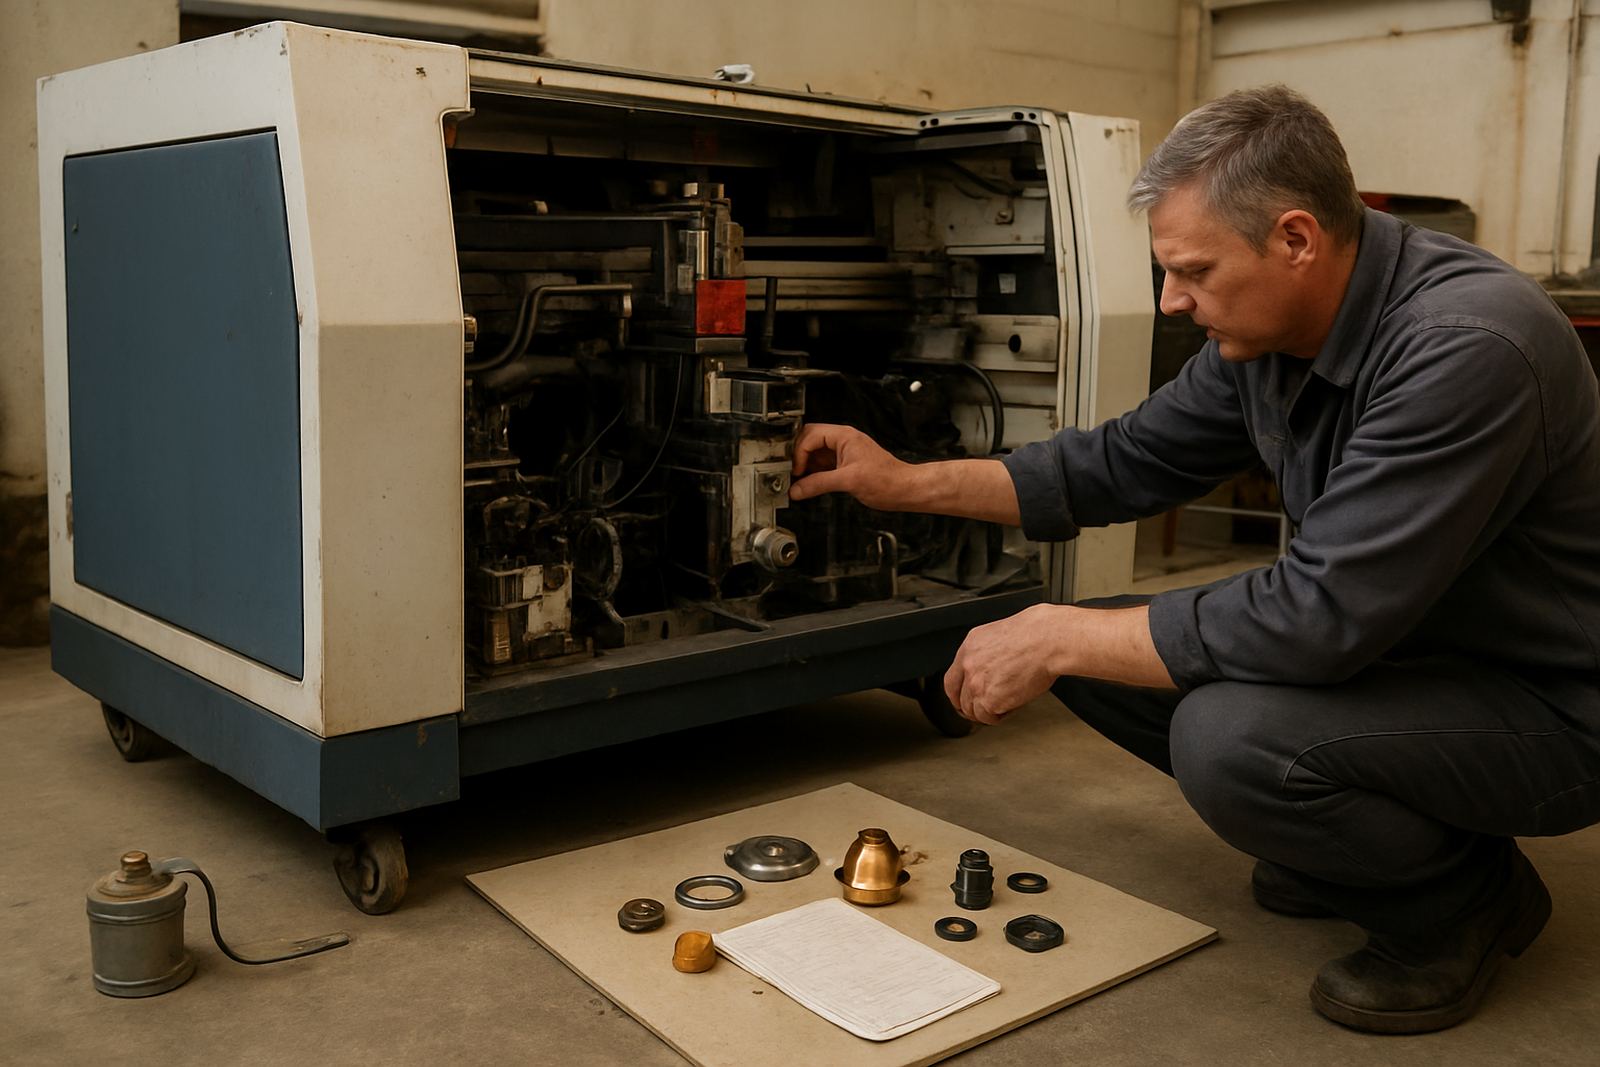
For planning purposes, record the machine age, cutting hours, assist gas use, nozzle type, lens history and any previous head repairs. That note helps a technician decide whether the problem is in the optical path, the gas path, the sensor ring, or the mechanics around the head. It also avoids guessing when production is under pressure.
- Log every alarm and the material being cut
- Note if the fault appears on thin or thick plate first
- Check whether the problem started after a collision, power dip or lens change
- Keep a simple service file with dates, parts used and the last alignment check
What to Check Before the Next Breakdown
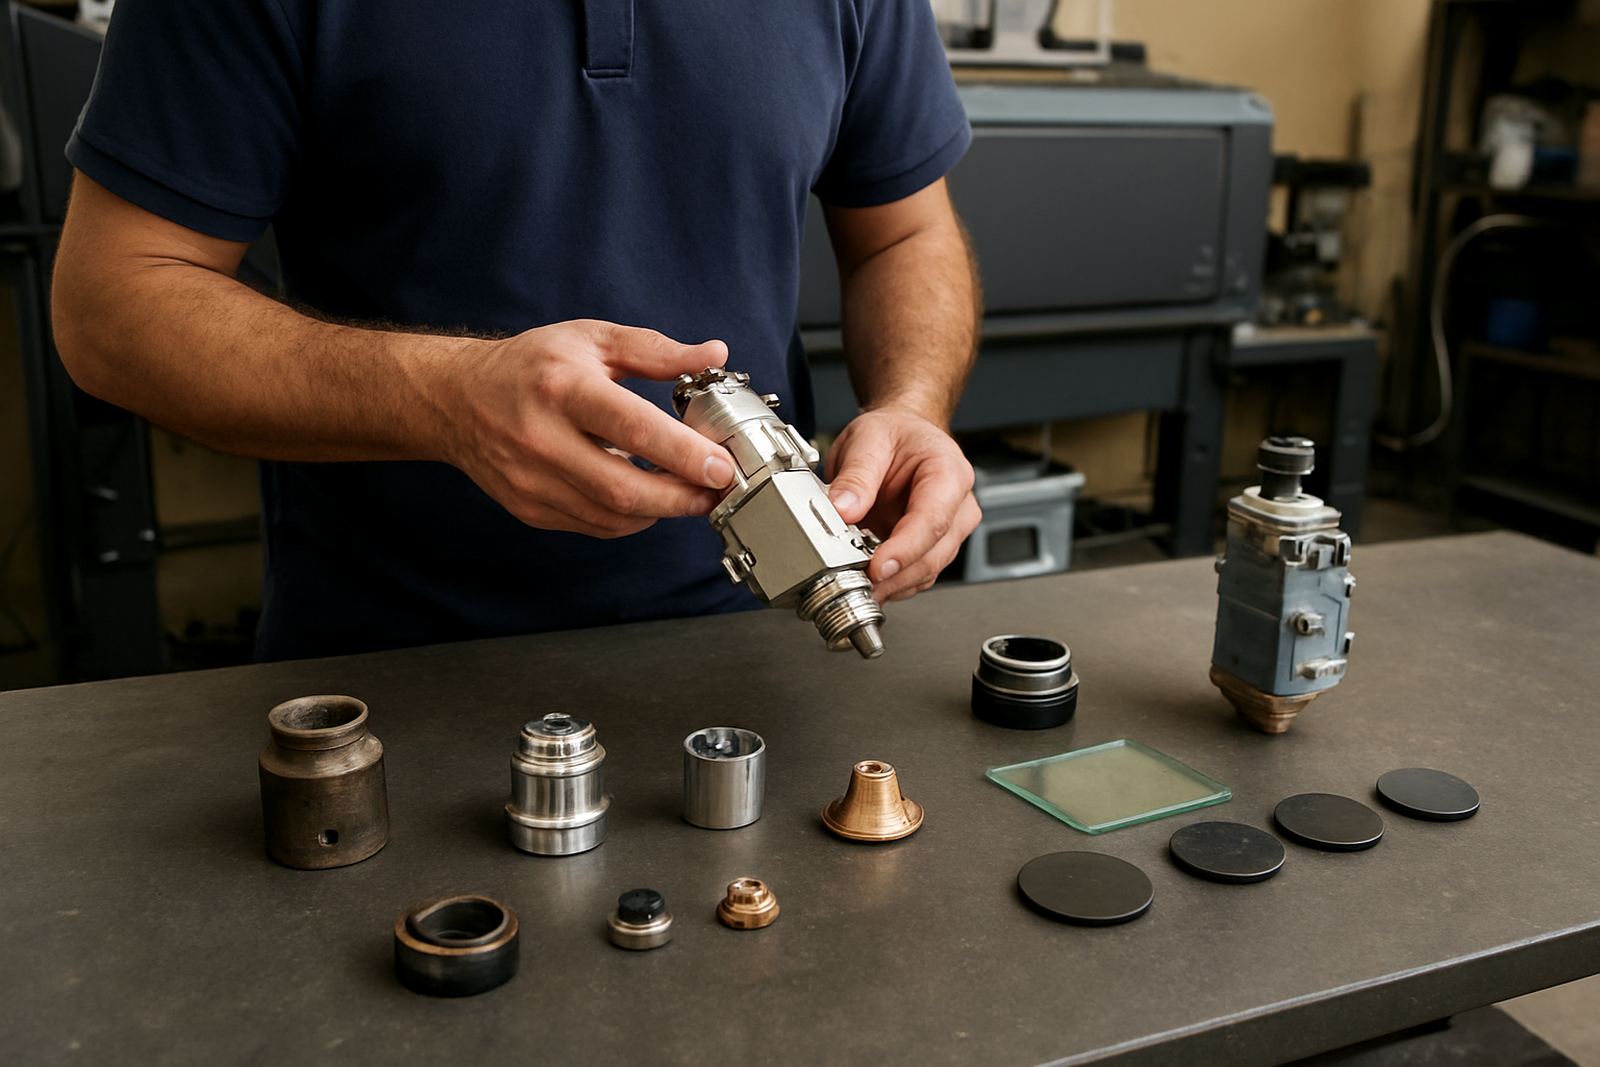
A short weekly inspection can save a full day of lost output. On fibre and CO2 machines, look at the nozzle tip, nozzle seat, protective window, lens condition and the ceramic holder. Any soot, pitting, chips or heat marks point to wear that will get worse under load. If the machine runs in a dusty shop or near grinding bays, clean the surrounding area more often. Coastal humidity can also leave residue on optics and electrical parts, so machines in Durban or Cape Town need extra attention.
Do not wait until the cut edge looks poor across every job. When the first signs of drift appear, arrange a head check and bench pressure test. If the cutting head has taken a knock, even a light one, the internal alignment can be off by a small amount that still causes bad cuts on thicker material.
- Check for smoke stains around the nozzle and head body
- Look for cracked windows or lens marks before a shift starts
- Confirm gas flow is steady and fittings are not leaking
- Inspect cables, hoses and the sensor ring for rubbing or damage
Plan Repair Work Around Real Production Pressure
Older machines usually stay useful when repairs are planned around the job queue. If a workshop in Boksburg, Johannesburg or Germiston knows it has a busy week ahead, strip and inspection should be done before the cutter reaches the point of complete failure. That gives time to replace worn nozzles, lenses or protective windows and to restore the head before the next rush.
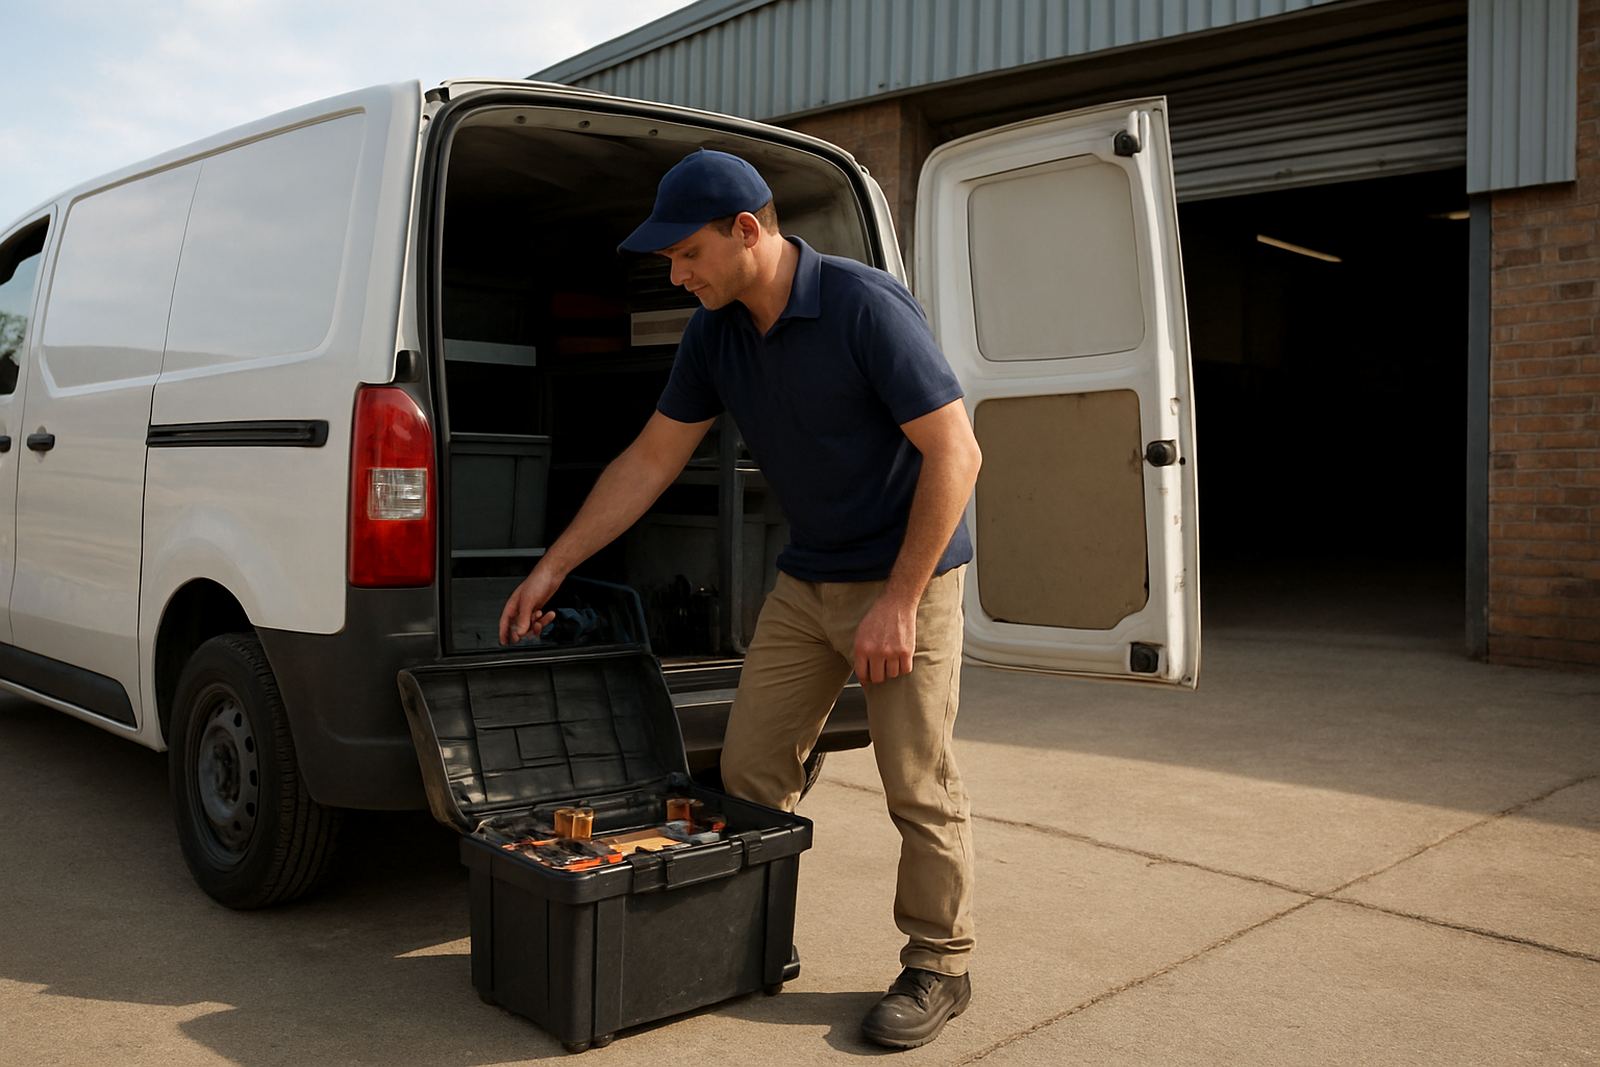
For fabricators that run one shift, it often makes sense to book bench repair after hours and return the unit to service the next morning. For larger plants, on-site work may be better when the machine is too heavy or too tied into the line to remove quickly. The right choice depends on the fault, access and how fast the shop must get back to production.
- Use bench repair for damaged heads, internal cleaning and pressure testing
- Use on-site repair when removal will stop several machines or jobs
- Keep backup consumables for common nozzle sizes and window types
- Schedule service before month-end rushes and contract deadlines
Common Wear Points on Fibre and CO2 Systems
Fibre and CO2 machines age in different ways, but both depend on clean optics and correct alignment. On older fibre systems, a worn protective window or damaged nozzle seat can upset the beam path and create bad edge quality. On CO2 machines, mirrors and lenses need careful handling and cleaning because heat and dust build up faster when the machine has seen many years of use.
If the machine has been repaired several times already, do not assume every problem is the same one returning. A worn ceramic holder, bent head body or damaged gas path can look like a lens problem at first. That is why a proper diagnosis matters before ordering parts. It avoids spending Rand on the wrong item and keeps the machine out of the bay for too long.
- Watch for repeated burn marks on the same side of the cut
- Check whether the head loses stability after a collision
- Inspect seals and gas channels for dust or oil contamination
- Replace damaged consumables before they affect the next batch
When a Head Needs Repair, Not Just a Clean
Some faults can be solved with cleaning and minor adjustment. Others need collision damage repair, nozzle seat restoration or a full return to service test. If the head has been struck, dropped during handling, or run with a broken nozzle, the internal parts may be out of line even if the machine still powers up. That is when cut quality usually starts drifting and operators begin chasing settings all day.
A proper repair path should include strip and inspection, replacement of damaged parts, head alignment check, bench pressure test and a final test before the unit goes back into production. That order matters because it shows whether the repair fixed the fault or only hid it for a short time.
- Do not keep running a head that has visible physical damage
- Replace protective windows after contamination or heat marks
- Change the ceramic holder if it shows cracks or looseness
- Confirm pressure and alignment before handing the machine back
Keep Spare Parts Ready for Older Machines
Ageing cutters become much easier to manage when the right spares are on hand. Nozzles, lenses, windows, sensor rings and ceramic holders are not expensive compared with a full day of idle machines and late deliveries. For busy job shops in Pretoria, Vanderbijlpark or the East Rand, a small parts shelf can prevent small wear from becoming a shutdown.
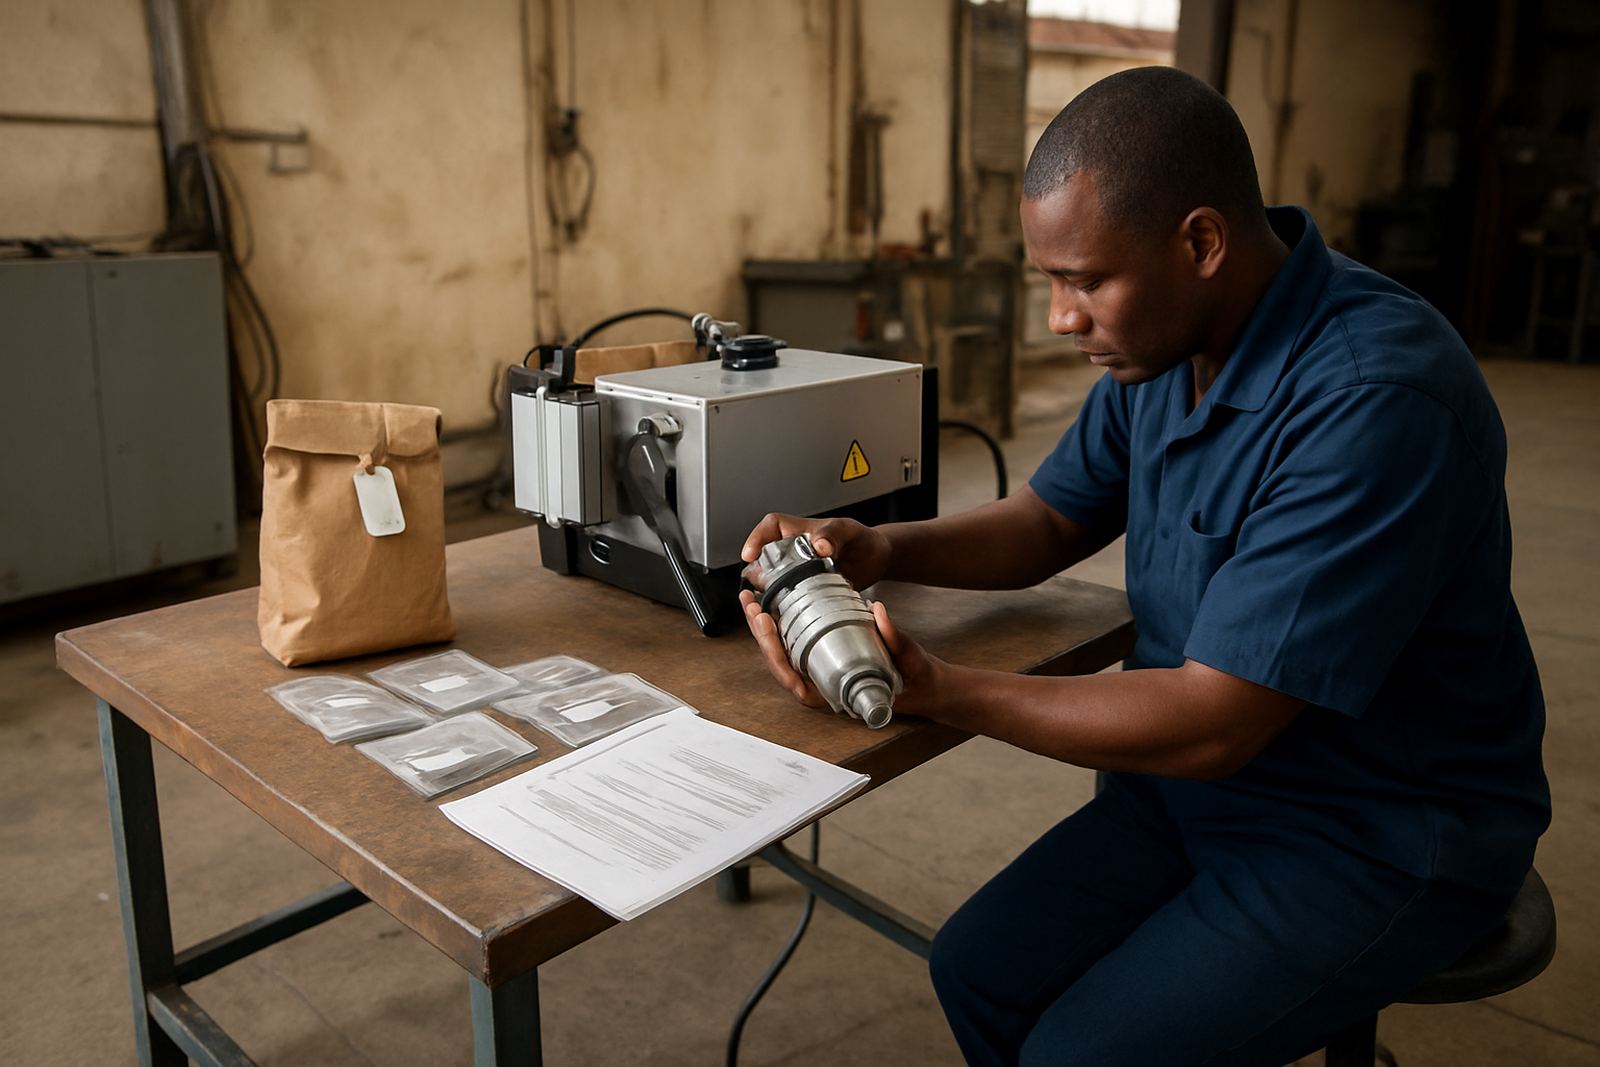
Store optics in clean, dry containers and keep them away from grinding dust, oil and welding fumes. Mark the boxes clearly by machine type and head model so the team does not fit the wrong part during a rush. In load-shedding periods, it also helps to keep service notes ready, because power interruptions can cause unusual alarms or start-up faults that are solved faster when the machine history is clear.
- Keep the most used nozzle sizes in stock
- Hold one spare protective window for each active machine
- Store critical parts in a dry cabinet, not loose on the workshop floor
- Record every part change with the date and machine serial number
A Simple Service Routine That Pays for Itself
The best maintenance plan for an older laser machine is simple enough for the team to follow every week. Start with inspection, clean the head area, check consumables, confirm gas flow and look for alarms or cut changes. Then book deeper service before the machine starts rejecting jobs or causing rework. That habit keeps downtime shorter and makes the machine easier to budget for over time.
Laser Ray Tools supports fibre and CO2 workshops across South Africa with bench and on-site repair from Boksburg, Ekurhuleni, including Johannesburg, Pretoria, Germiston, Kempton Park, Vanderbijlpark, Durban and Cape Town. If an older machine is still worth keeping, the goal is to keep it cutting cleanly and safely, not to wait until it fails hard.