
What happens before the technician leaves Boksburg
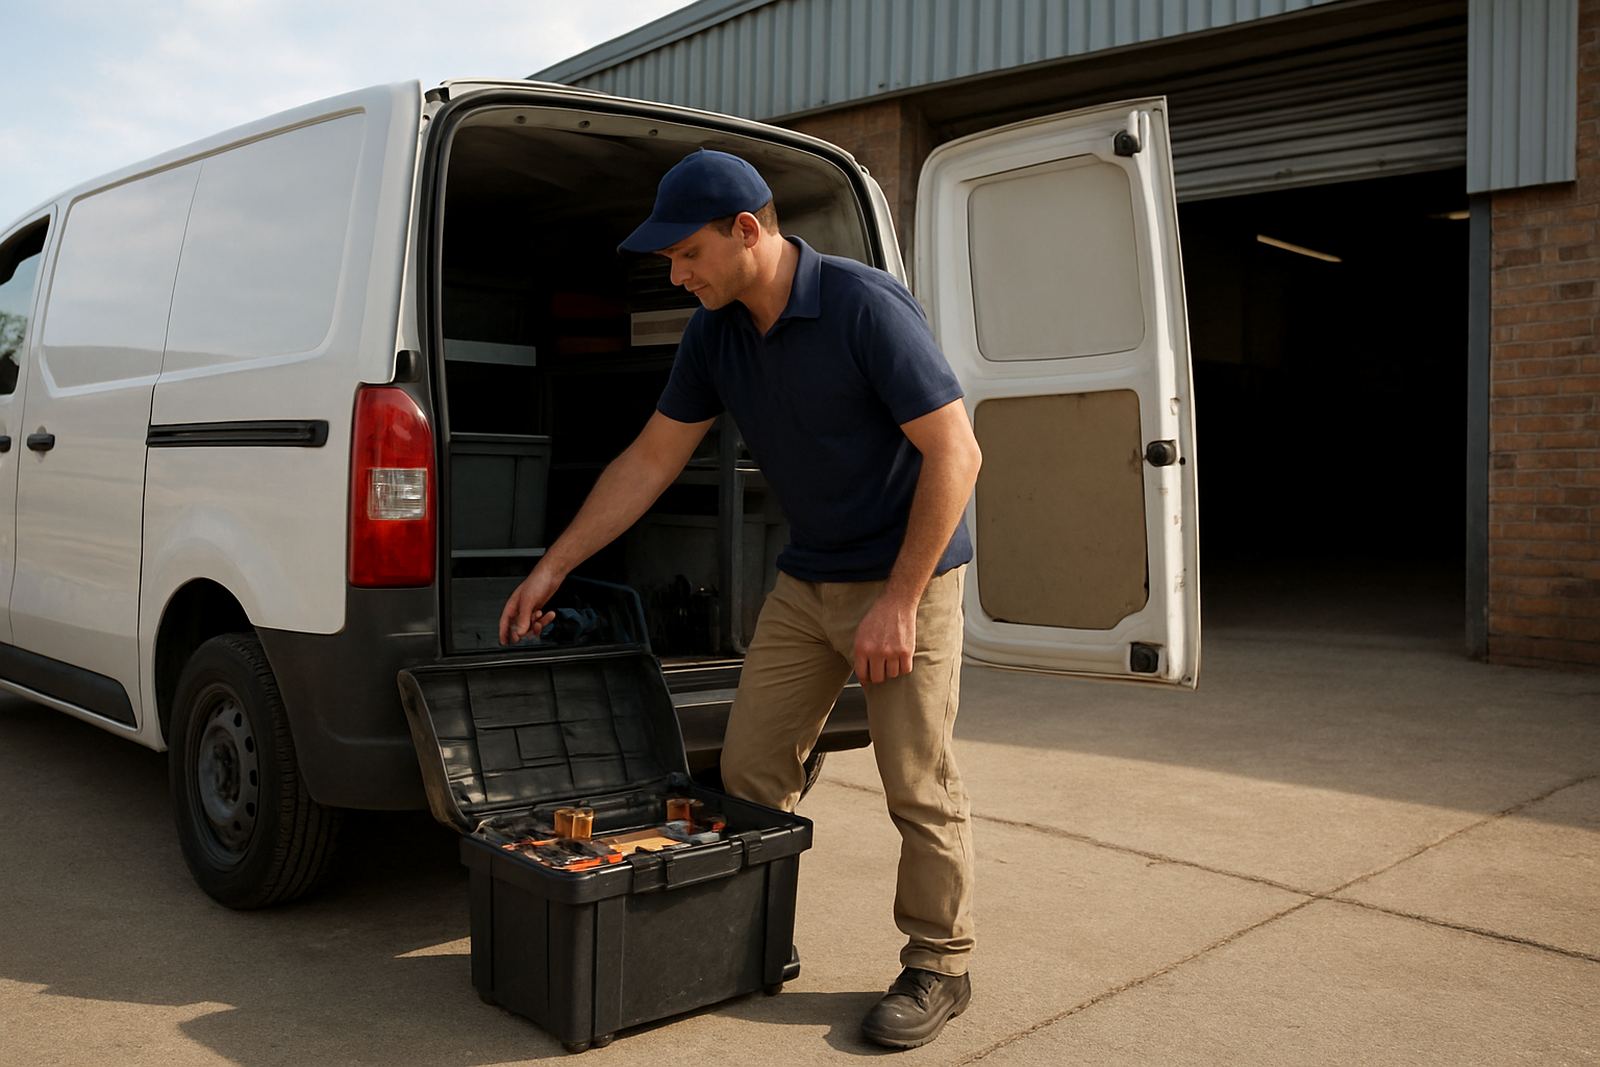
Every site visit starts with a fault description, machine model details and a quick check of what changed before the problem started. A collision, poor cut quality, alarm message, water warning or sudden loss of power all point to different causes, so the first step is to narrow the fault before anyone packs tools. Our team in Boksburg, Ekurhuleni supports workshops across Johannesburg, Pretoria, Vanderbijlpark, Durban, Cape Town and surrounding areas, and the more accurate the initial notes are, the faster the repair can begin once the technician is on site.
For many customers, a site visit is the right choice when the machine is too large to move, production cannot wait, or the issue may be linked to setup at the machine itself. If the damage is in the cutting head, nozzle seat, protective window, ceramic holder or alignment, a bench repair may still be needed afterwards, but the site visit helps us assess the machine in its working environment. That saves time and avoids unnecessary strip down work.
- Share the machine make, model and age if you know it.
- Note any alarm codes exactly as they appear on the screen.
- Tell us whether the problem started after a collision, lens change or maintenance.
- Explain if the fault is constant or only happens on certain cuts.
How to prepare your workshop for an on-site visit
A clean, well-lit machine area makes a real difference to the outcome of a site call. The technician needs safe access to the laser source, cutting head, control panel, water chiller area and gas supply. If the machine sits in a tight corner or next to another production line, please clear enough space for panels to open fully and for a tool case, metre and test parts to be used without obstruction. In summer, good ventilation helps. In coastal areas like Durban or the Eastern Cape, humidity can also affect optics and electrical connections, so dry cloths and clean storage matter more than most people realise.
Before the visit, stop the machine in a controlled way and keep operators away from the cutting area until the fault is assessed. If the machine has had recent power issues because of load-shedding or unstable supply, mention this. Voltage dips can cause alarms, sensor faults or inconsistent head behaviour, and it helps us test the right things first. Please also make sure the customer job files, sample material and preferred cutting parameters are available if the repair is linked to poor cut quality rather than a clear mechanical fault.
- Clear at least 1 metre around the machine where possible.
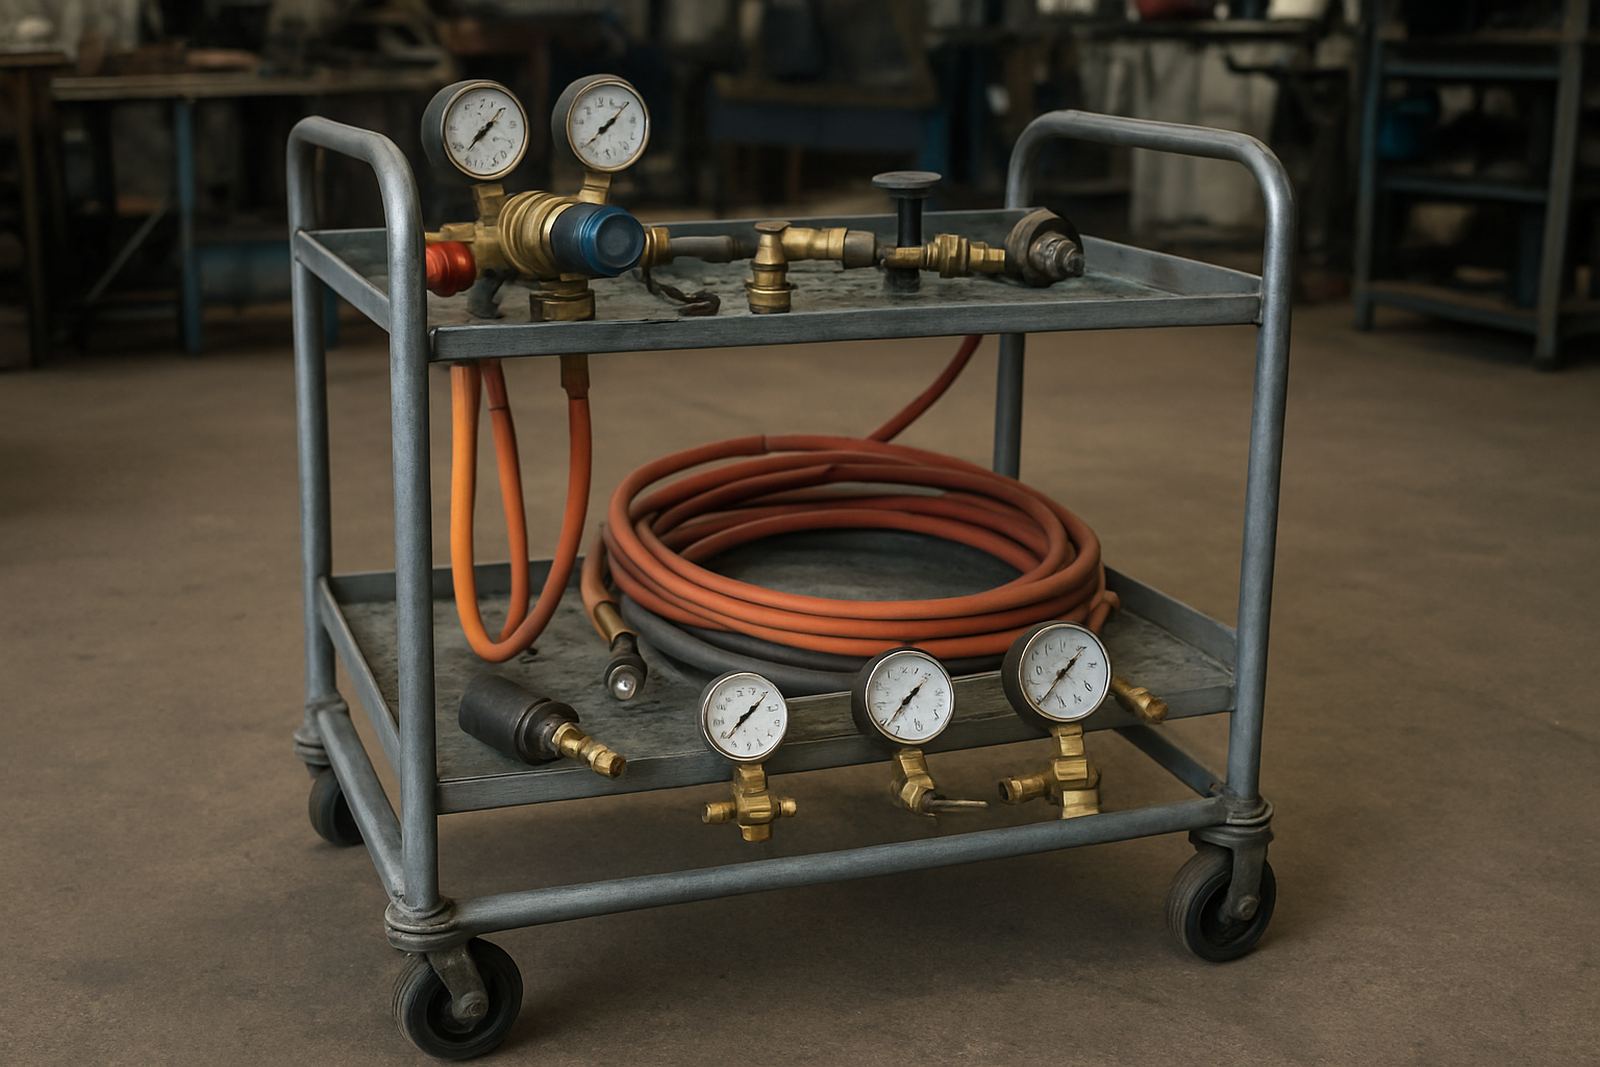
- Keep compressed air, assist gas and cooling water accessible.
- Have clean rags, gloves and the correct keys or access codes ready.
- Remove offcuts, swarf and loose scrap from around the machine base.
- Make sure lighting is enough to inspect the cutting head properly.
What the technician checks on the day
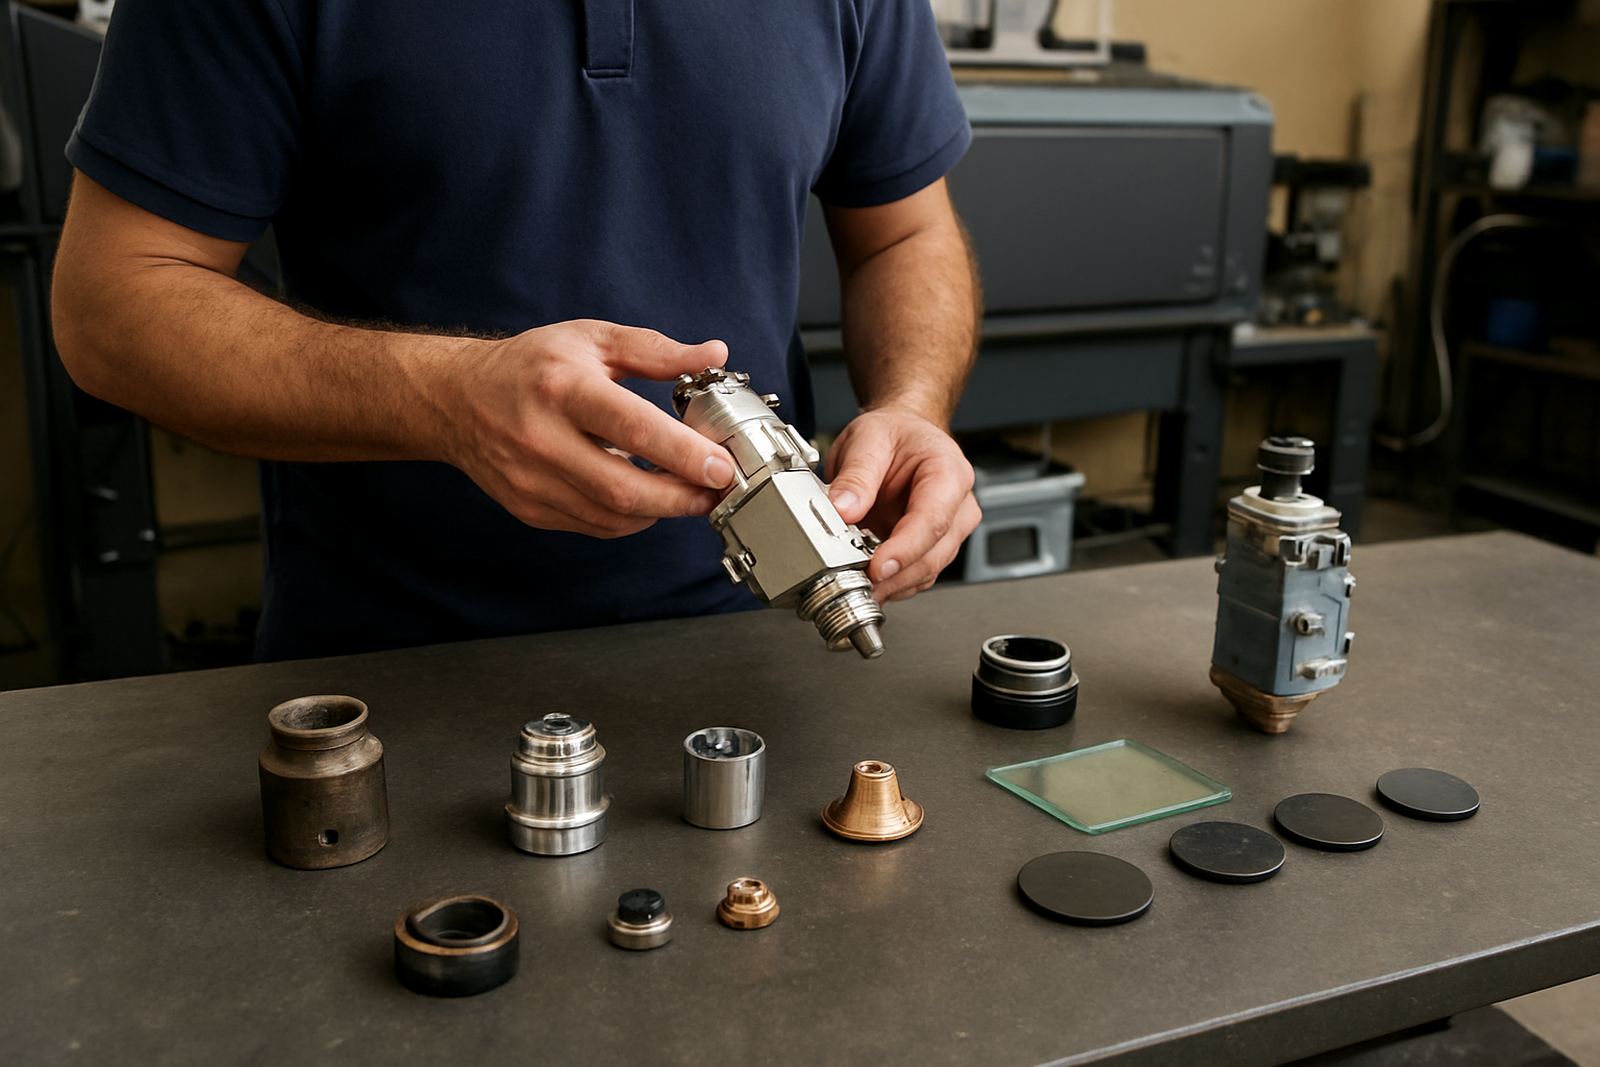
An on-site visit is more than a quick look and guess. The technician will inspect the cutting head externally, check nozzle condition, confirm lens and protective window condition if access allows, and test for signs of contamination, wear or impact damage. We also look at gas delivery, ceramic holder condition, sensor ring state and the head alignment before deciding whether a field repair is safe or whether the unit should go to the bench for deeper work.
Where possible, we carry out a strip and inspection on site, but some repairs are best handled in the workshop. A collision can damage internal parts in ways that are not visible from the outside, and forcing the machine back into production too soon can cause repeat faults. If a bench pressure test, return to service test or deeper cleaning is needed, we will explain why before anything is removed. That way you know whether the repair is a same-day correction or a two-stage process.
For workshops that run long shifts or depend on a single machine, we aim to keep downtime short and practical. If a replacement part is needed, our parts and stores team checks stock quickly so the machine is not left open for days waiting on a small item.
Common faults we see during site calls
Most site visits in South African workshops fall into a few clear categories. Cutting heads often suffer from nozzle wear, lens contamination, damaged windows, misalignment after a light crash, or internal dust build-up from cutting mild steel, stainless or coated sheet. Fibre systems can also show unstable cut edges, poor pierce quality or random alarms when the optics, cooling or gas path are not in good order.
On CO2 systems, the issues are often connected to beam path contamination, mirror alignment, cooling problems or worn consumables. In some plants, the fault is caused by routine production pressure where the machine keeps running after the first sign of trouble. That usually turns a small issue into a bigger one. A cracked window, for example, can quickly lead to more contamination inside the head if the machine is left on. The earlier we catch it, the easier it is to recover the machine to proper cutting condition.
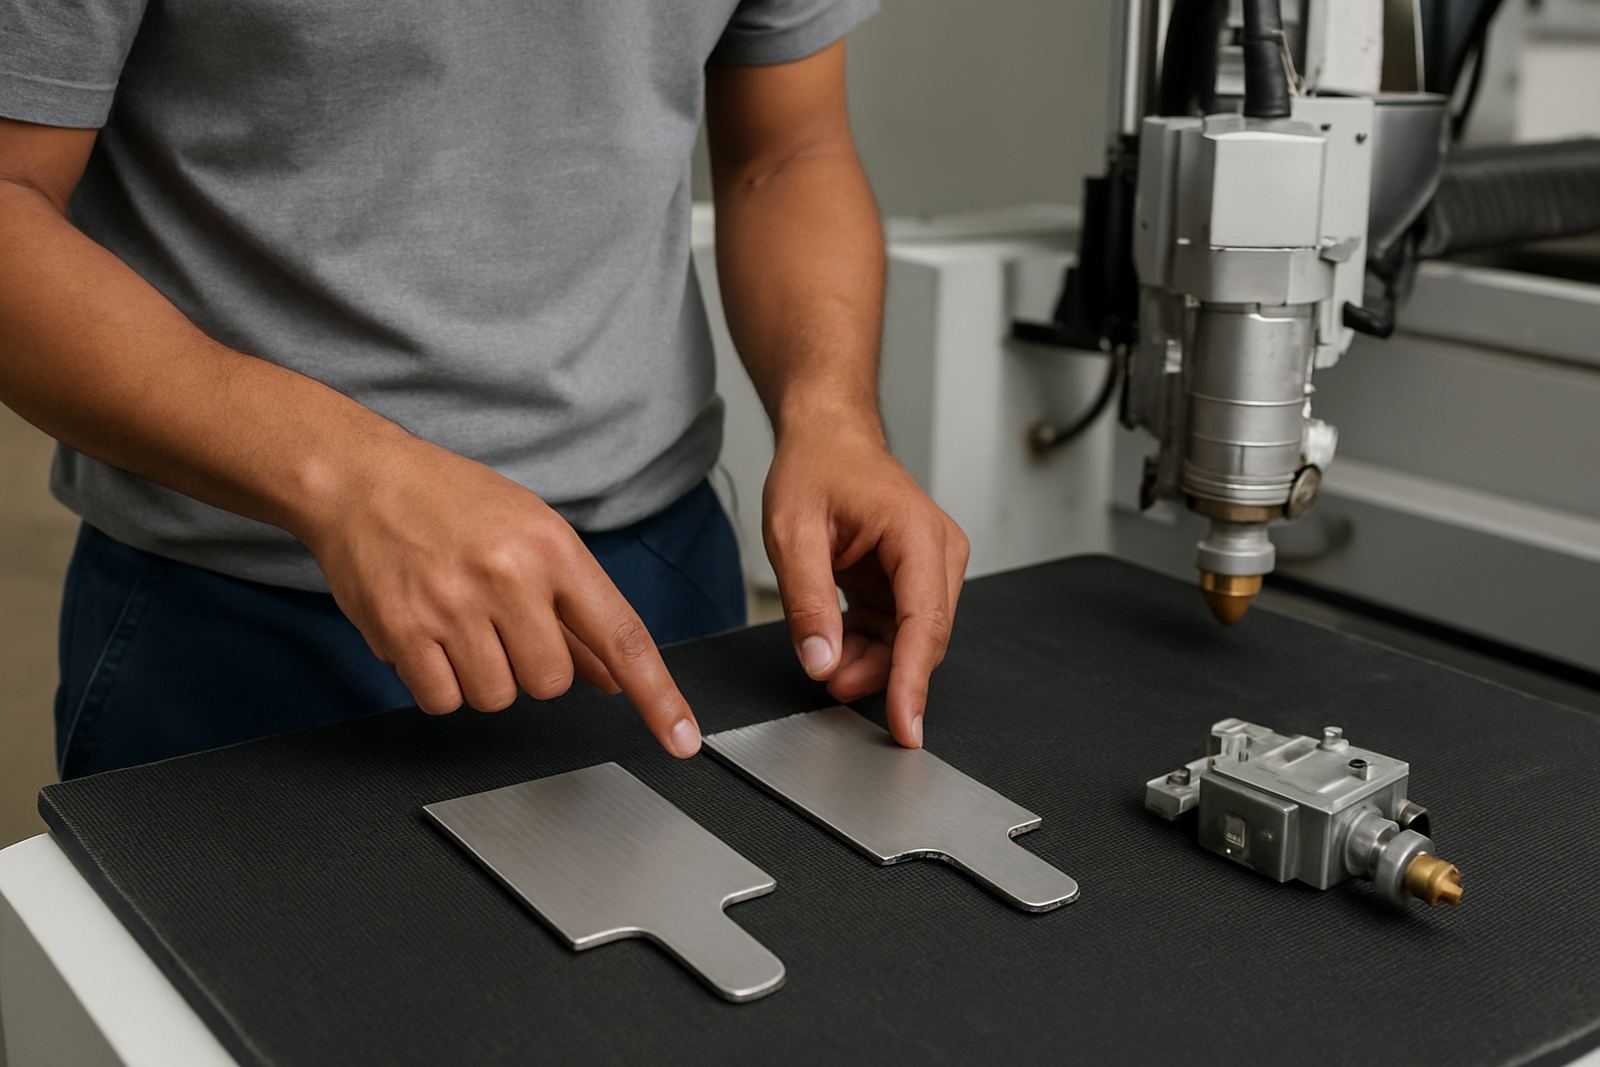
- Poor edge quality or excessive dross.
- Repeated head collisions or z-axis alarms.
- Low power warnings or unstable pierce results.
- Burn marks, smoke ingress or dirty optics.
- Air, gas or cooling warnings linked to the head area.
On-site repair or bench repair, which is the right call
Not every problem should be fixed beside the machine. If the issue is limited to an external part, a nozzle seat, a protective window or a sensor ring, then on-site repair may be the quickest route back to production. If the head has taken a hard hit, the beam path needs deeper inspection, or the unit needs full cleaning and pressure testing, the bench is usually the safer option. The aim is always the same, to return the machine to proper working condition without guessing.
Bench work also gives us time to inspect parts more carefully and test the head under controlled conditions. That matters when a workshop has already had one false start and cannot afford another. If a part must be replaced, we fit it properly, confirm alignment and test again before handing it back. This is especially important for customers in busy fabrication shops, signage plants and job shops where one unreliable cutter can hold up several people.
We do not push unnecessary parts or unrelated extras. If a cleaning, adjustment or small replacement will solve the problem, that is what we recommend. If the damage is larger, we say so plainly and outline the next step.
What to keep ready after the machine is back in service
Once the repair is complete, the final part of the job is to return the machine to normal production without rushing it. The operator should run test cuts on the same material and thickness that caused the problem, then check edge quality, pierce consistency and head movement. If the machine was repaired after a collision or optics issue, it is worth watching the first few jobs closely before going back to a full shift.
Keep a simple record of what was replaced and when. That helps when a similar fault comes up later, and it makes it easier to spot patterns linked to a certain material, gas line or maintenance routine. In many workshops, a short log saves hours later. If the machine starts showing the same symptom again, please do not wait until the cut quality falls off completely. A quick follow-up can prevent another stop in the middle of production.
- Run a short test sheet before returning to full work.
- Check that no alarms appear during start-up.
- Inspect the first cuts for edge quality and heat marks.
- Keep the machine area clean for the first shift after repair.