
Start With The Cut You Need To Hold
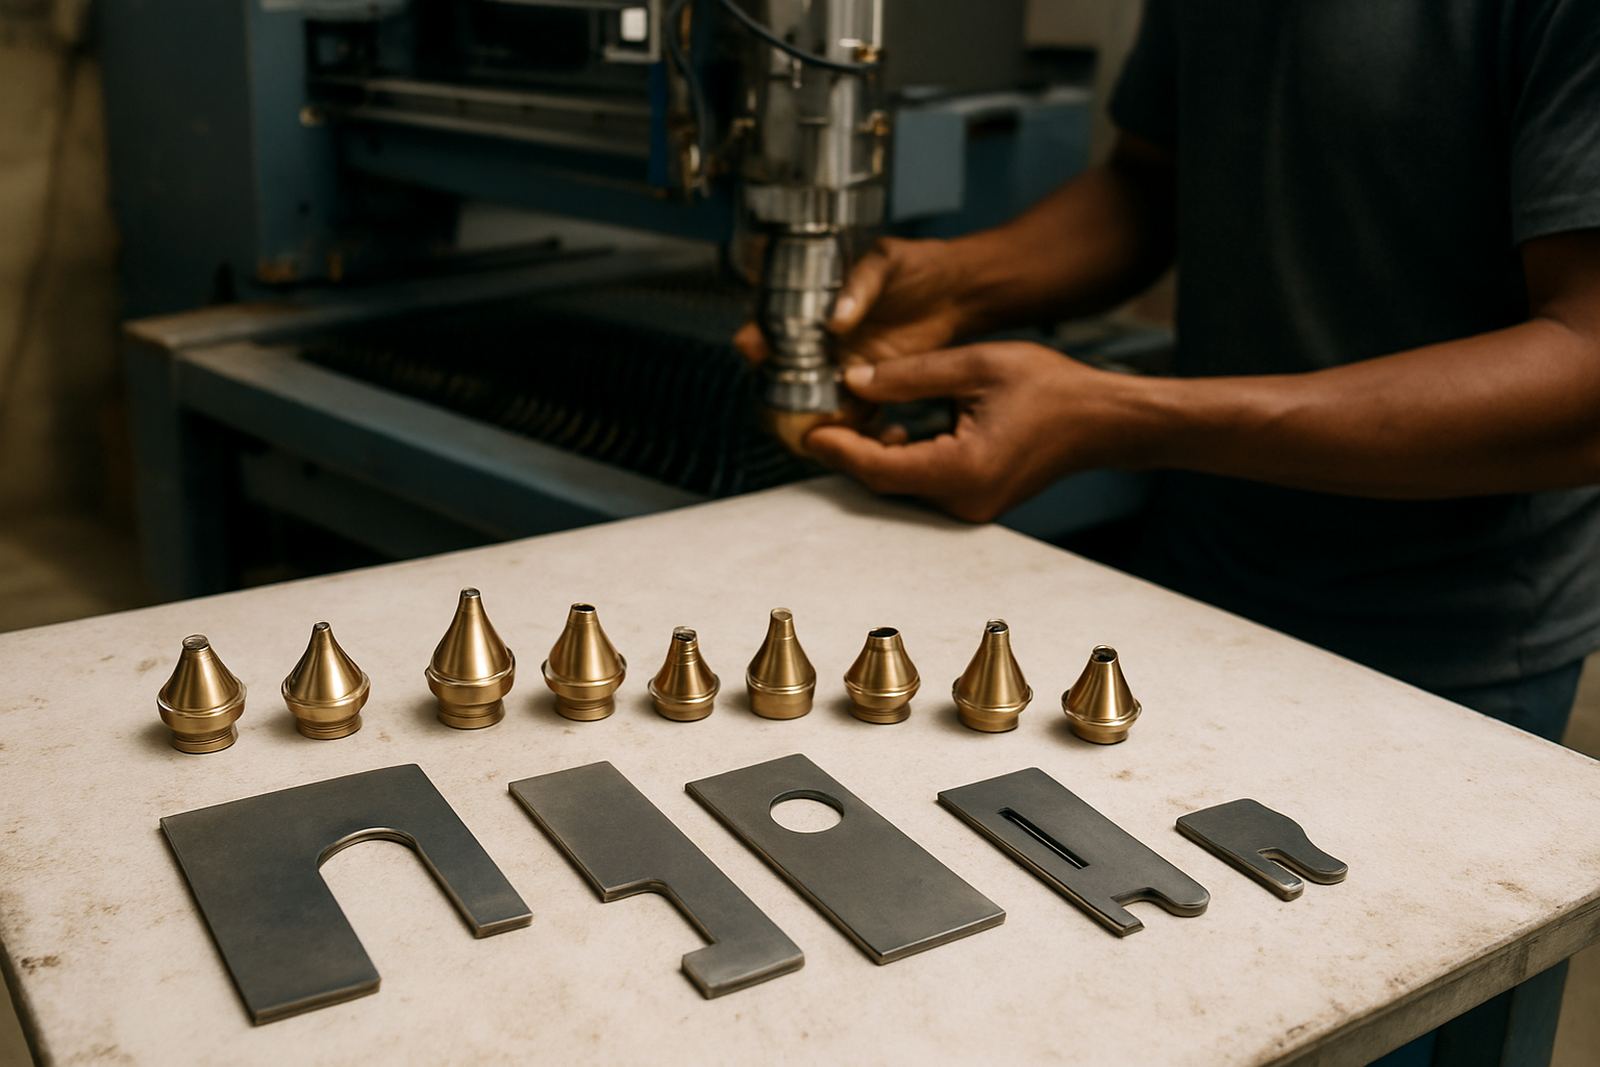
The first step is to match the nozzle to the cut, not to guess from the machine size alone. Thin sheet, thick plate, stainless, mild steel and aluminium all behave differently under the beam and assist gas, so the nozzle must suit the work you do most often. A nozzle that works on 1 mm sheet may not give clean edge quality on 8 mm plate, and the wrong choice can leave dross, heavy striations or unstable pierces.
In Boksburg and across Ekurhuleni, we still see workshops running one nozzle size for every material because it is convenient. That habit can cost you in scrap and extra cleaning. If your shop changes material often, keep a basic selection on hand and record which jobs cut cleanly with each size. It saves time when load-shedding windows are short and the machine has to come back on line quickly.
Choose Nozzle Bore Size By Material And Thickness
Nozzle bore size controls how the assist gas exits the head and how the melt is pushed out of the kerf. Smaller bores usually suit finer work and lower gas volumes, while larger bores help with thicker material and stronger gas flow. The right size depends on the machine, the cutting head and the gas set-up, so always confirm the maker's specification for your system.
- Fine cutting on thin sheet often needs a smaller bore for tighter gas control.
- Thicker material usually needs a larger bore for better melt removal.
- If cut edges show heavy burrs, test a different bore before changing other settings.
- If the cut is noisy or unstable, check whether the nozzle size is too small for the gas flow.
- Keep a log of which nozzle sizes work best on your common material grades.
A nozzle that is too large can waste gas and weaken control, while one that is too small can choke the flow and leave poor edge quality. On CO2 systems the same rule applies, though the symptoms may show up a bit differently. The main point is to avoid using size as a shortcut for setup, because the machine will tell you when the match is wrong.
Match The Nozzle To The Assist Gas And Pressure
Assist gas choice matters just as much as nozzle bore. Oxygen, nitrogen and compressed air all behave differently, and each one needs the correct pressure range and nozzle geometry. If the pressure is too high for the nozzle, the cut can blow out or widen more than it should. If it is too low, molten material may remain in the kerf and cause rough edges.
Check the pressure at the machine, not only at the regulator on the wall. Long pipe runs, wet air and municipal supply changes can affect what reaches the head, especially in coastal areas like Durban where moisture is a constant nuisance. If your air system does not have proper drying and filtration, the nozzle can wear faster and the cut can start drifting before you notice it.
- Check gas quality before blaming the nozzle.
- Confirm pressure under working load, not only at idle.
- Drain water traps and service filters regularly.
- Watch for inconsistent edge finish across a full sheet.
Inspect Wear Before You Fit A Fresh Nozzle
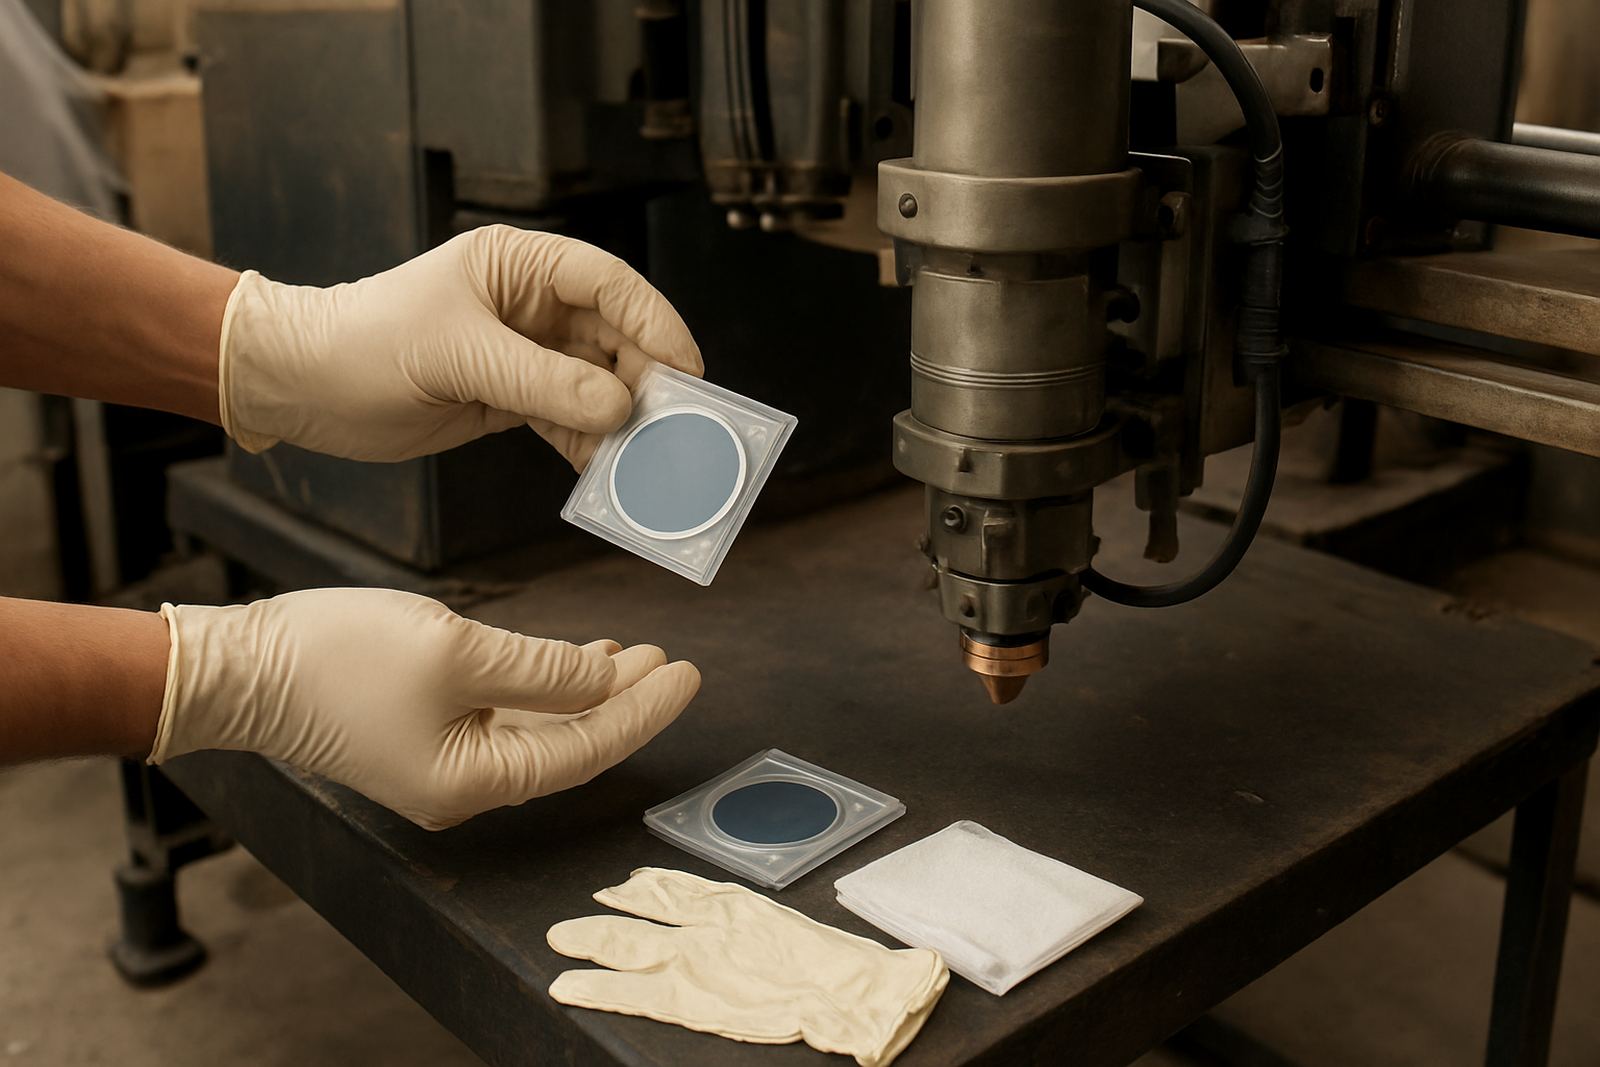
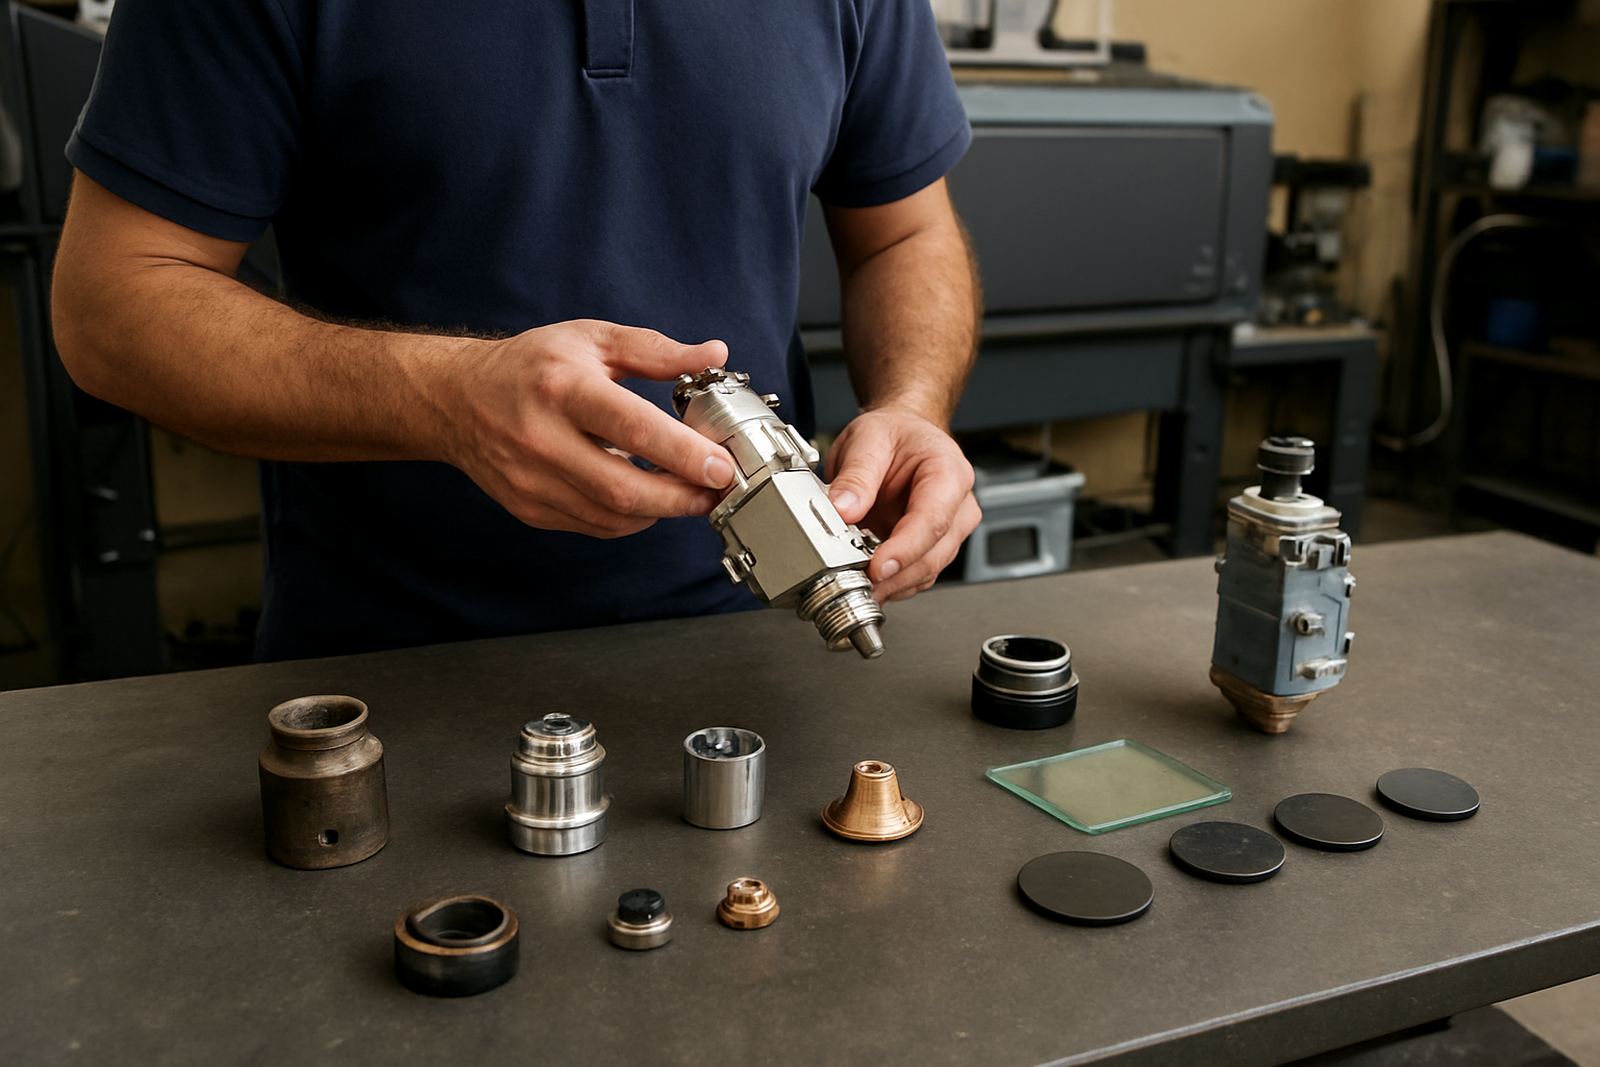
A new nozzle will not fix a damaged head, dirty optics or a worn ceramic holder. Before fitting anything, inspect the nozzle seat, the thread, the ceramic and the protective window area. If the head has had a bump or collision, even a light one, the nozzle may sit off centre and the beam will not pass through cleanly. That can lead to poor pierce quality and repeated stoppages.
Look for spatter on the inside of the nozzle, oval wear on the bore and marks on the seating face. If the nozzle has been over-tightened, the seat can distort and the alignment will keep moving. We often find that a quick visual check saves a full strip-down later, which matters when a job shop in Johannesburg or Pretoria needs the machine back on the floor same day.
- Check the nozzle tip for nicks and splatter.
- Inspect the seat for scoring or uneven contact.
- Confirm the ceramic holder is intact and not heat damaged.
- Check the protective window before blaming the nozzle for dirty cuts.
Set A Simple Selection Routine For The Workshop
A repeatable routine stops people from fitting the wrong part in a hurry. Keep nozzles labelled by bore size, material range and machine type, then store them in a clean, dry cabinet. In a workshop with vibration, dust and grinding grit, loose storage can contaminate the bore before the nozzle ever reaches the head. That creates unnecessary faults and sometimes a false alarm about machine performance.
Use a short checklist before first cut, then again after a changeover. This is especially useful in smaller sites where one operator may run both cutting and bending equipment. A steady process also helps when the team is working around municipal interruptions or power cuts, because the machine can return to production quicker once power comes back.
- Confirm nozzle size against the job card.
- Check the gas type and pressure setting.
- Wipe the seat and surrounding parts before fitting.
- Run a test cut on offcut material.
- Record the result for future jobs.
When To Stop Cutting And Call For Inspection
If nozzle changes do not improve the cut, stop and inspect the head properly. Repeated burn marks, strange kerf width, unstable pierces and visible beam scatter can point to a deeper issue inside the cutting head. The problem may be in the lens stack, the window, the sensor ring or alignment, not the nozzle itself.
Laser Ray Tools supports fibre and CO2 systems from our Boksburg base with bench and on-site repairs for workshops across South Africa, including Johannesburg, Pretoria, Vanderbijlpark, Durban and Cape Town. Our team can handle strip and inspection, collision damage repair, nozzle seat restoration, lens replacement, window replacement, gas path service and return to service testing. If your nozzle choice is no longer giving stable results, it is better to inspect properly than keep changing parts and losing production time.