
What a laser cutting head repair usually covers
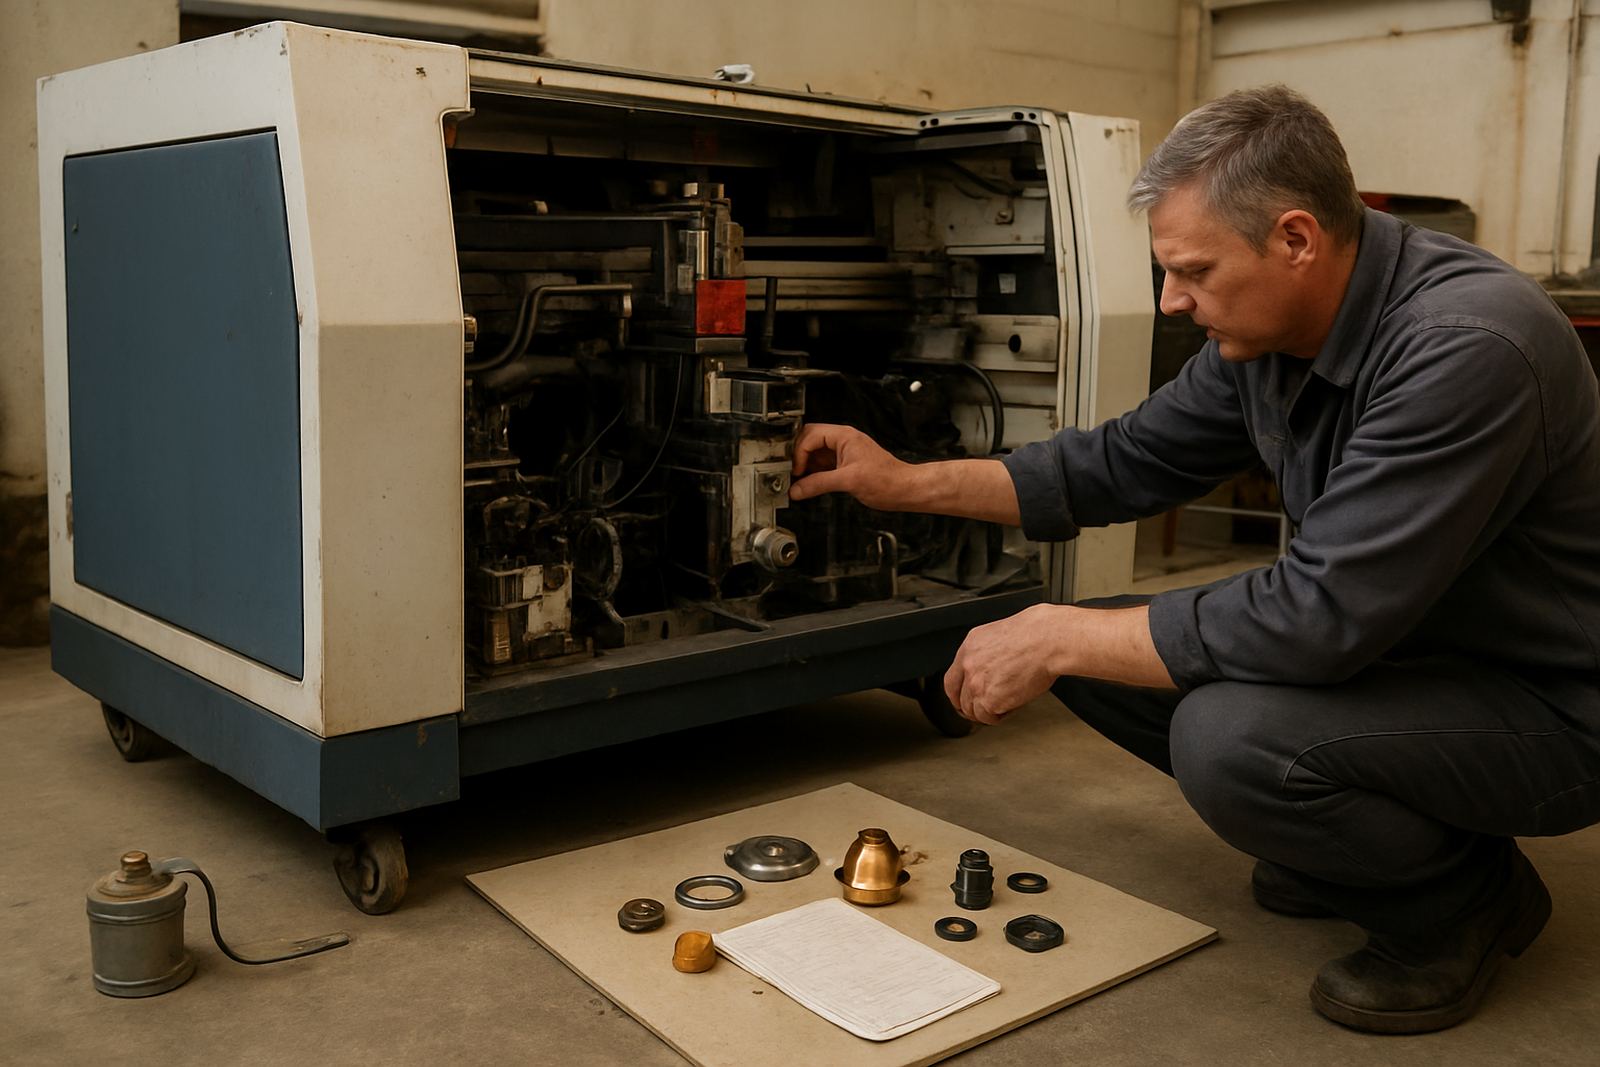
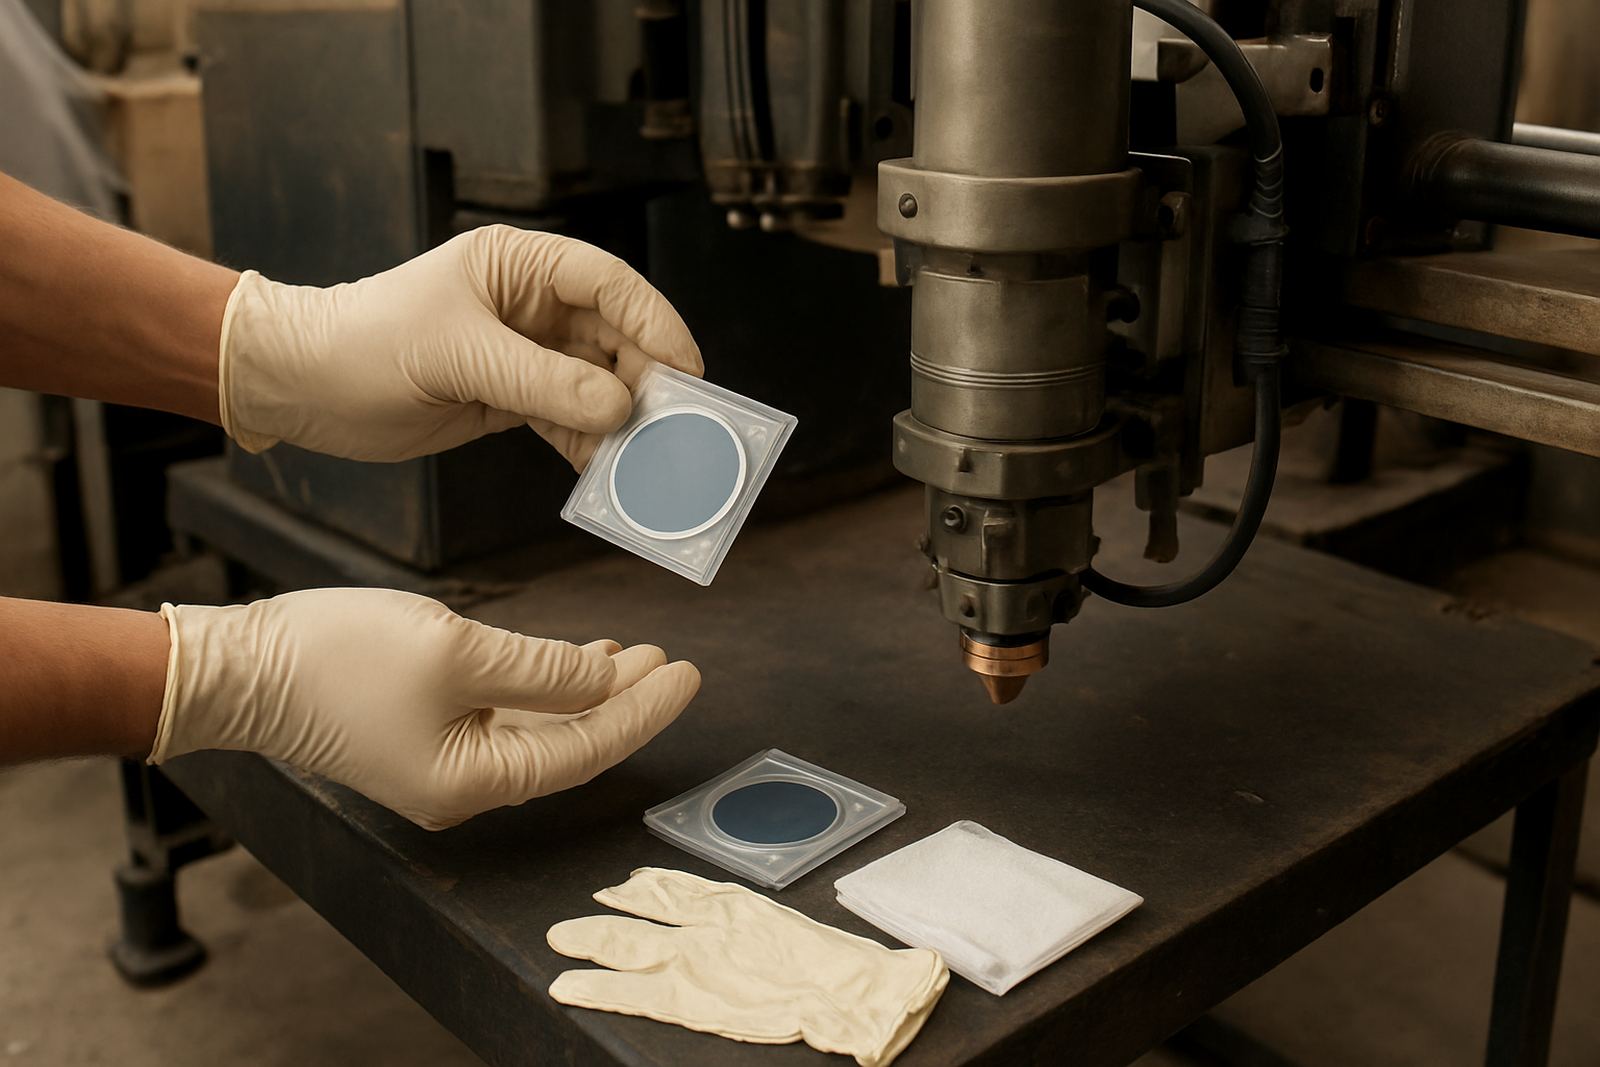
Most cutting head jobs start with strip and inspection. That means the head is opened, cleaned and checked for wear, impact marks, contamination, loose fittings, burnt seals and damaged optics. On fibre systems the lens stack and protective window are often the first parts to be checked, while CO2 heads may need mirror and alignment checks as well.
The aim is not to change parts for the sake of it. A proper repair finds the reason the head stopped cutting cleanly, whether that came from a collision, dirty assist gas, repeated heat stress or general wear. In Boksburg and across Ekurhuleni we see many heads that have been pushed too long after a small fault, and the repair ends up being cheaper than the scrap and rework that follow.
Signs the cutting head needs attention now
If a machine is still running but the cut quality has changed, do not wait for a full failure. Small faults in the cutting head show up early. A nozzle that is worn or out of position can leave heavy dross, taper or rough edges. A scratched protective window can make power look unstable. After a minor collision, the head may still move but the beam path can be off by a fraction, and that is enough to spoil production.
Workshop teams in Johannesburg, Pretoria, Vanderbijlpark, Durban and Cape Town often call when the same plate starts to cut differently from one side to the next. That is a sign the head should be checked before more parts are wasted. It also helps during load-shedding recovery, because a machine that resumes with a weak head can waste the first few sheets after power comes back.
- Cut edges are rougher than usual or need extra clean-up
- Nozzle marks, spatter or splatter are appearing more often
- The machine alarms after a head knock or table collision
- There is visible dirt, burn marks or clouding on the optics
- Gas use has changed but the cut has not improved
The repair steps we follow on the bench
Bench repair is the safest way to handle a head that has been hit or has unstable cutting performance. The technician can strip the unit properly, clean each part, measure wear and replace damaged components before the head goes back on the machine. This gives a much better result than trying to chase the fault while the machine is still under pressure on the shop floor.
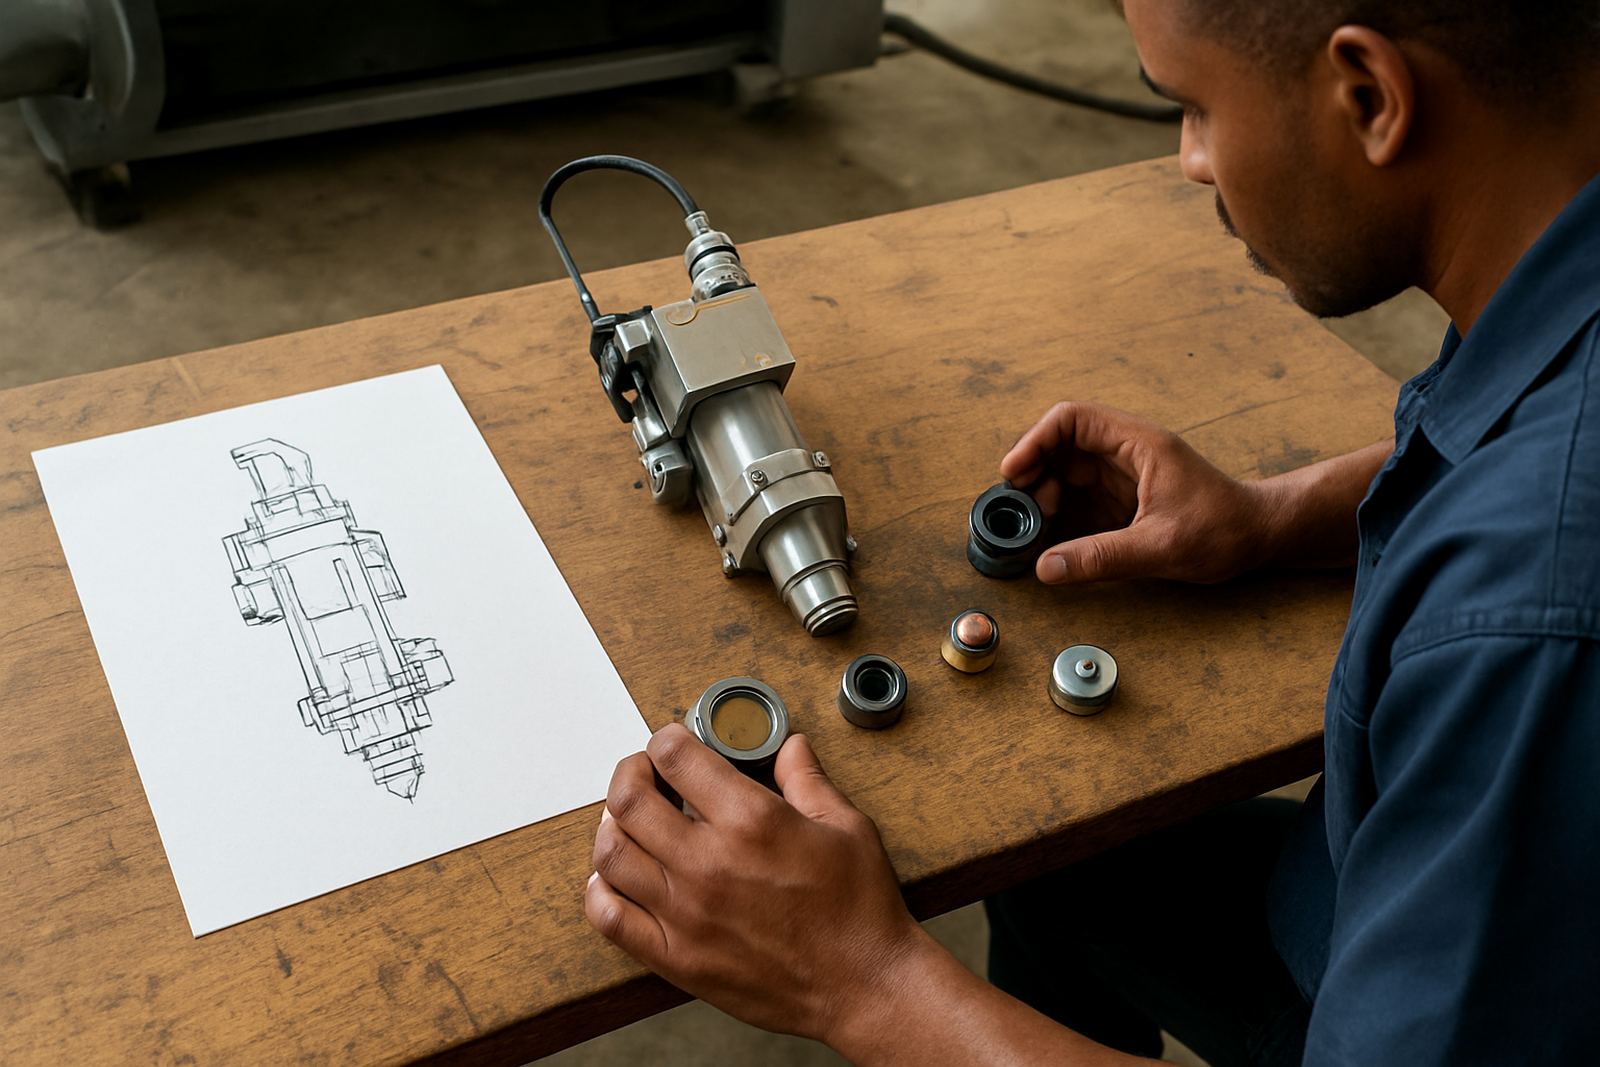
A normal repair sequence includes checking the nozzle seat, lens condition, protective window, sensor ring, ceramic holder and internal gas path. If the head has taken a knock, the alignment is checked before return to service. Where required, a pressure test is done to confirm that the head is not leaking or losing flow under working conditions.
- Strip and inspection
- Nozzle seat restoration
- Lens replacement
- Window replacement
- Sensor ring service
- Ceramic holder change
- Internal cleaning and gas path service
- Head alignment check
When on-site repair makes sense
Some faults are better handled on site, especially when the machine cannot be moved or the workshop needs fast recovery. On-site support is useful for fault finding, basic correction work and return-to-service checks after a changeover. It is also a practical option when a production line cannot wait for transport to and from the base in Boksburg.
On-site work does not replace a proper bench repair when the head is badly damaged, but it can save hours when the issue is simple and local. That is important for job shops and fabricators who need to keep their cutters running through a full shift, even if the power supply is not always friendly and a municipal outage has already eaten into the day.
Use on-site support when:
- The machine cannot be removed without disrupting production
- The fault needs quick diagnosis before deeper work is started
- A recent service needs a return to service test
- The head needs checking after a collision but the body is still sound
Simple checks before you call for repair
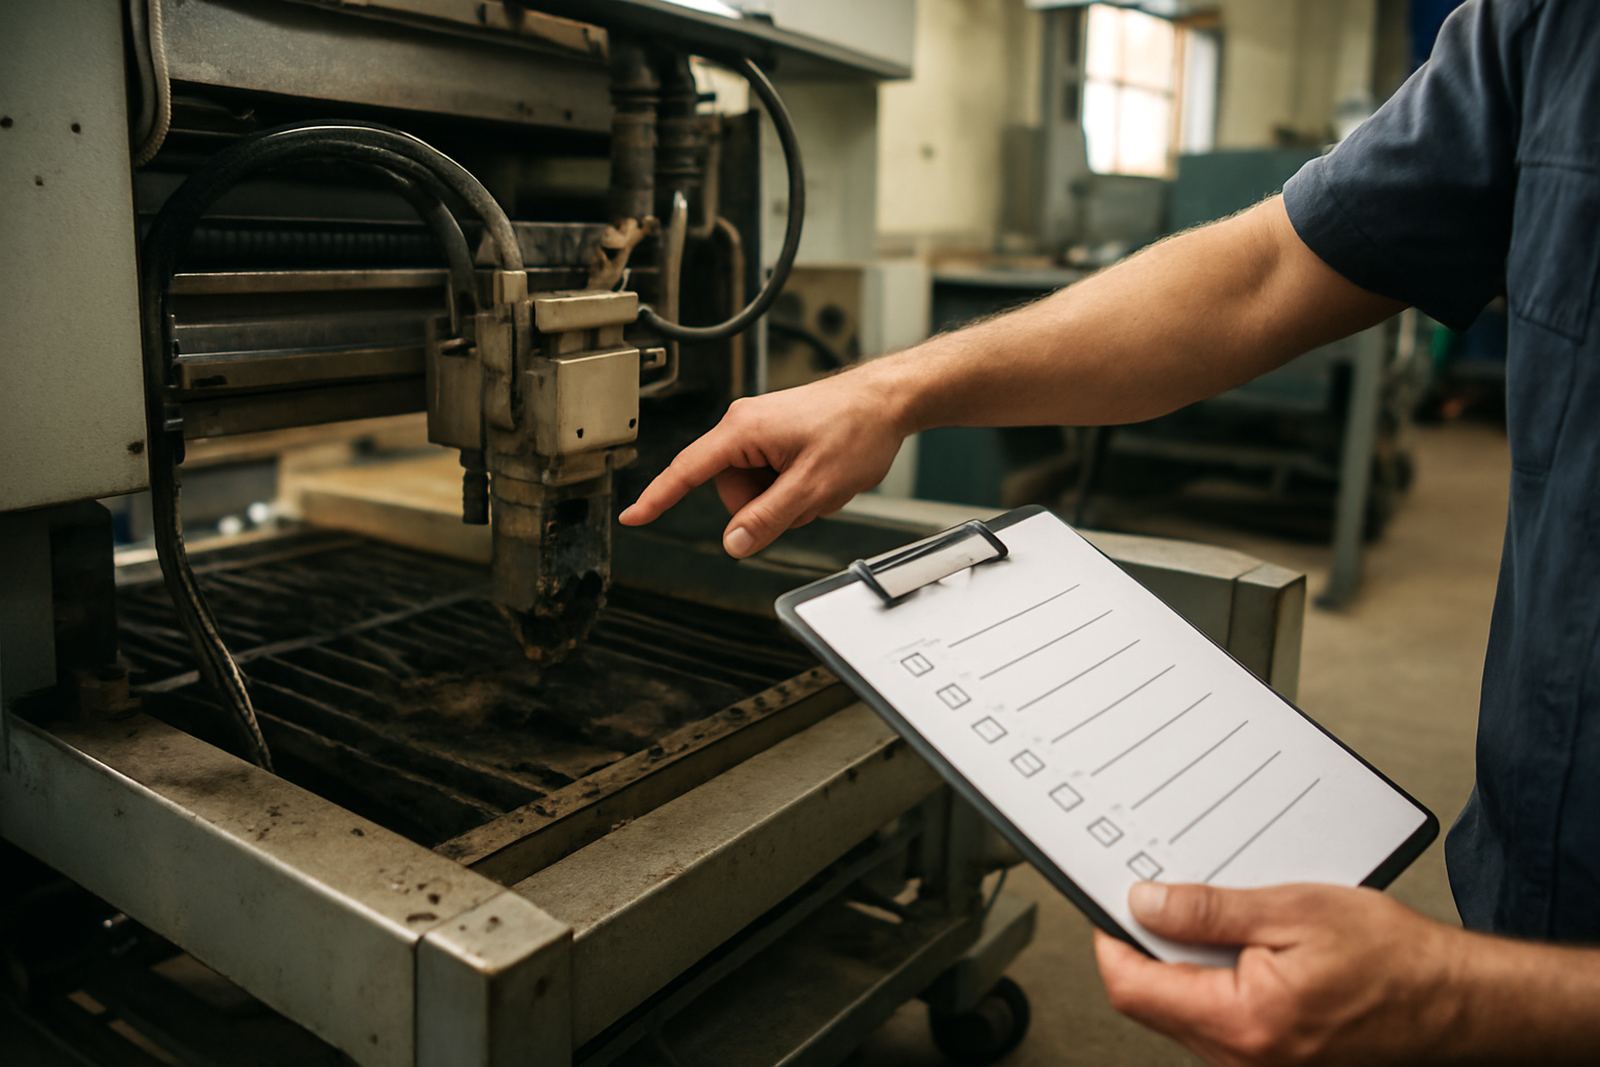
There are a few checks your team can do before sending the head in. These steps help the technician arrive with better information and can sometimes prevent a repeat failure. Keep the area clean, note the alarm code if there is one, and look at the condition of the nozzle and window under good light. If the issue started after a table crash or bad pierce, say so clearly.
Good notes save time. A clear report from the shop floor helps the service team decide whether the problem is likely in the optics, the gas path or the mechanical seat. That can shorten downtime, which matters when orders are due and the backlog is already building.
- Record the fault code and the exact time it started
- Check whether the issue is constant or only on certain materials
- Look for dirt, burn marks or a chipped nozzle tip
- Confirm if the head has had a recent knock or collision
- Note any recent gas, lens or nozzle changes
Why regular head care protects uptime
Cutting heads do not usually fail all at once. They wear slowly, especially in workshops that run long shifts or cut dusty material. Regular inspection stops small problems turning into expensive stoppages. It also protects the rest of the machine, because a bad head can force the system to work harder and waste consumables.
For shops in Germiston, Kempton Park and the wider Ekurhuleni area, the practical goal is simple: keep the cutter ready, keep parts in good order and reduce unnecessary stoppages. That means planned service is always cheaper than emergency repair. Sibusiso Mthembu and the team at Laser Ray Tools handle fibre and CO2 systems with the same focus, get the head back into service and keep the workshop moving.
- Inspect before wear turns into a full breakdown
- Replace lenses, windows and nozzles before cut quality drops sharply
- Use proper bench testing after repair
- Keep a record of collisions, pressure issues and repeated faults