
Signs of trouble on a busy Durban North shop floor
The client was a sign maker in Durban North, working on fascia panels, route markers, lightbox parts and small cut lettering for retail and commercial jobs. Their CO2 laser had started leaving rough edges on narrow shapes, with some letters not dropping cleanly from the sheet and a bit of extra heat marking around tighter corners. On a sign table, that sort of problem shows up fast in waste and rework.
The brief was simple: get the beam path checked, clean the optics, and confirm whether the issue was only contamination or if the cutting head needed deeper attention. The machine had been used hard in a coastal area where dust, humidity and daily changeovers can build up quickly. The client wanted the unit back in service without taking a full production week out of circulation.
- Machine type: CO2 laser cutter used for signage production
- Work location: Durban North, KwaZulu-Natal
- Problem: poor fine feature cutting, edge scorch and inconsistent small detail
- Priority: short downtime and reliable repeat cutting on sign materials
What we checked before touching the head
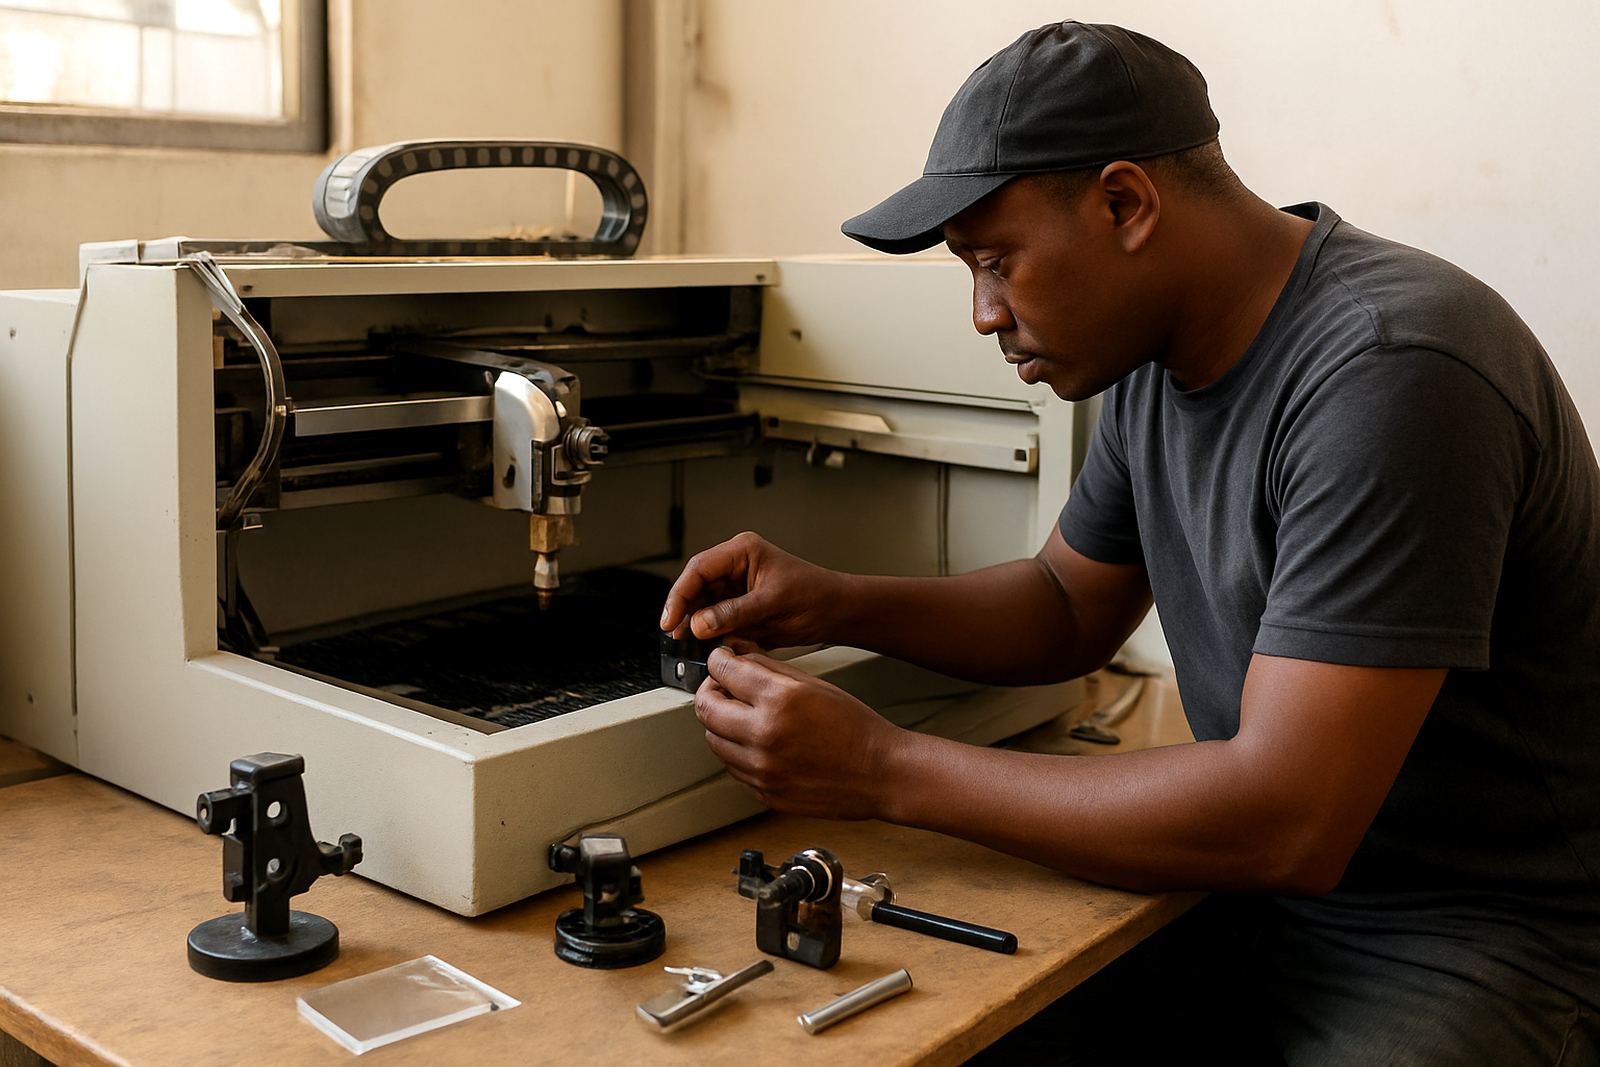
We started with a strip and inspection on the cutting head area and the beam path. That included checking the nozzle condition, looking for dust on the lenses and mirrors, confirming the protective window state, and inspecting the sensor ring and ceramic holder for wear or heat marks. The machine was not suffering a single dramatic fault. It was a mix of small losses in alignment and dirty optics, which is common when a cutter has been running day after day on signage work.
The workshop also had load-shedding exposure, so the operator had seen a few abrupt stops and restarts. Those events do not always cause direct damage, but they can push an already sensitive optical path out of tolerence. We also checked the bench pressure test readings and reviewed whether the assist gas path was steady enough for clean cutting on smaller apertures.
- Inspection points: nozzle seat, lens, protective window, sensor ring, ceramic holder
- Support checks: beam alignment, gas path, head movement and contamination
- Environment: coastal humidity and dust from daily sign production
Bench work to restore clean beam delivery
The cutting head came back to our Boksburg workshop for bench work because the client needed a controlled inspection rather than a quick field clean only. We carried out optics cleaning, then reset the beam path alignment and checked the head face for signs of collision wear. The nozzle seat was restored where light marking had started to affect the centring, and the protective window was replaced as a precaution because it had visible contamination and a small heat stain near the edge.
We also serviced the internal cleaning points, checked the gas path, and confirmed the sensor ring was reading normally after reassembly. Where the ceramic holder showed age, we replaced it rather than patching it. That matters on signage jobs because small detail cutting needs the beam to stay stable through every corner and every restart. A head can look fine on a quick visual but still throw off tiny cuts if the nozzle and optics are not sitting properly.
- Optics cleaned and checked under bench conditions
- Beam path realigned for even output through the cutting head
- Nozzle seat restored to improve centring and repeatability
- Protective window and worn ceramic holder replaced
- Internal cleaning completed to remove fine dust and residue
On site return and cutting test on sign material
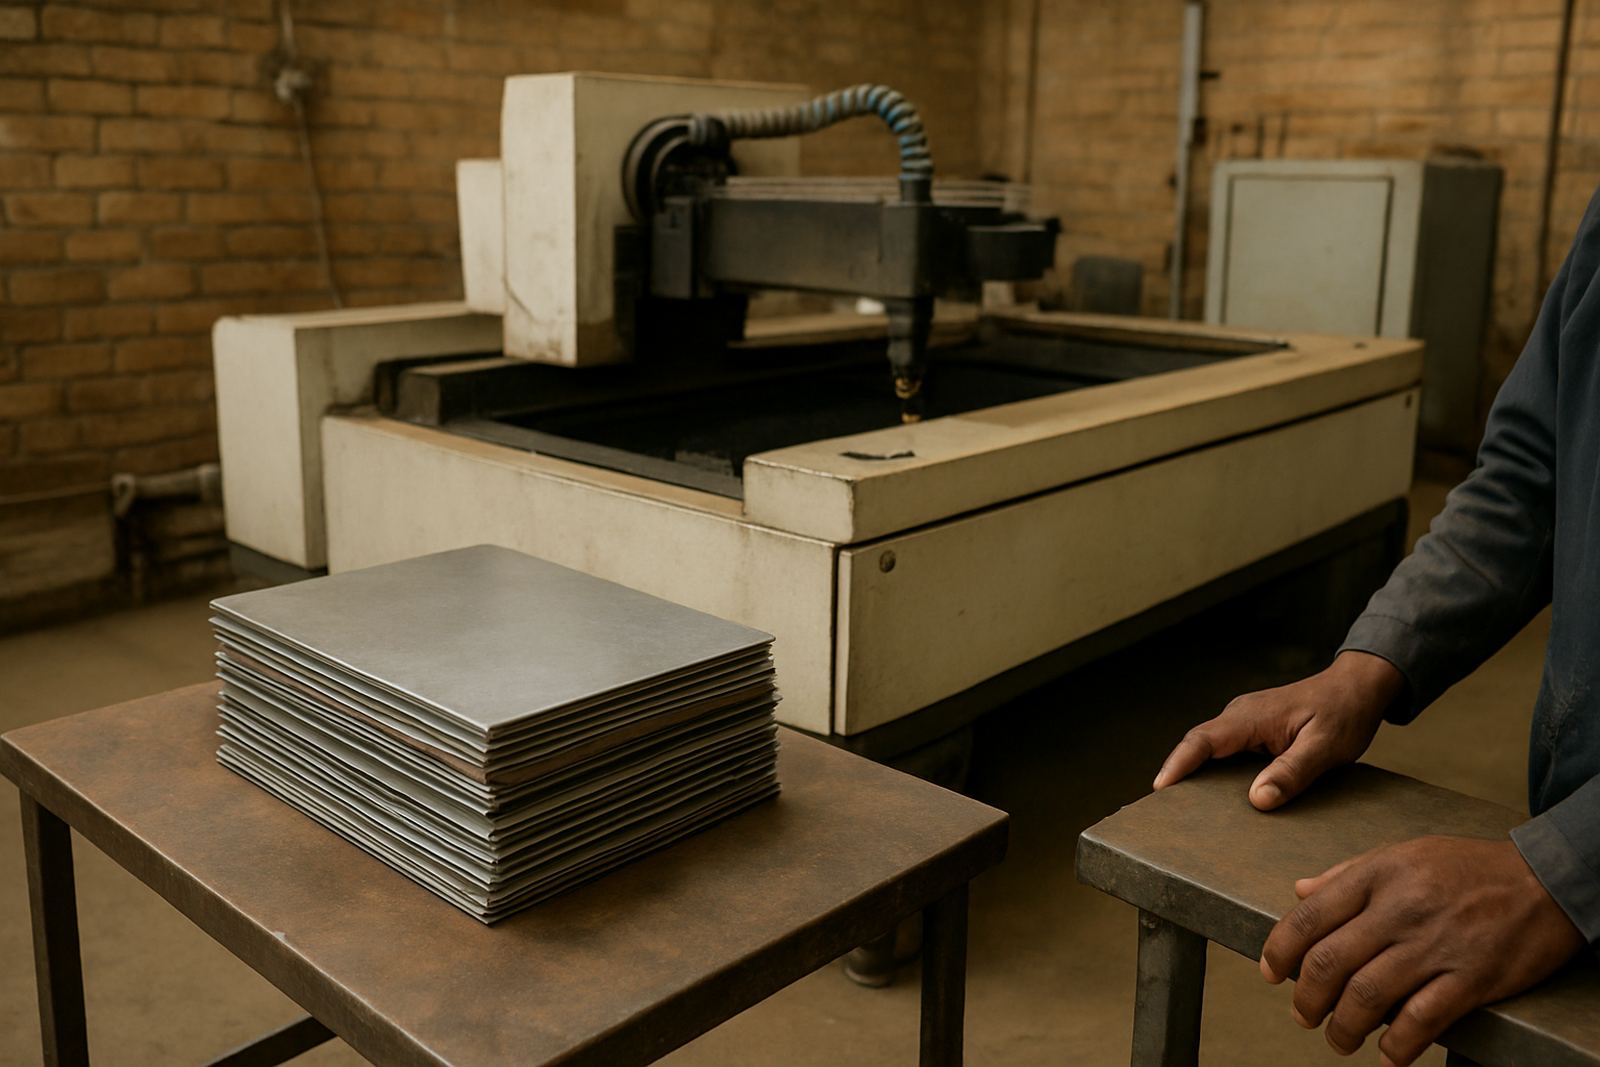
After bench repair, we returned to site to complete the head alignment check and a full return to service test. The machine was loaded with the same types of material the shop cuts every week, including light gauge sheet and sign grade acrylic. We tested small text, tight radii and repeated pattern cutting to make sure the optics held under real work conditions, not only in a test bay.
The difference was clear. Fine features released cleaner, the edge scorch reduced, and the smaller characters stopped dragging at the corners. The operator could see the improvement on the first sheet and the re-cut rate dropped straight away. We also watched the machine through a longer run to confirm the gas flow and head movement remained steady after heat build-up. On these jobs, a head that cuts well for ten minutes but drifts after an hour is not good enough.
- Return to service test completed on real sign materials
- Small text and tight corner cuts used as the main check
- Longer run confirmed stable output after warm-up
- Edge quality improved without extra finishing work
Timeline, pressure points, and what had to stay in place
The job took one week from first inspection to sign-off. Day one was diagnosis and fault confirmation. The head then moved to bench repair for cleaning, alignment and parts replacement. The last stage was on site testing and final adjustment. That short turnaround mattered because the client had a stack of daily sign orders, including repeat retail work and custom pieces with narrow cuts that do not forgive a sloppy beam path.
We planned the work around three constraints. First, the machine could not be down for long because the shop had delivery dates to meet. Second, the unit needed to be tested in the same Durban North environment where humidity and dust can affect performance. Third, the operator needed a clear handover so they could spot early warning signs, like a change in noise, burn pattern or assist gas feel. A sign shop cannot wait until the next breakdown to notice a drift.
- Timeline: 1 week from inspection to return to service
- Constraint 1: short production downtime
- Constraint 2: coastal humidity and dust exposure
- Constraint 3: operator needed practical checks for day to day use
Results on the jobs that matter most
The main result was better fine feature cutting on signage work. Small letters dropped cleaner, corner scorching reduced, and the machine no longer needed repeated passes to achieve a clean finish on detail-heavy jobs. That saves time on the table and cuts down on wasted material, which is where the real cost sits for a sign maker. The operator also reported a steadier cut start, with less hesitation on short segments and better consistency across a full sheet.
For us, the important part was that the machine returned to predictable daily use rather than just passing a single test pattern. We would do the same job again in the same order: inspect first, confirm the beam path, clean the optics properly, replace worn head parts only where needed, then prove the result on the client’s own sign material. That approach works because it deals with the actual cause, not only the symptom.
- Cleaner fine features on small lettering and detailed cuts
- Less edge scorch on sign material
- Lower rework and less waste
- Stable performance after warm-up and through repeat cutting
What we would repeat on the next Durban North call-out
If we had the same Durban North sign workshop back on the bench tomorrow, we would repeat the same sequence without rushing it. Start with diagnosis, confirm whether the issue sits in the optics, head wear or gas path, then use bench repair where it gives the best control. Coastal shops often assume the laser itself is failing when the real problem is a mix of contamination and worn consumables. Sorting that early keeps the machine productive and avoids bigger damage from a misaligned beam.
We would also recommend a regular head check after any collision, after a power event, or whenever the cut starts needing more finishing at the edges. In sign work, those small changes are usually the first sign that the system needs attention. Catch it early and the repair stays smaller, the sheets stay cleaner, and the day runs smoother.
- Best practice: diagnosis first, then targeted repair
- Watch for changes after collisions or power interruptions
- Use the client’s own material in the final test
Key facts
| Project type | CO2 beam path alignment and optics cleaning |
|---|---|
| Client type | Durban North sign maker |
| Machine use | Signage cutting, small lettering and fine detail work |
| Work scope | Bench repair and on site return to service |
| Turnaround | 1 week |
| Key outcome | Improved fine feature cutting and reduced edge scorch |