
Why the job shop brought the head in from Pinetown
The client was a busy job shop in Pinetown, supplying cut parts to a Durban subcontractor network. Their fibre laser machine was still running, but the cutting head had become unreliable after repeated material strikes and day to day wear. Some sheets would cut cleanly, then the next batch would show burrs, dross and a shift in focus that slowed the whole line down.
They needed a practical repair, not a full machine change. The brief was to recover cut consistency, check the internal condition of the head and confirm whether the issue sat with the nozzle seat, optics, sensor ring or alignment. The workshop could not afford a long outage because load-shedding windows and late deliveries already ate into production time. Downtime was costing real money, especially on short-run work.
- Client type: subcontract job shop
- Area: Pinetown, serving Durban orders
- Machine type: fibre laser cutting head
- Problem signs: rough cut edge, inconsistent pierce, alarms after minor collisions
Bench work and fault finding on the cutting head
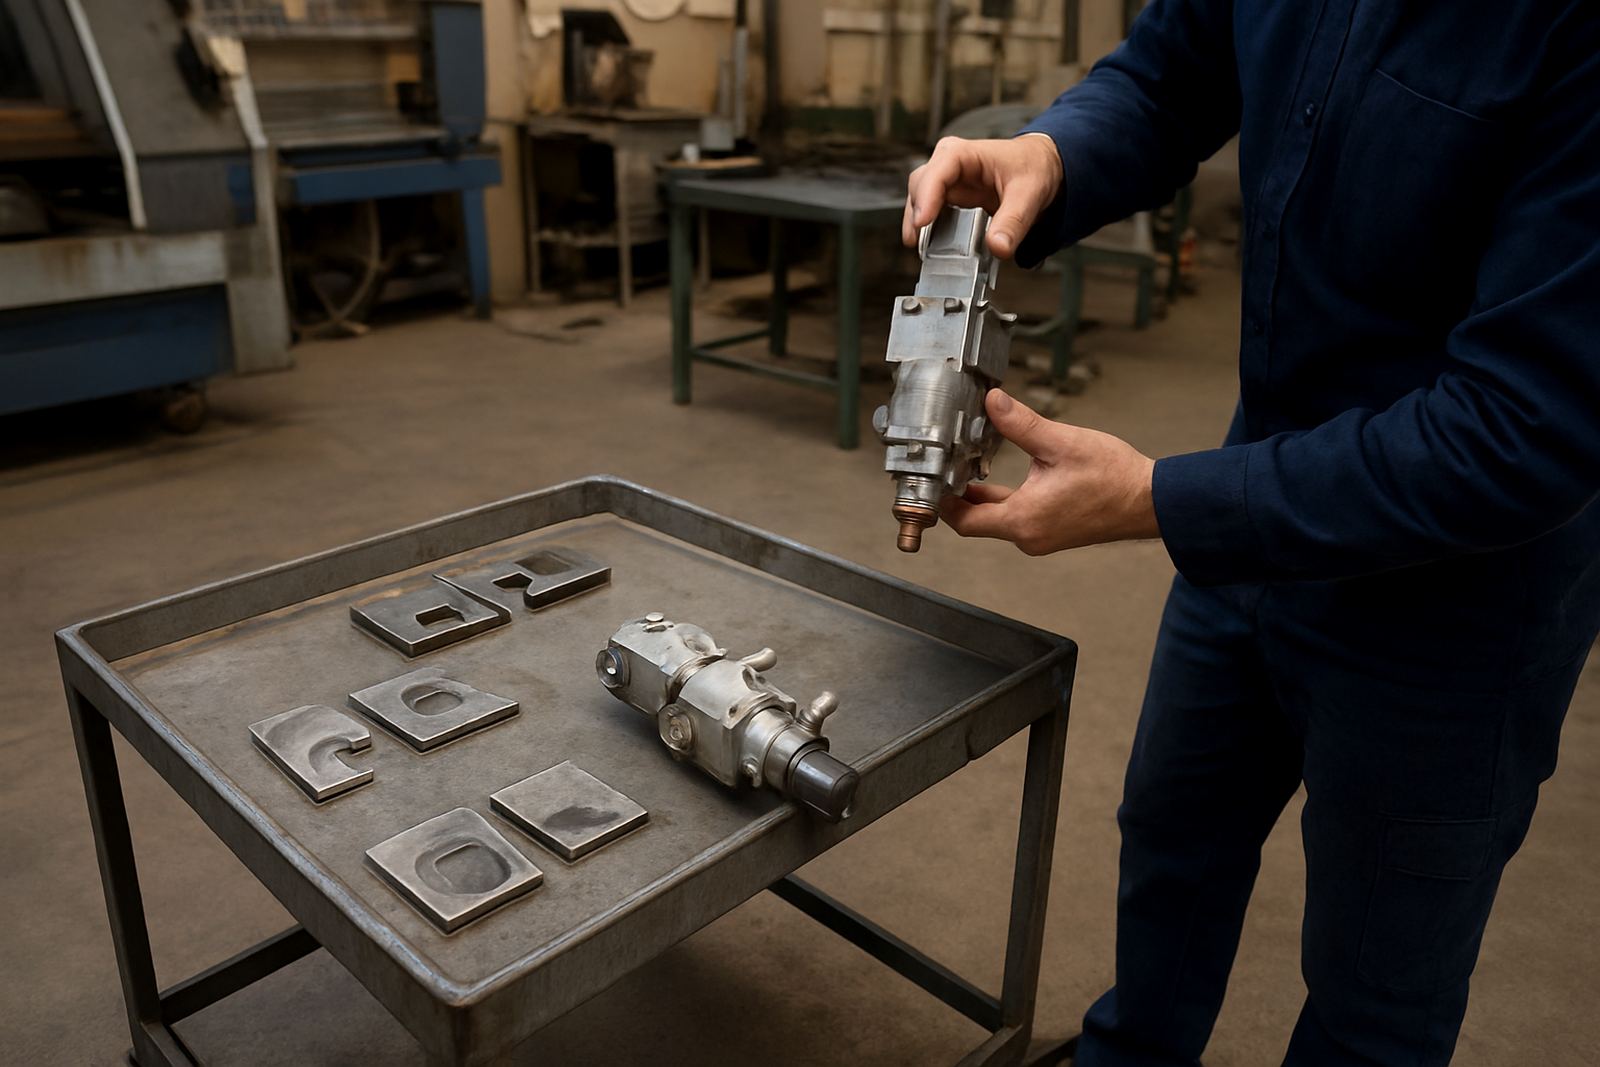
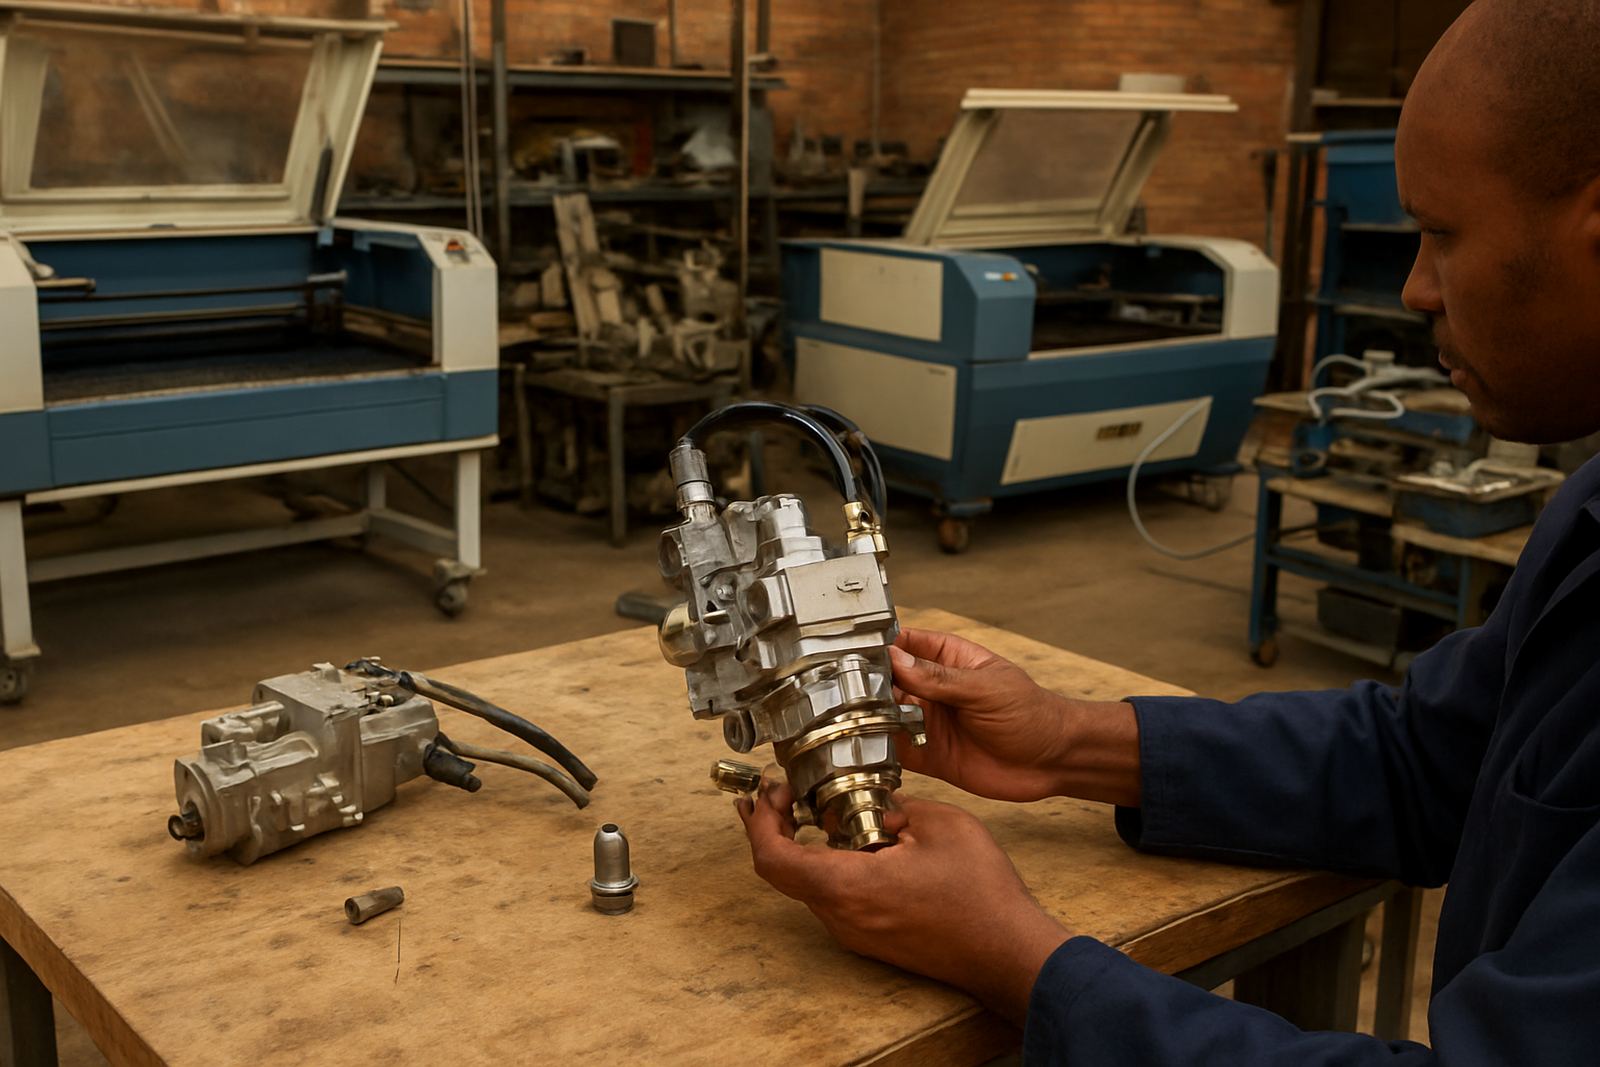
We collected the head for bench inspection at our Boksburg base and stripped it down in a controlled sequence. The inspection covered the nozzle seat, lens condition, protective window, ceramic holder, sensor ring and internal contamination. We also checked for heat marks, scoring and a slight shift in head alignment that can happen after a collision or a hard pierce on thicker plate.
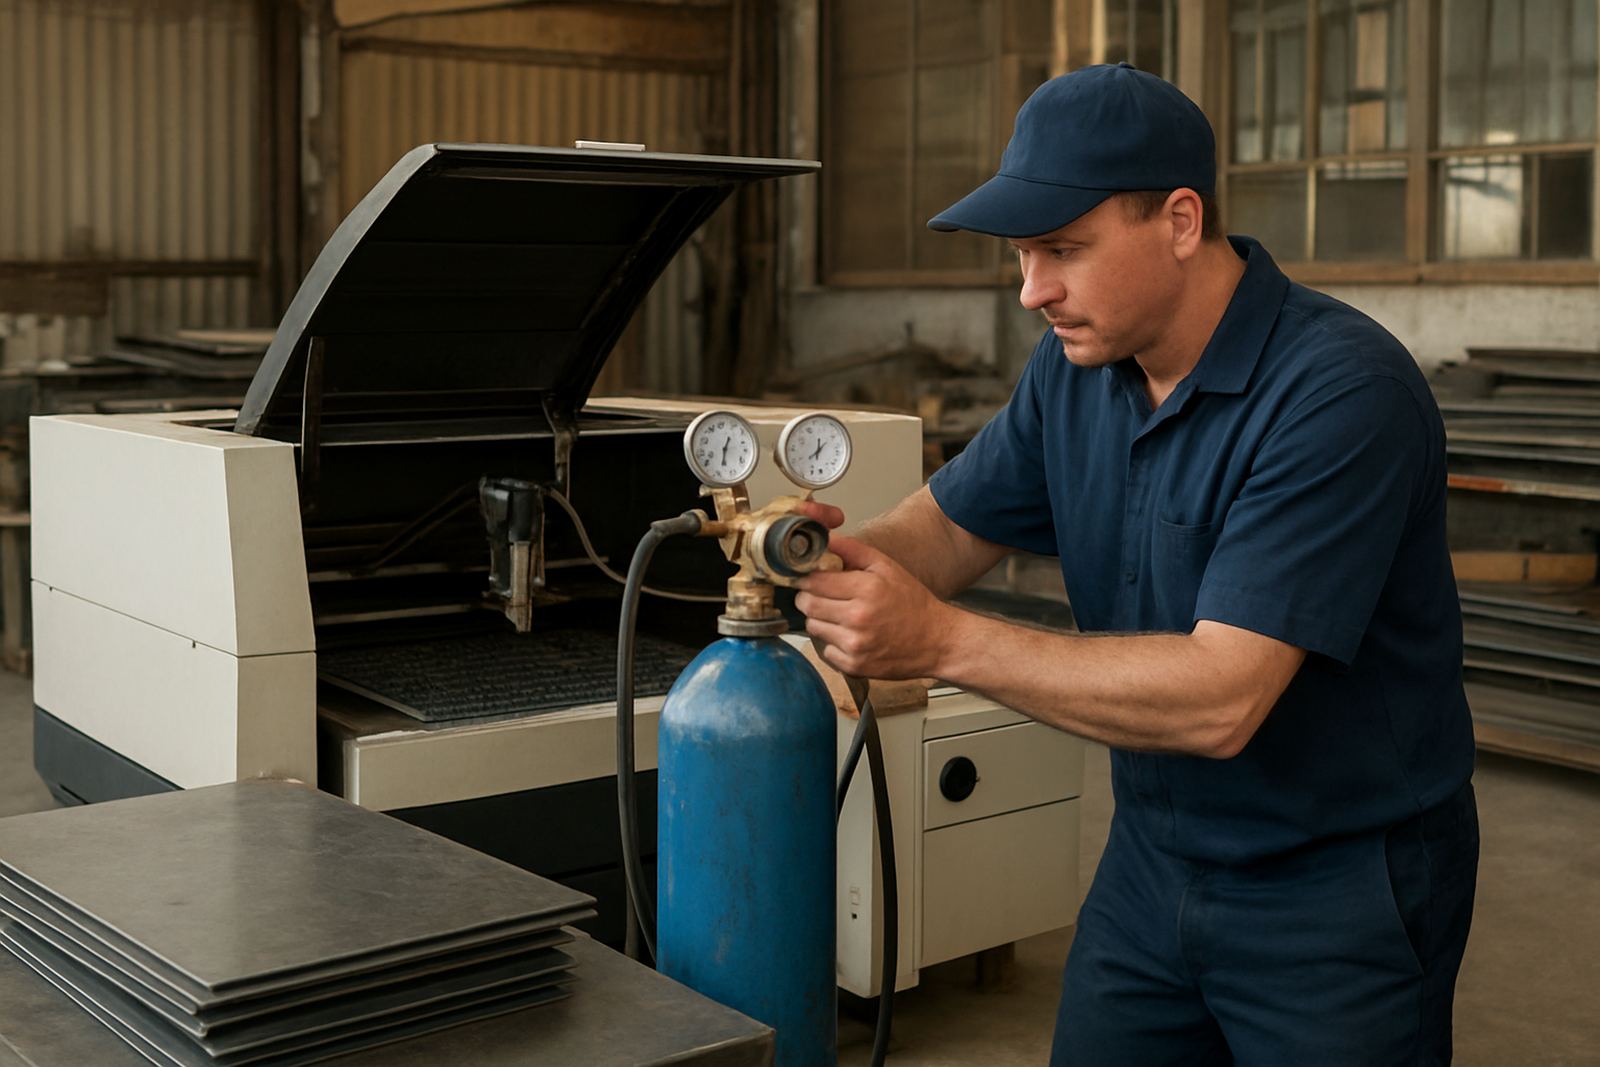
The internal cleaning showed fine dust and spatter residue that was affecting airflow and optical protection. The nozzle seat had wear, the protective window showed pitting, and the lens required replacement. We also tested the gas path and pressure response because a weak gas path can leave the cut edge looking poor even when the optics are sound. A proper strip and inspection gives a clearer answer than guessing, and it helps avoid replacing parts that are still usable.
- Strip and inspection completed on the bench
- Nozzle seat restored for a better seal
- Lens replaced
- Protective window replaced
- Sensor ring checked and cleaned
- Gas path serviced and pressure tested
What we repaired and replaced
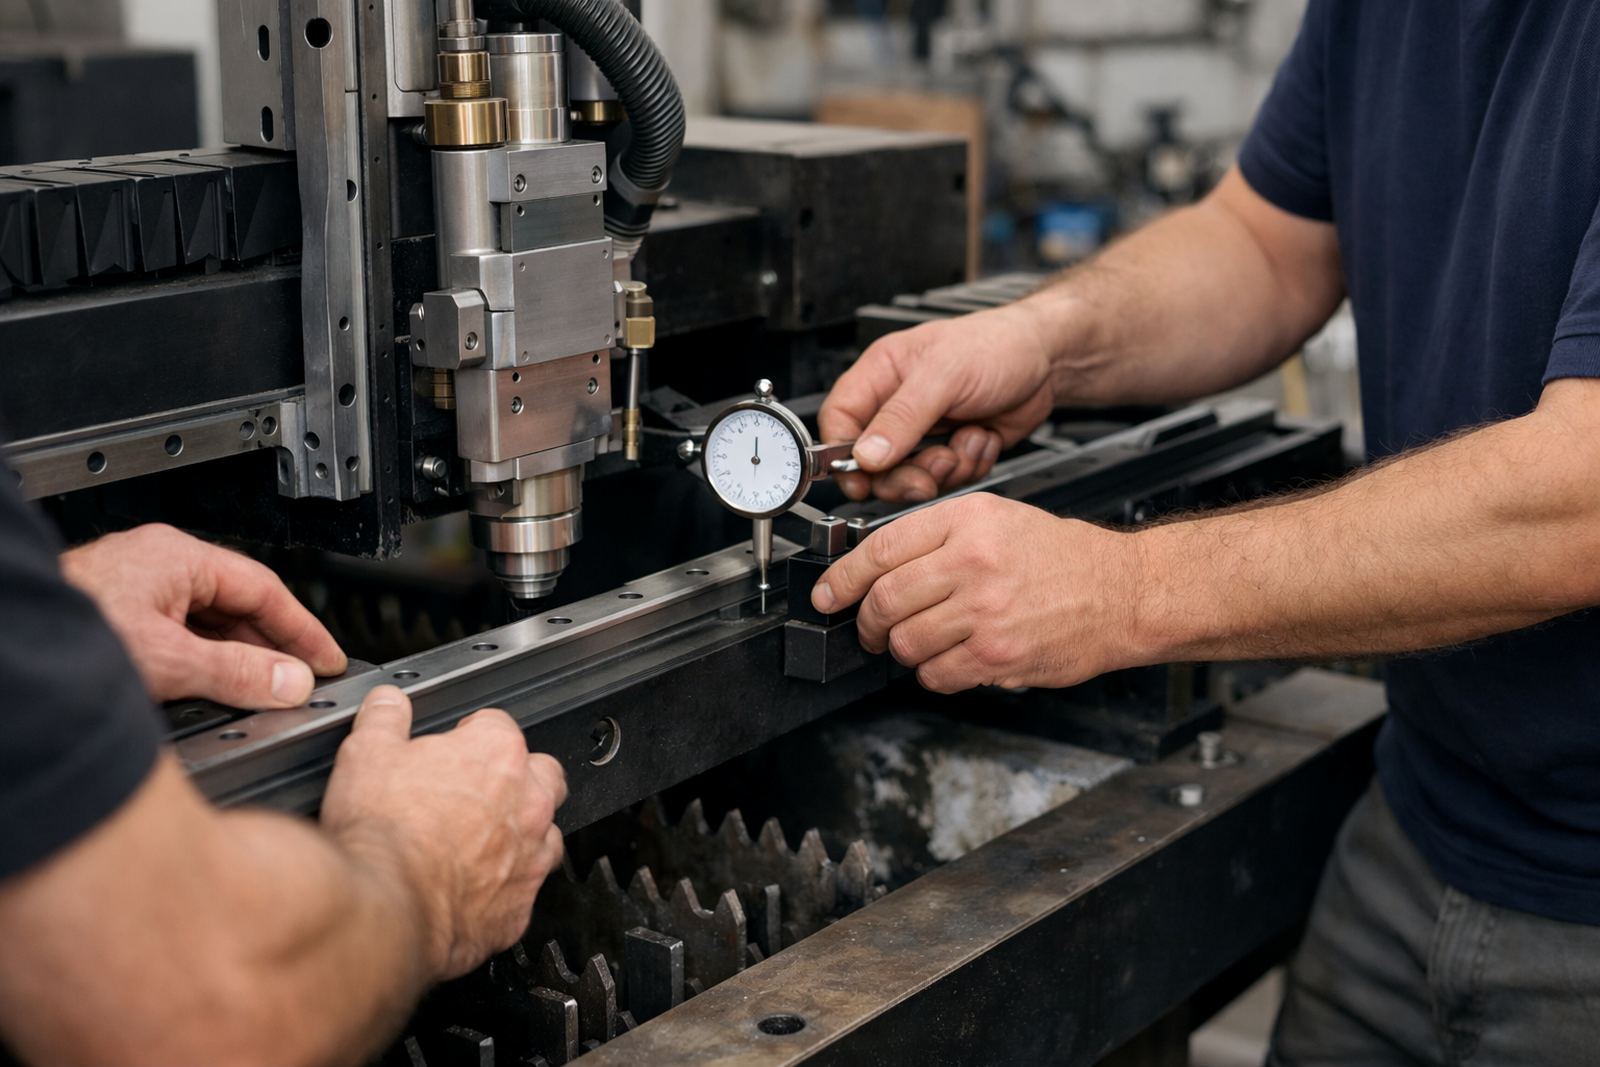
We carried out a practical repair set focused on keeping the head stable and ready for production. The ceramic holder was changed because it had taken wear from repeated handling and heat cycles. We then restored the nozzle seat, fitted a fresh lens and replaced the protective window so the optical path could hold its settings properly. After that, the internal channels were cleaned and the head was reassembled with alignment checks at each stage.
Because the client runs both production and rush work, we paid attention to the smallest details that affect repeatability. A cut head can still function while slowly drifting out of spec, which is where scrap starts creeping in. The rebuild was aimed at stopping that drift before it turned into a bigger machine issue. That approach usually saves a workshop more than one repair later on.
- Collision damage repair on wear points
- Nozzle seat restoration for better centring
- Lens replacement matched to the head spec
- Window replacement to protect the optics
- Ceramic holder change
- Head alignment check before return
Timeline, logistics and production pressure
The repair moved from diagnosis to return-to-service over two weeks. The first week covered strip down, inspection, parts confirmation and bench repair. The second week covered reassembly, pressure testing, function checks and final return-to-service testing. That timing suited the client because they could keep the machine planning around urgent work instead of leaving it parked for too long.
We arranged the process so the workshop got clear feedback early. Once the fault pattern was confirmed, the client knew what was being repaired, what was being replaced and what was still serviceable. That matters in a job shop, where every day off the machine creates knock-on delays on material, labour and delivery commitments. The target was short downtime and a head that could go back into daily use without further tweaking.
- Week 1: inspection, strip down, parts confirmation
- Week 2: repair, pressure test and return-to-service test
- Support method: bench work first, then on-site checks if needed
Results after the head went back into service
After refitting, the machine returned to steadier cutting and the client saw a clear improvement in edge finish. Pierce consistency improved, cut variation reduced, and the operator no longer had to keep stopping to chase the same fault from sheet to sheet. The workshop was able to get back to normal output without carrying a spare head under emergency pressure.
For a Durban subcontractor, that kind of result matters because customers judge the work by part quality and delivery dates, not by how hard the machine was working behind the scenes. The repair also helped the client avoid unnecessary replacement of the full head assembly. In many cases, a proper service on the worn parts is all that is needed to get back on track, provided the alignment and pressure testing are done properly.
We would do the same work again for this type of job shop: start with bench diagnosis, replace only the worn items, then verify the head under pressure before it goes back to the machine. That is the safest way to protect uptime and keep the cutter earning.
What we would repeat on the next Pinetown callout
This project showed the value of a disciplined repair sequence. If the same kind of fault comes in again from Pinetown, Durban or nearby industrial areas, we would follow the same method: strip and inspect, measure the wear, replace the parts that have failed, then verify the result with a pressure test and a final check under working conditions. No guesswork, no rush to swap the whole assembly unless the damage demands it.
That approach suits South African workshops that need practical support around power cuts, busy schedules and short lead times. It keeps the repair focused on the head itself, which is often where the problem starts. It also gives the client a clear paper trail of what was done, what was replaced, and what can still be monitored on the next service.
- Start with bench diagnosis before replacing parts
- Check optics, gas path and alignment together
- Return the head only after pressure and function testing
- Keep a service record for the next maintenance cycle
Key facts
| Project | Pinetown Job Shop |
|---|---|
| Client type | Durban subcontractor job shop |
| Machine | Fibre laser cutting head |
| Work carried out | Strip and inspection, collision damage repair, nozzle seat restoration, lens replacement, window replacement, sensor ring service, ceramic holder change, internal cleaning, gas path service, head alignment check, bench pressure test, return to service test |
| Timeline | 2 weeks |
| Result | Steadier cut consistency, less scrap and faster return to production |