
Start With the Edge, Not the Guessing
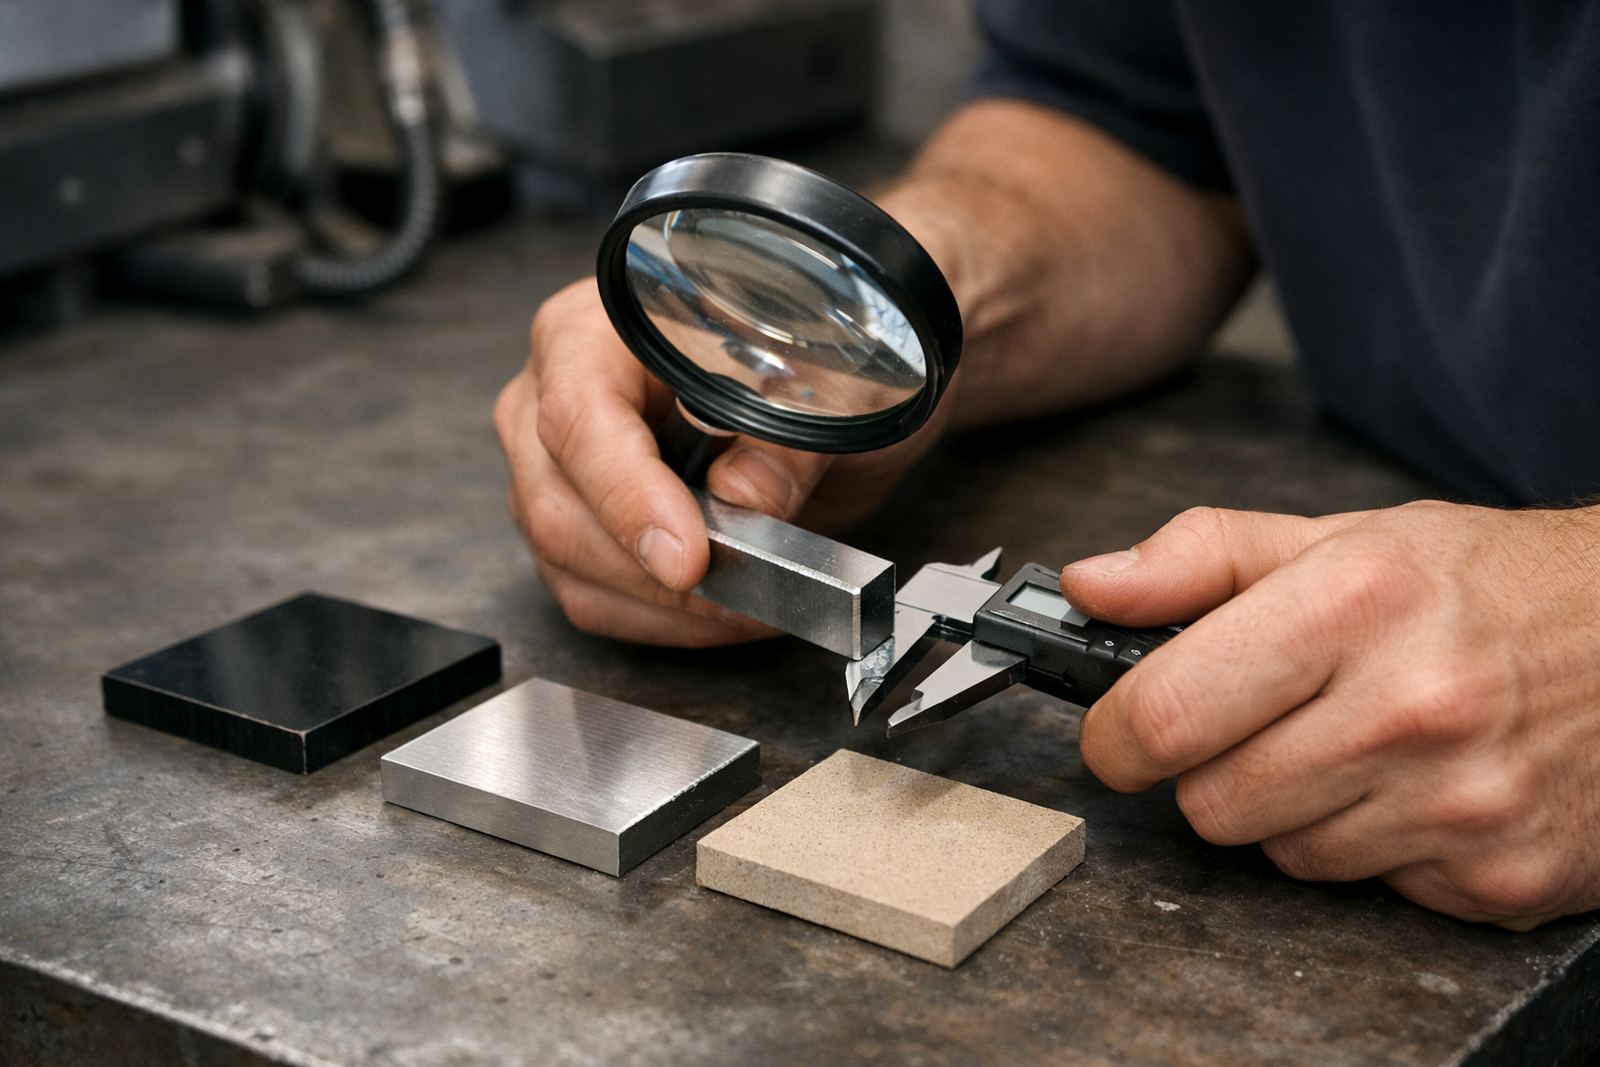
Before anyone changes power or speed again, look closely at the part in your hand. A clean laser cut on mild steel, stainless or aluminium should show a steady edge with minimal striations and no heavy hanging slag. If the finish has suddenly gone off, the first question is whether the problem is on one side only, across the full sheet, or only on tighter internal shapes.
That pattern tells a lot. One side of the sheet with worse dross can point to beam position, nozzle condition or a height issue. Rough edges all round may suggest a worn lens, contamination in the head, poor gas delivery or a machine that is no longer holding alignment after a knock. In workshops around Boksburg and Germiston we often find the complaint starts as a small change in edge finish, then turns into wasted material and rework if left for a week.
Check the Nozzle First Because It Takes the Hardest Hits
The nozzle is the first part of the cut path to suffer from spatter, slag splash and accidental contact. If the tip is ovalled, chipped or sitting off-centre, the gas stream will not stay tight and the cut edge will show more burr and a rougher lower face. A nozzle that looks fine at a glance can still be damaged enough to spoil the cut.
Look for these signs during a first inspection:
- Visible soot or metal splash around the tip
- A bent or uneven orifice
- Thread damage or a loose fit in the head
- Cut quality that changes after a collision or table strike
If the nozzle seat is damaged, replacing the nozzle alone may only solve the problem for a day or two. The seat must be checked as well, because a poor seal lets the assist gas leak and the cut edge suffers.
What the Lens and Window Are Telling You
A dirty or heat-stressed lens can make an otherwise healthy machine cut badly. The beam loses focus, the cut widens and the edge can look scorched instead of cleanly sliced. Protective windows are just as important. If the window has a fine misting, pit marks or a hairline crack, the power at the workpiece drops and the edge quality goes off without much warning.
These parts are often blamed too late because the machine still runs. But running is not the same as cutting properly. On fibre and CO2 systems alike, a mark on the optics can change the cut before anyone hears a noise or sees an alarm. During routine checks we also inspect the internal cleaning condition of the head, because dust and fume residue build up quicker than many shops expect, especially where mild steel is cut all day.
Gas Path Problems Show Up on the Edge
When customers complain about burr or dross, the assist gas should always be part of the conversation. Pressure that looks fine on the gauge may still be weak at the head if there is a blockage, leak or worn internal part. Poor gas flow means molten metal is not being blown out cleanly, so it freezes back on the edge.
In practical terms, check the full gas path, not only the cylinder side. That includes the regulator, hose condition, filters, head internals and the sensor ring if fitted. A blocked gas path can also make the cut sound harsher. If the machine starts leaving slag on corners while straight runs still look acceptable, the gas is often struggling to keep up where the path changes direction.
- Confirm the pressure at the machine and again at the head
- Inspect for hose kinks, leaks and blocked filters
- Check whether the edge worsens on corners and small holes
- Watch for noise changes during the cut
After a Collision, Expect More Than One Fault
Many rough edge jobs start with a head knock that was treated as minor. The machine may still home, but inside the cutting head the nozzle seat, ceramic holder, sensor ring or lens stack can be out of line. Even a light impact can shift enough to spoil edge quality on every job after that.
That is why a proper collision damage repair should include strip and inspection, head alignment check and bench pressure test before the unit goes back into service. If a technician only changes the obvious broken part, the hidden damage stays behind. We see this often on workshop floors where production pressure is high and nobody has time to stop the line, but the real loss comes later when the job has to be cut twice.
A Local Example From a Busy Ekurhuleni Shop
A fabrication shop in Boksburg called in after repeated complaints about burr on 3 mm stainless parts. The operator had already adjusted speed and focus several times, but the rough edge kept returning. On inspection the nozzle seat was worn, the protective window showed heat haze and the gas path had fine contamination from earlier maintenance work. The machine itself was still cycling, so the fault had been missed for days.
After bench repair, new consumables and a return to service test, the cut edge settled back to a clean finish. The shop lost less material, and the operators stopped chasing settings that were never the real cause. That is the point of a proper first inspection: find the part that is actually causing the problem, not just the one that looks easiest to change.
What to Record Before You Call for Service
Good fault notes save time, especially when a machine is running between Johannesburg and Pretoria sites or a fabricator needs support in Durban or Cape Town. If you can, record the material type, thickness, gas used, machine make and whether the problem started after a collision, optics change or long shift. A few clear notes can narrow the fault before the technician arrives.
Useful details to gather include:
- Material and thickness
- Where the edge fault appears on the sheet
- Whether the issue is burr, dross, rough striations or burn marks
- Any recent head strike, maintenance work or alarm
- Whether the problem is on fibre or CO2 equipment
For workshops across South Africa, especially where load-shedding interrupts a production run, it helps to separate electrical interruptions from real cutting faults. A clean test sheet after power has stabilised can tell you far more than a long guess based on the previous shift.