
Why a Clean Cutting Head Still Fails After a Quick Wipe
Many workshops only notice the cutting head when a cut starts to taper, the pierce gets messy or a nozzle begins to leave a burr on the edge. At that point, a quick wipe on the outside is not enough. Dust, spatter, oil mist and fine slag collect around the nozzle seat, protective window and internal gas path. If that buildup is rubbed deeper into the head, the result is often a quieter problem first, then a bigger one later.
A clean head is not just about appearance. The parts inside a fibre or CO2 laser head must stay aligned, free from scratches and properly seated. A small mistake during cleaning can shift the beam, score an optical surface or damage a ceramic holder. Once that happens, the machine may still run, but the cut quality drops and the operator chases settings instead of the real fault.
The Cleaning Errors That Cause the Most Damage
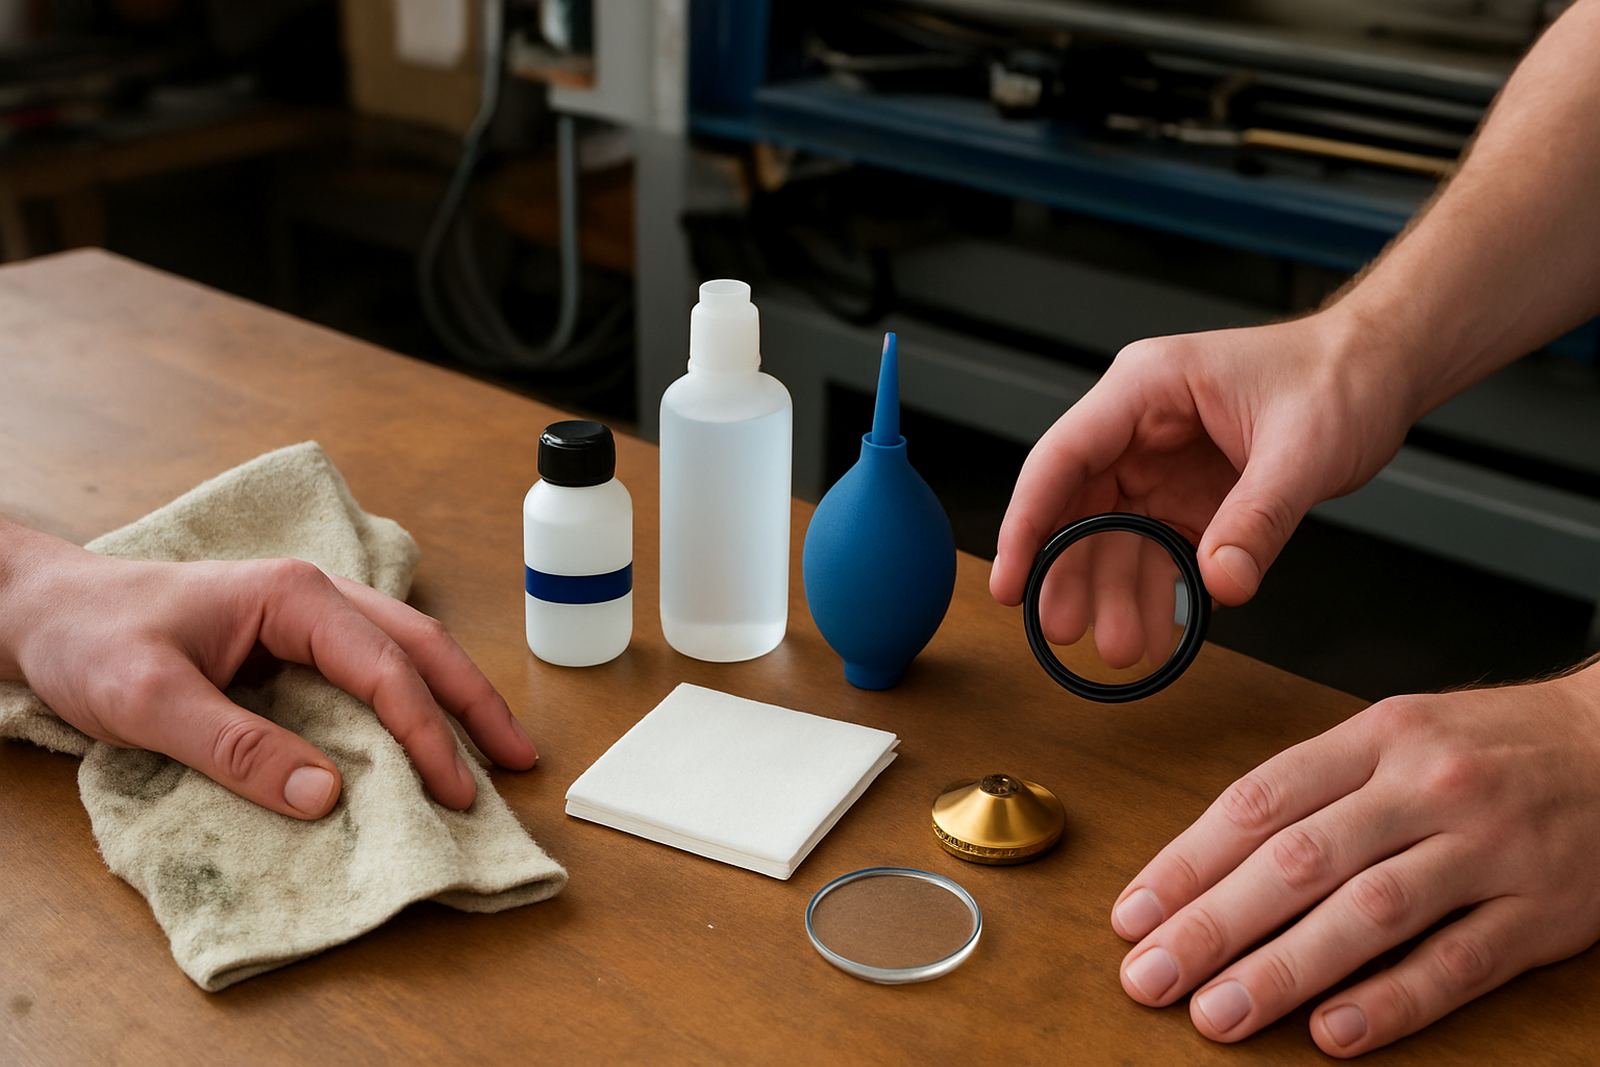
The biggest mistake is using the wrong cloth or swab. A rag that is fine for machine panels can leave lint on a lens or window, and a dirty cloth can grind grit into the surface. Another common error is spraying solvent straight into the head. That pushes contamination into places where it should not go, especially around sensors and seals. Some teams also over-tighten parts after cleaning, which can crack a nozzle seat or distort the holder.
- Do not touch optical surfaces with bare fingers, even for a second.
- Do not reuse wipes that have picked up metal dust or grease.
- Do not blast compressed air into the head without checking for moisture first.
- Do not mix cleaning steps for the nozzle, lens and window.
- Do not refit a damaged seal and hope the gas leak will hold.
On busy shifts, the rush to get the machine back online causes most of the damage. A head that was “just cleaned” can come back with a marked lens, a loose sensor ring or contamination in the gas path, and then the real repair begins.
Nozzle Seats, Windows and Lenses Need Different Care
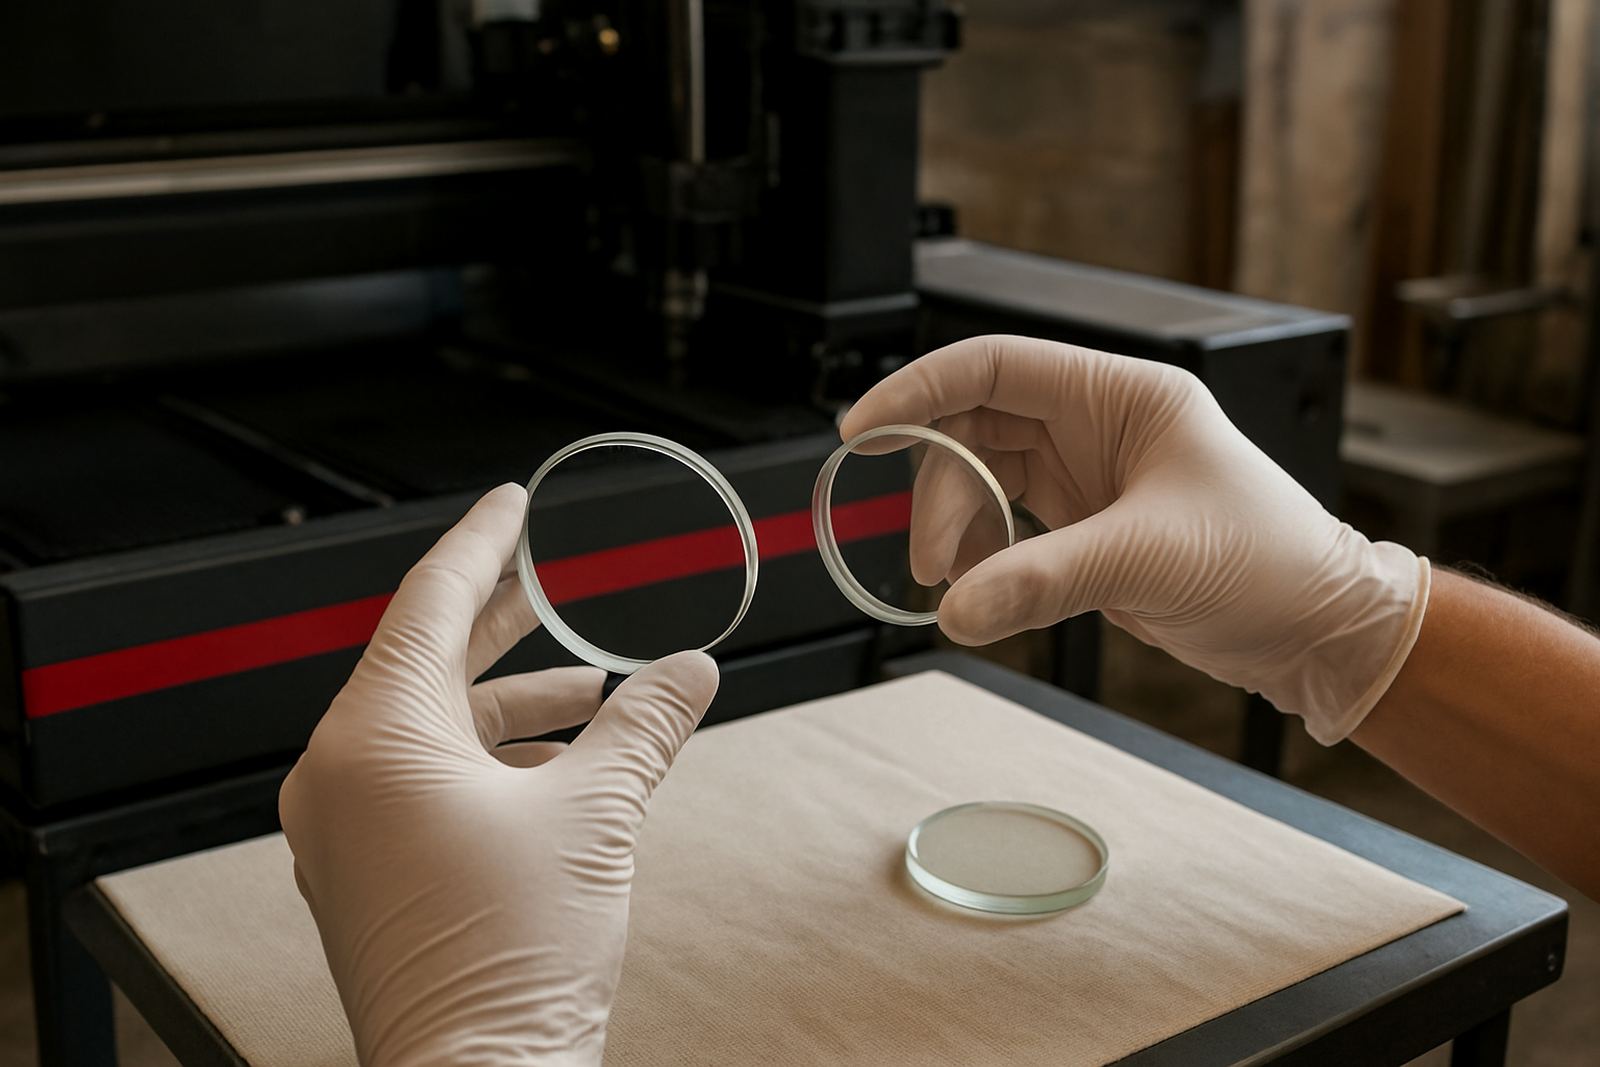
Each part inside the cutting head has its own cleaning method. The nozzle seat should be checked for wear, pitting and build-up from spatter. If the seat is rough, the nozzle may sit slightly off-centre and the beam will not track as intended. Protective windows need careful handling because even a small fingerprint can create heat spots under load. Lenses are even more sensitive, and any scratch or burn mark can affect focus and power delivery.
When a team uses one method for all three parts, trouble follows. A nozzle might be safe to clean with light inspection and a proper swab, while a window needs a cleaner touch and a full check for chips. A lens that looks fine under workshop light can still fail once the machine is back on a stainless job or thicker mild steel plate.
- Inspect the nozzle edge for heat damage and oval wear.
- Check windows for haze, chips and fine pin marks.
- Hold lenses by the edge only and store them in a clean cover.
- Replace seals and holders if they no longer sit square.
Load-Shedding, Dust and Coastal Humidity Make Cleaning Harder
South African conditions make head maintenance harder than many workshops expect. In Gauteng, fine dust from grinding and cutting settles into the machine during a long shift, especially when doors are opened often. Along the coast, humidity can leave moisture in the air lines and on stored parts. During load-shedding, a machine may stop mid-job and the head can sit warm, exposed and full of residue until power returns. That is when corrosion, contamination and thermal stress start to work on small components.
A workshop in Boksburg handling mixed mild steel and stainless work may clean a head after every busy day, but if the compressor drains are poor or the machine sits near grinding bays, contamination comes back quickly. The same is true in Durban, where humid air can affect storage and leave windows with a dull film if they are handled carelessly.
- Drain compressor moisture regularly and check the air line quality.
- Keep optical parts sealed in clean containers, not on open benches.
- Cover the machine during long power cuts if the area is dusty.
- Clean around the head after nearby grinding, not only after laser use.
What Good Cleaning Looks Like on a Real Workshop Floor
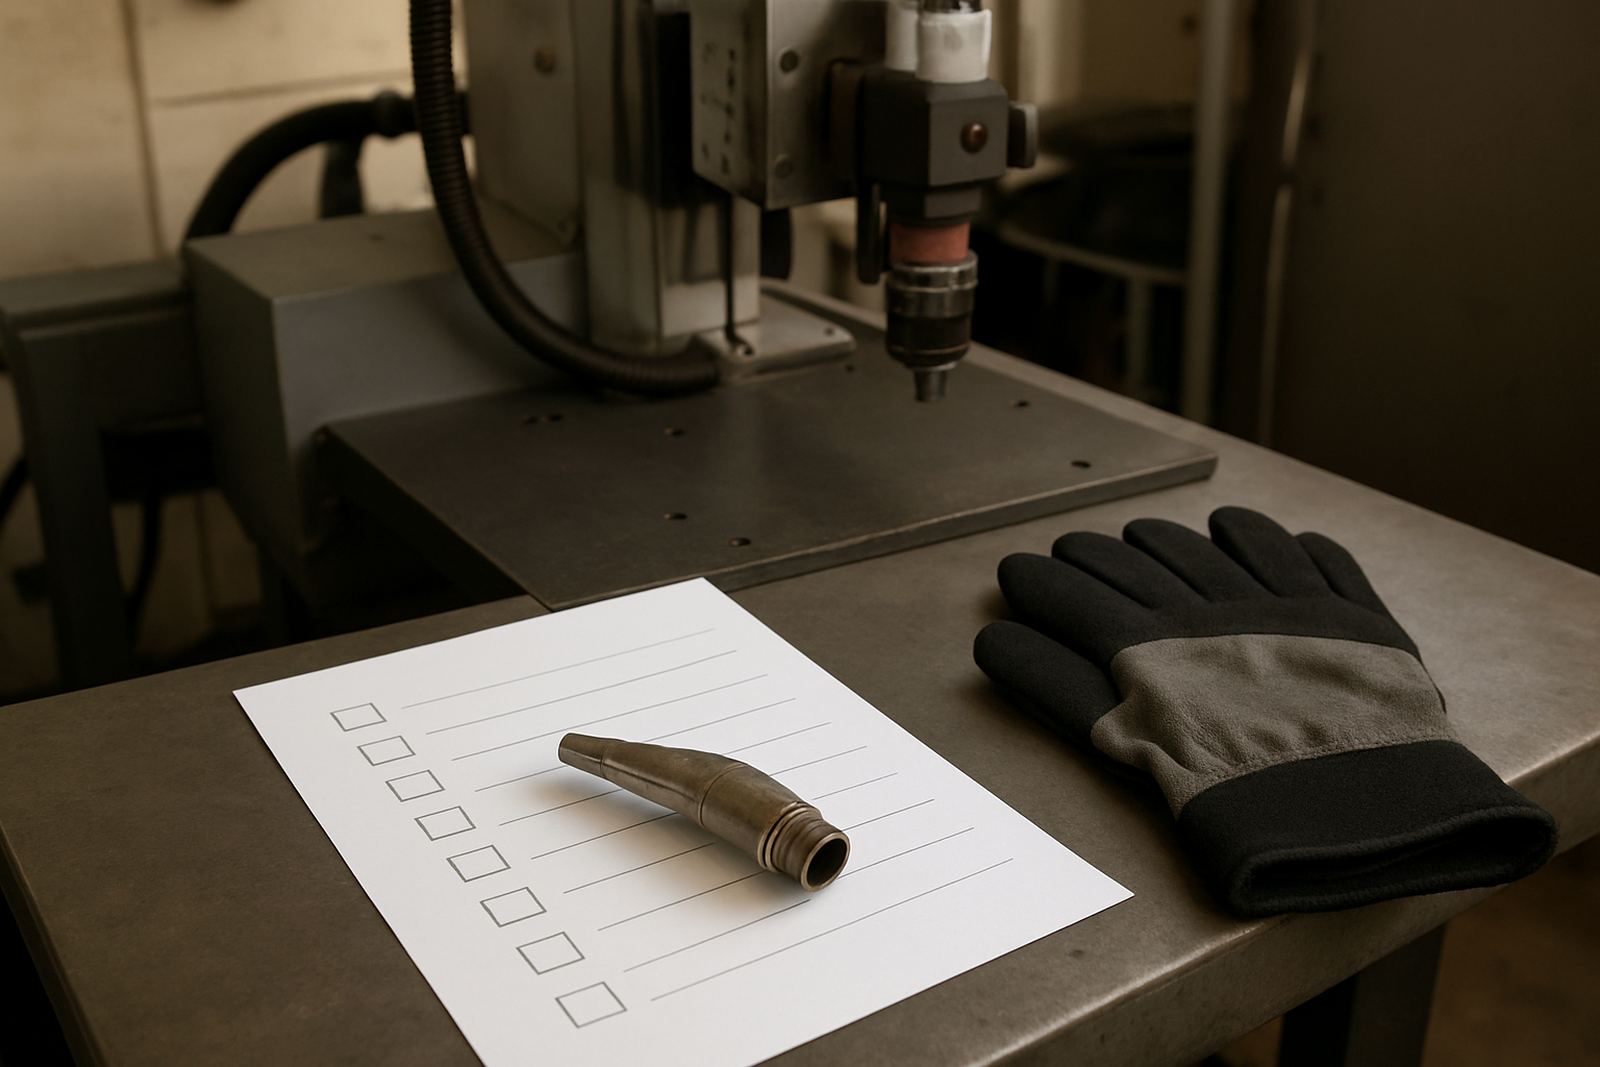
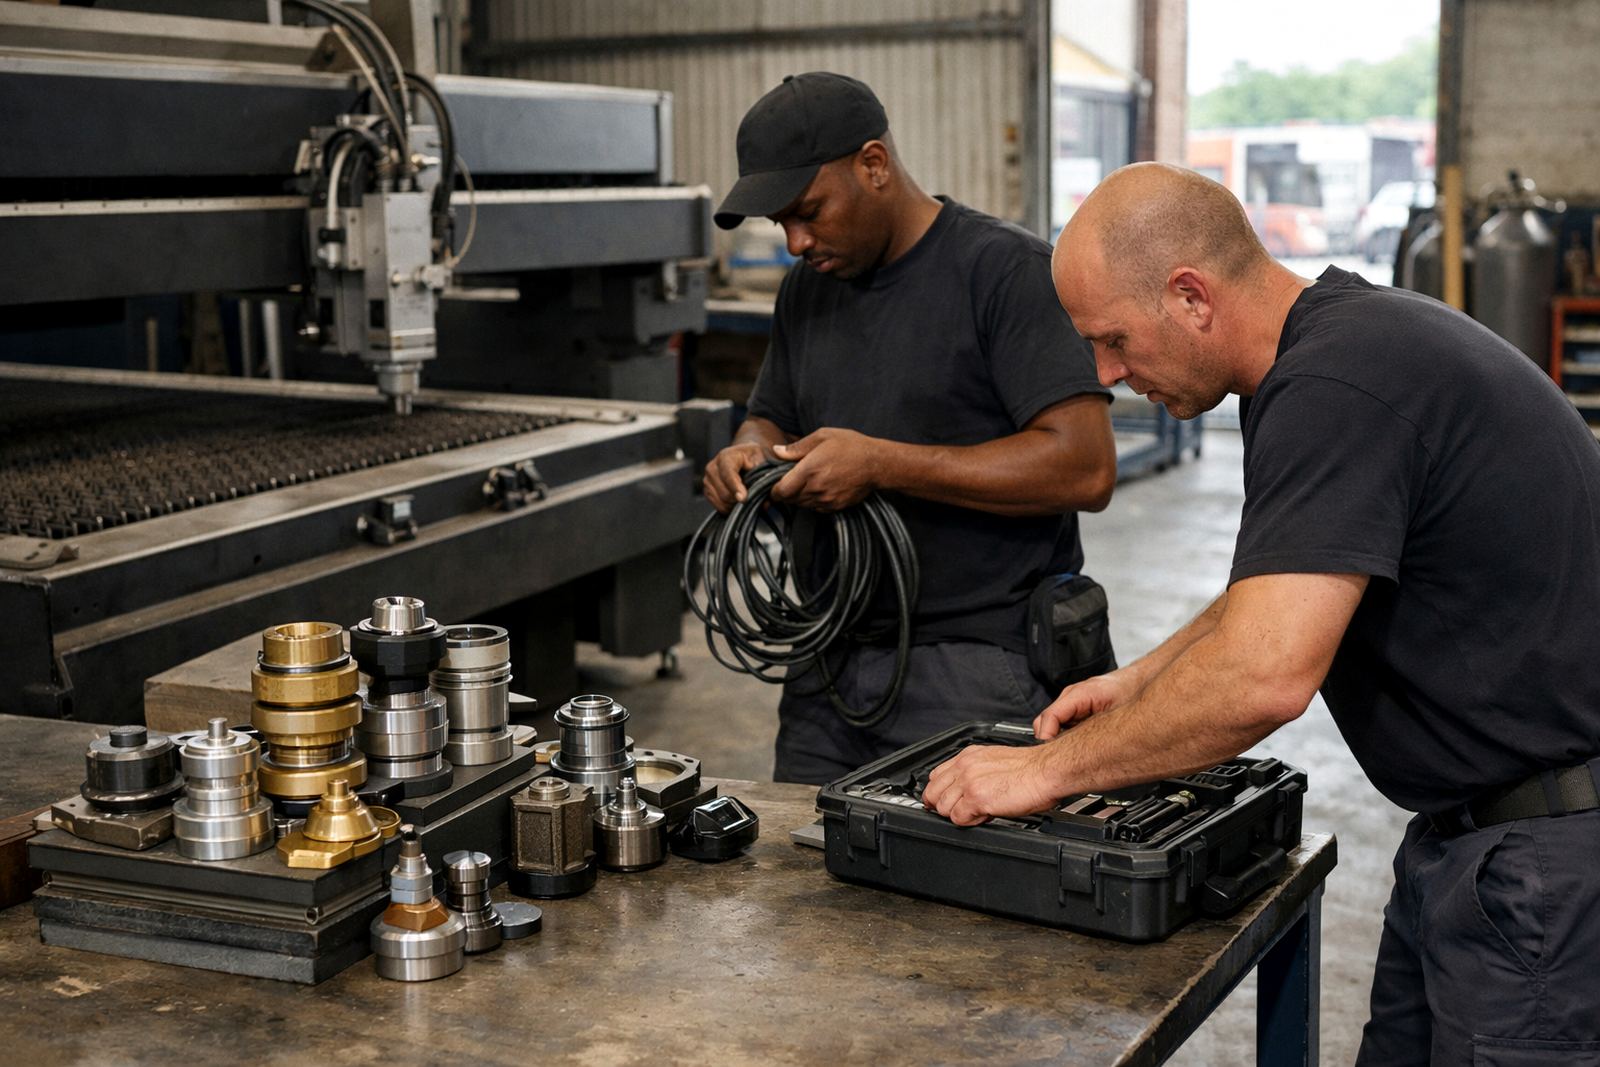
Good cleaning is methodical, not rushed. The head should be isolated, inspected and stripped only as far as needed. The technician checks the nozzle, holder, sensor ring, window and internal surfaces in sequence. Any part that shows wear should be replaced rather than polished into service. After that, the head is reassembled, aligned and pressure tested before returning to production. If the machine has had a collision, a full strip and inspection is often the safer route.
In a fabricator in Germiston or Kempton Park, this approach saves time because it avoids repeat faults. Instead of cleaning one day and chasing alarms the next, the workshop gets a proper return to service test and knows whether the issue was contamination, wear or damage from the start.
That is especially important on jobs where cut consistency matters, such as signage parts, brackets and precision sheet work. A head that is clean but not aligned still wastes material.
How to Protect the Head Between Services
The best way to avoid cleaning mistakes is to reduce how often the head gets abused in the first place. That means keeping the machine area tidy, watching nozzle wear and checking the cut before a fault becomes serious. Operators should know the signs of a dirty or damaged head: unstable pierce, rough edges, change in cut height, excess spatter and unusual sensor alarms. If those signs appear, stop and inspect before more parts are harmed.
Small workshop habits make a big difference. Use a proper cover when the machine is idle, keep spares sealed, and record when the last lens or window change was done. A machine in Johannesburg running all week will not need the same attention as one used only on contracts, but both need the same discipline.
- Keep a simple log of cleaning, nozzle changes and window replacement.
- Check beam path parts after every collision or heavy spatter event.
- Do not run a questionable head just to finish one more sheet.
- Book bench testing if the cut quality changes after cleaning.
In practice, the cost of one damaged lens or a worn nozzle seat is usually higher than the cost of doing the job properly the first time.
When Cleaning Stops Being Enough
There is a point where cleaning will not recover the head. If the nozzle seat is damaged, the ceramic holder cracked or the internal path contaminated, the part needs repair or replacement. If a machine has had a hard collision, repeated cleaning can hide the real issue for a short time but not solve it. That is when a bench inspection, pressure test and return to service check are worth more than another quick wipe.
Laser Ray Tools works with workshops and fabricators across Boksburg, Johannesburg, Pretoria, Vanderbijlpark, Durban and Cape Town when the problem has moved beyond routine cleaning. The aim is straightforward: keep fibre and CO2 laser cutting heads performing properly, and get production moving again without unnecessary delay.