
When stainless starts giving trouble on the shop floor
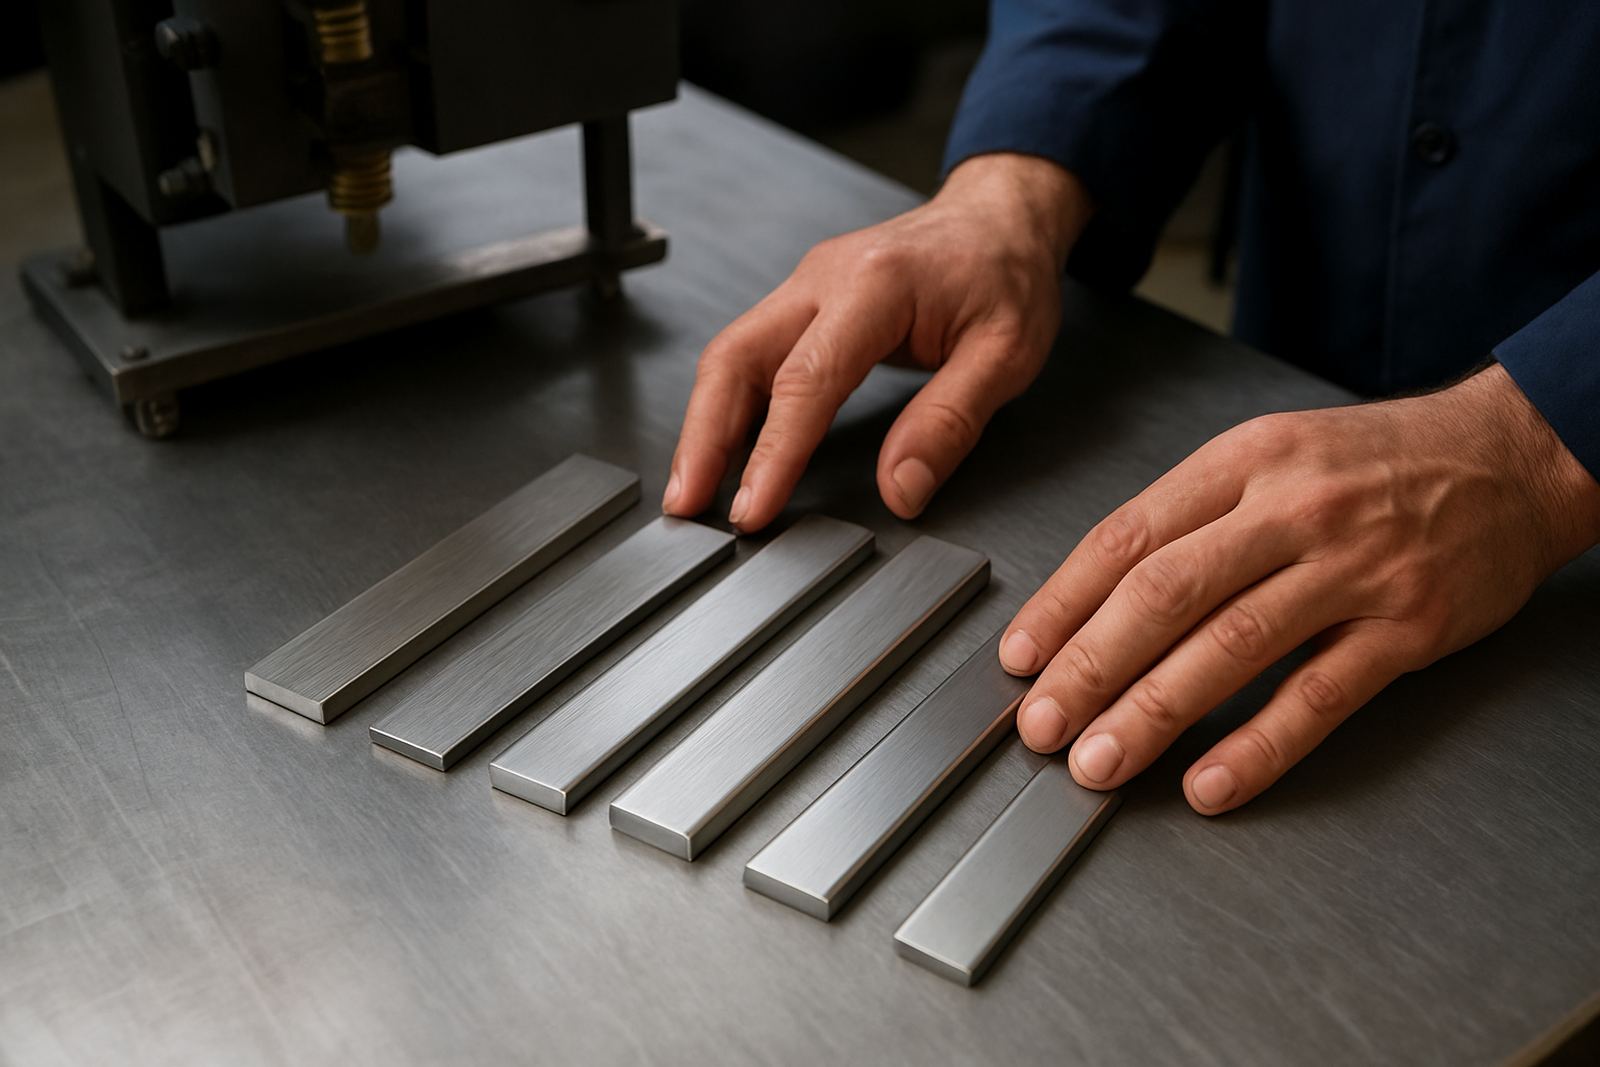
Most fabricators know the look of a bad stainless cut before the parts even leave the machine. The edge may show yellow or blue discolouration, the top and bottom surfaces may feel rough, or the cut can leave a hard line of slag that slows down assembly and polishing. On thinner sheet the problem might show as slight burrs and heat tint, while on heavier plate the complaint is often dross hanging on the underside.
In workshops from Boksburg to Durban, the first reaction is often to push gas pressure higher or slow the job down. That can help in some cases but it can also hide the real fault. A stainless cut complaint is usually a system issue, not just one setting. The nozzle, lens, gas path, focus, machine alignment and head condition all matter, and if one of them is out the cut quality drops fast.
Why the cut edge changes colour
Discolouration on stainless usually means the cut zone held too much heat or did not clear molten material cleanly enough. If the assist gas is weak, dirty or inconsistent, oxygen can reach the edge and leave brown or blue marks. If the beam is not focused correctly the cut spends longer heating the metal, which also affects colour. A worn nozzle or damaged protective window can scatter the beam and make the edge hotter than it should be.
Coastal humidity can make this worse. In places like Durban and parts of Cape Town, moisture can affect stored consumables and also show up in gas lines, filters and machine cabinets. If the machine has been standing through load shedding and then restarted after an outage, condensation and unstable pressure may show up as a poor first run. That is why a proper check has to include the full gas delivery path, not just the part at the head.
Rough cuts usually point to a worn or dirty head
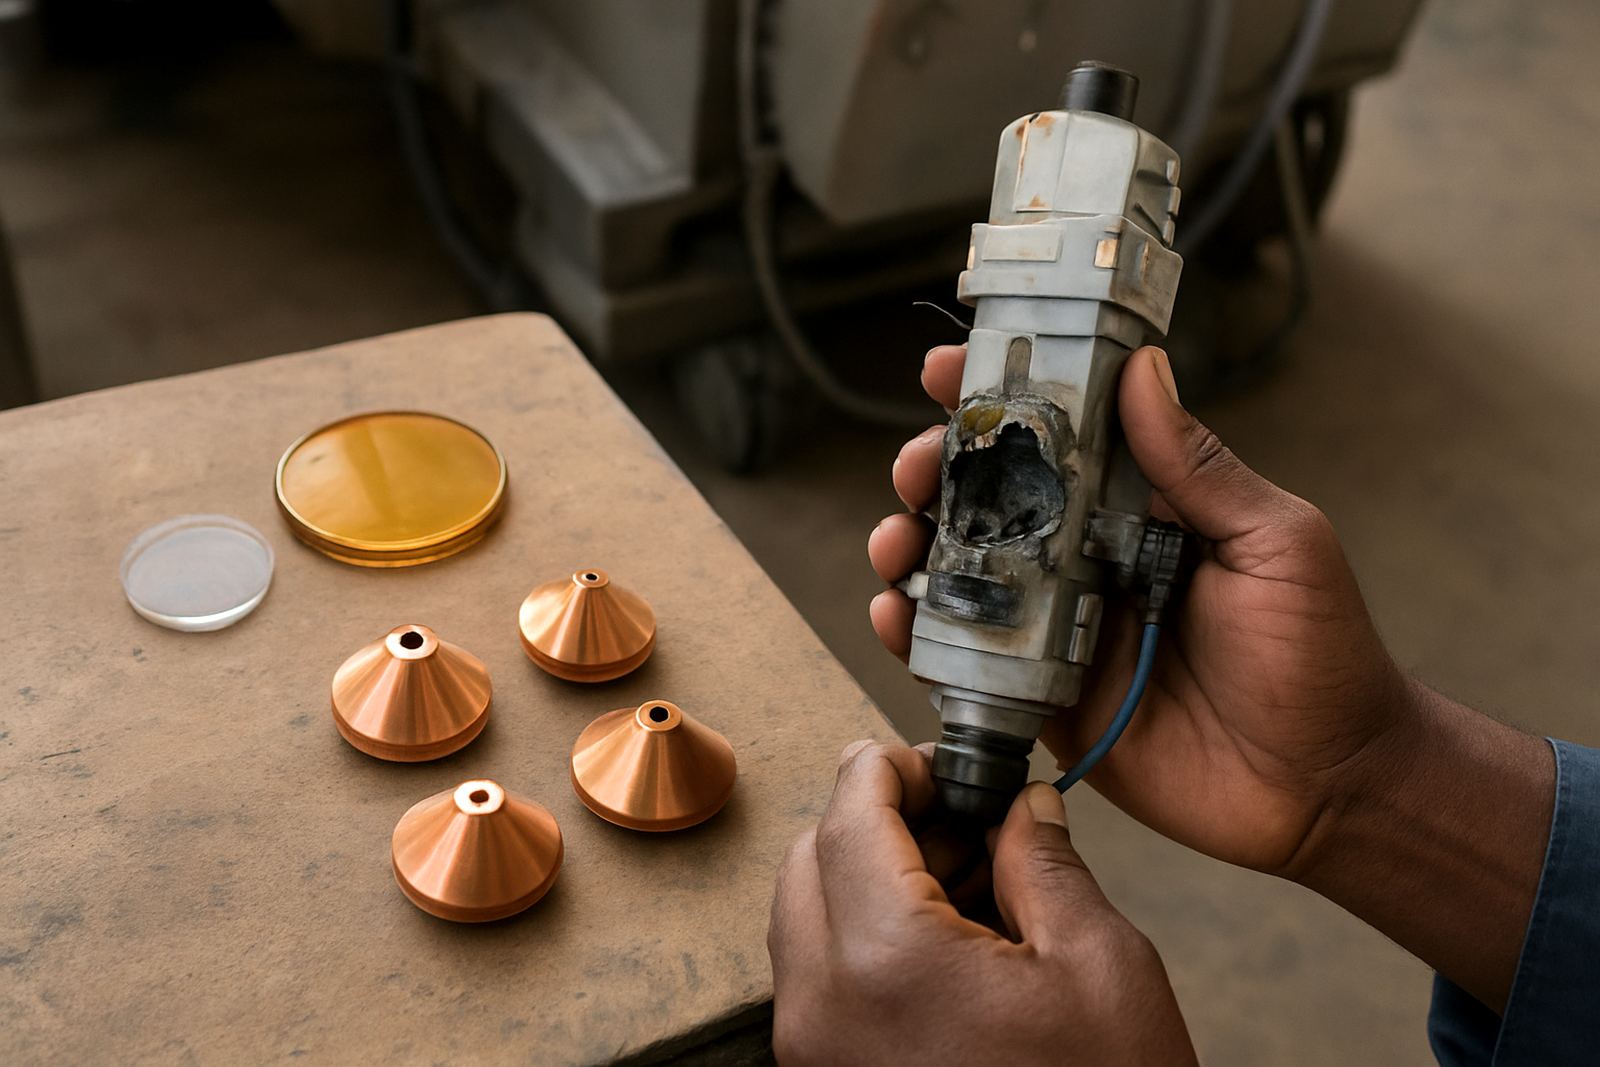
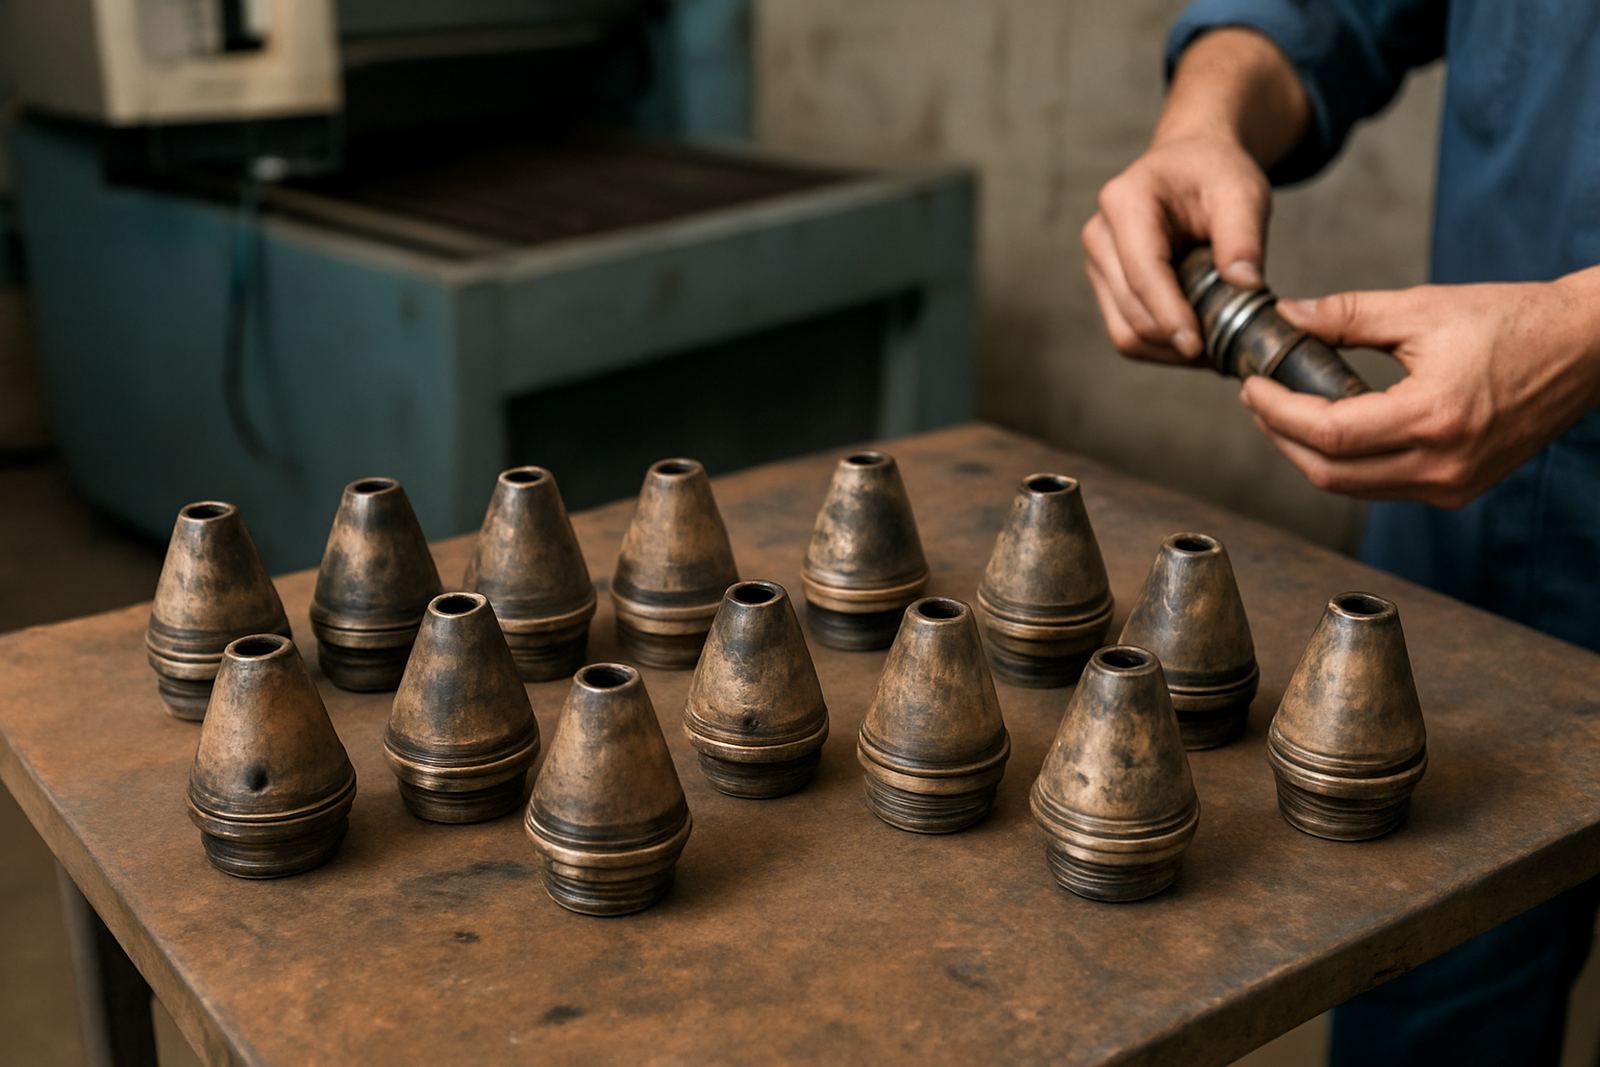
When the cut edge feels gritty or the kerf looks torn instead of smooth, the problem may be inside the cutting head. A small collision, even one that seems minor can knock the head out of line or damage the ceramic holder, sensor ring or nozzle seat. Once that happens the beam may not sit where it should and stainless starts showing rough edges, uneven kerf width and extra dross.
Internal dirt is another common cause. Fine metallic dust, residue from backspatter and oil mist can collect inside the head and affect the optics. If the machine is cutting all day in a busy job shop, especially on mixed work with mild steel and stainless, the optics can degrade quickly. A bench strip and inspection often finds the fault sooner than chasing settings on the control screen for hours.
- Check for nozzle damage after any crash, even a light tap.
- Inspect the protective window for haze, pitting or fine burn marks.
- Look for soot or dust inside the head body and around the sensor ring.
- Confirm that the ceramic holder has not cracked or shifted.
Gas quality and pressure are often the hidden culprit
For stainless, the assist gas needs to do two jobs at once: push molten metal out of the kerf and protect the edge from oxidation. If pressure is low, unstable or contaminated, the cut can go brown and rough very quickly. A pressure test often shows problems that are not visible from the outside, such as leaks in fittings, a weak regulator, or poor flow through a clogged filter.
Some operators keep increasing pressure to chase a cleaner edge, but that can create another problem by blowing molten metal back onto the bottom of the sheet. On thin material, too much pressure can also disturb the cut line and leave a wider kerf. The right answer is to test the full gas path, from supply to nozzle, and then confirm the result with a return to service cut. That saves a lot of scrap and a lot of wasted time.
How fibre and CO2 machines show the fault differently
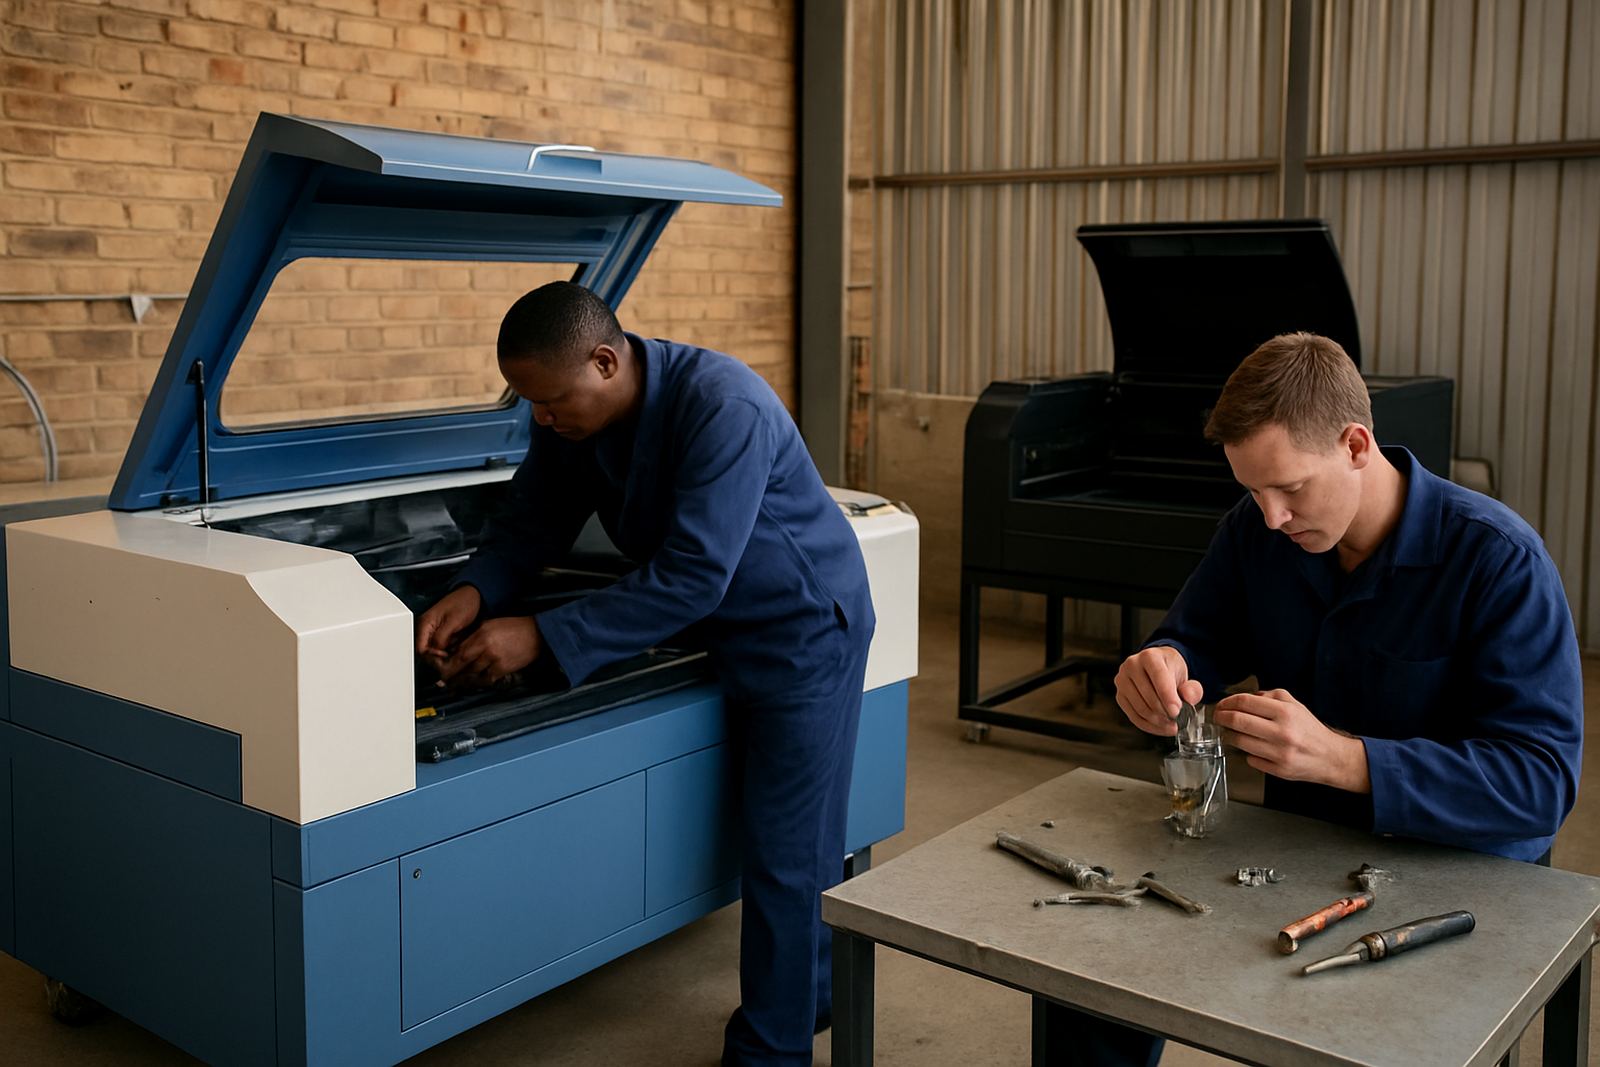
Fibre and CO2 systems can both cut stainless, but the warning signs are not always the same. On fibre machines, lens condition, beam focus and head cleanliness are critical because the beam path is tightly controlled. On CO2 systems, mirror condition, alignment and contamination play a bigger role. In both cases a poor edge can be caused by wear in the cutting head, but the service approach changes depending on the platform.
That is why a proper diagnosis matters. A shop in Johannesburg may report rough edges on 1.5 mm stainless, while a fabricator in Vanderbijlpark sees heavy dross on thicker plate. The machine type, gas choice, material grade and cutting speed all matter. If the issue is diagnosed properly, the repair may be as simple as a nozzle and window replacement, or it may call for head alignment and a deeper strip and inspection.
- Fibre machines often show trouble through window damage and focus errors.
- CO2 systems often show trouble through alignment drift and dirty optics.
- Both systems can suffer after collisions, poor maintenance or unstable power.
A local example from a busy Ekurhuleni workshop
A metal fabrication shop in the Ekurhuleni area phoned about stainless parts that were coming off brown on one side and rough on the other. The operator had already adjusted speed and gas pressure, but the problem kept coming back after every shift. On inspection the cutting head showed a worn nozzle seat, a damaged protective window and a slight alignment issue from a previous collision. The machine had also been cycling through load shedding, which had not helped the consistency.
After strip and inspection, the affected parts were replaced, the internal cavity was cleaned and the head was tested on the bench before going back into service. The next test cuts came out cleaner, with less heat tint and much less dross. The customer did not need a new machine, just proper fault finding and the right repair sequence. That is often the difference between a shop that keeps moving and one that loses a full day to guesswork.
What to do before the scrap bin starts filling up
If stainless cuts are going wrong, start with the simple checks and then move deeper if needed. Clean the nozzle, inspect the lens and window, confirm the gas supply, and listen for anything unusual from the head. If the machine has hit something or the edge quality changed suddenly, stop and inspect before more parts are spoiled. A small problem left alone becomes a bigger repair very quickly.
For workshops in Pretoria, Germiston, Kempton Park and beyond, the practical answer is usually the same: find the cause, repair the head properly and test it before handing the machine back. Good stainless cutting is not luck. It comes from clean optics, stable gas, correct alignment and a cutting head that has been restored to working order.